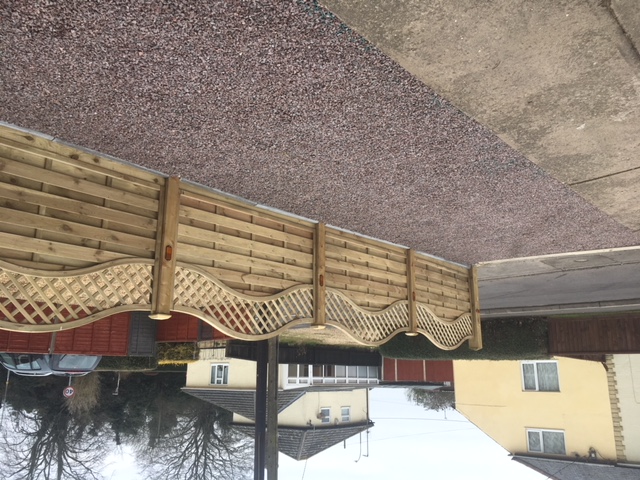
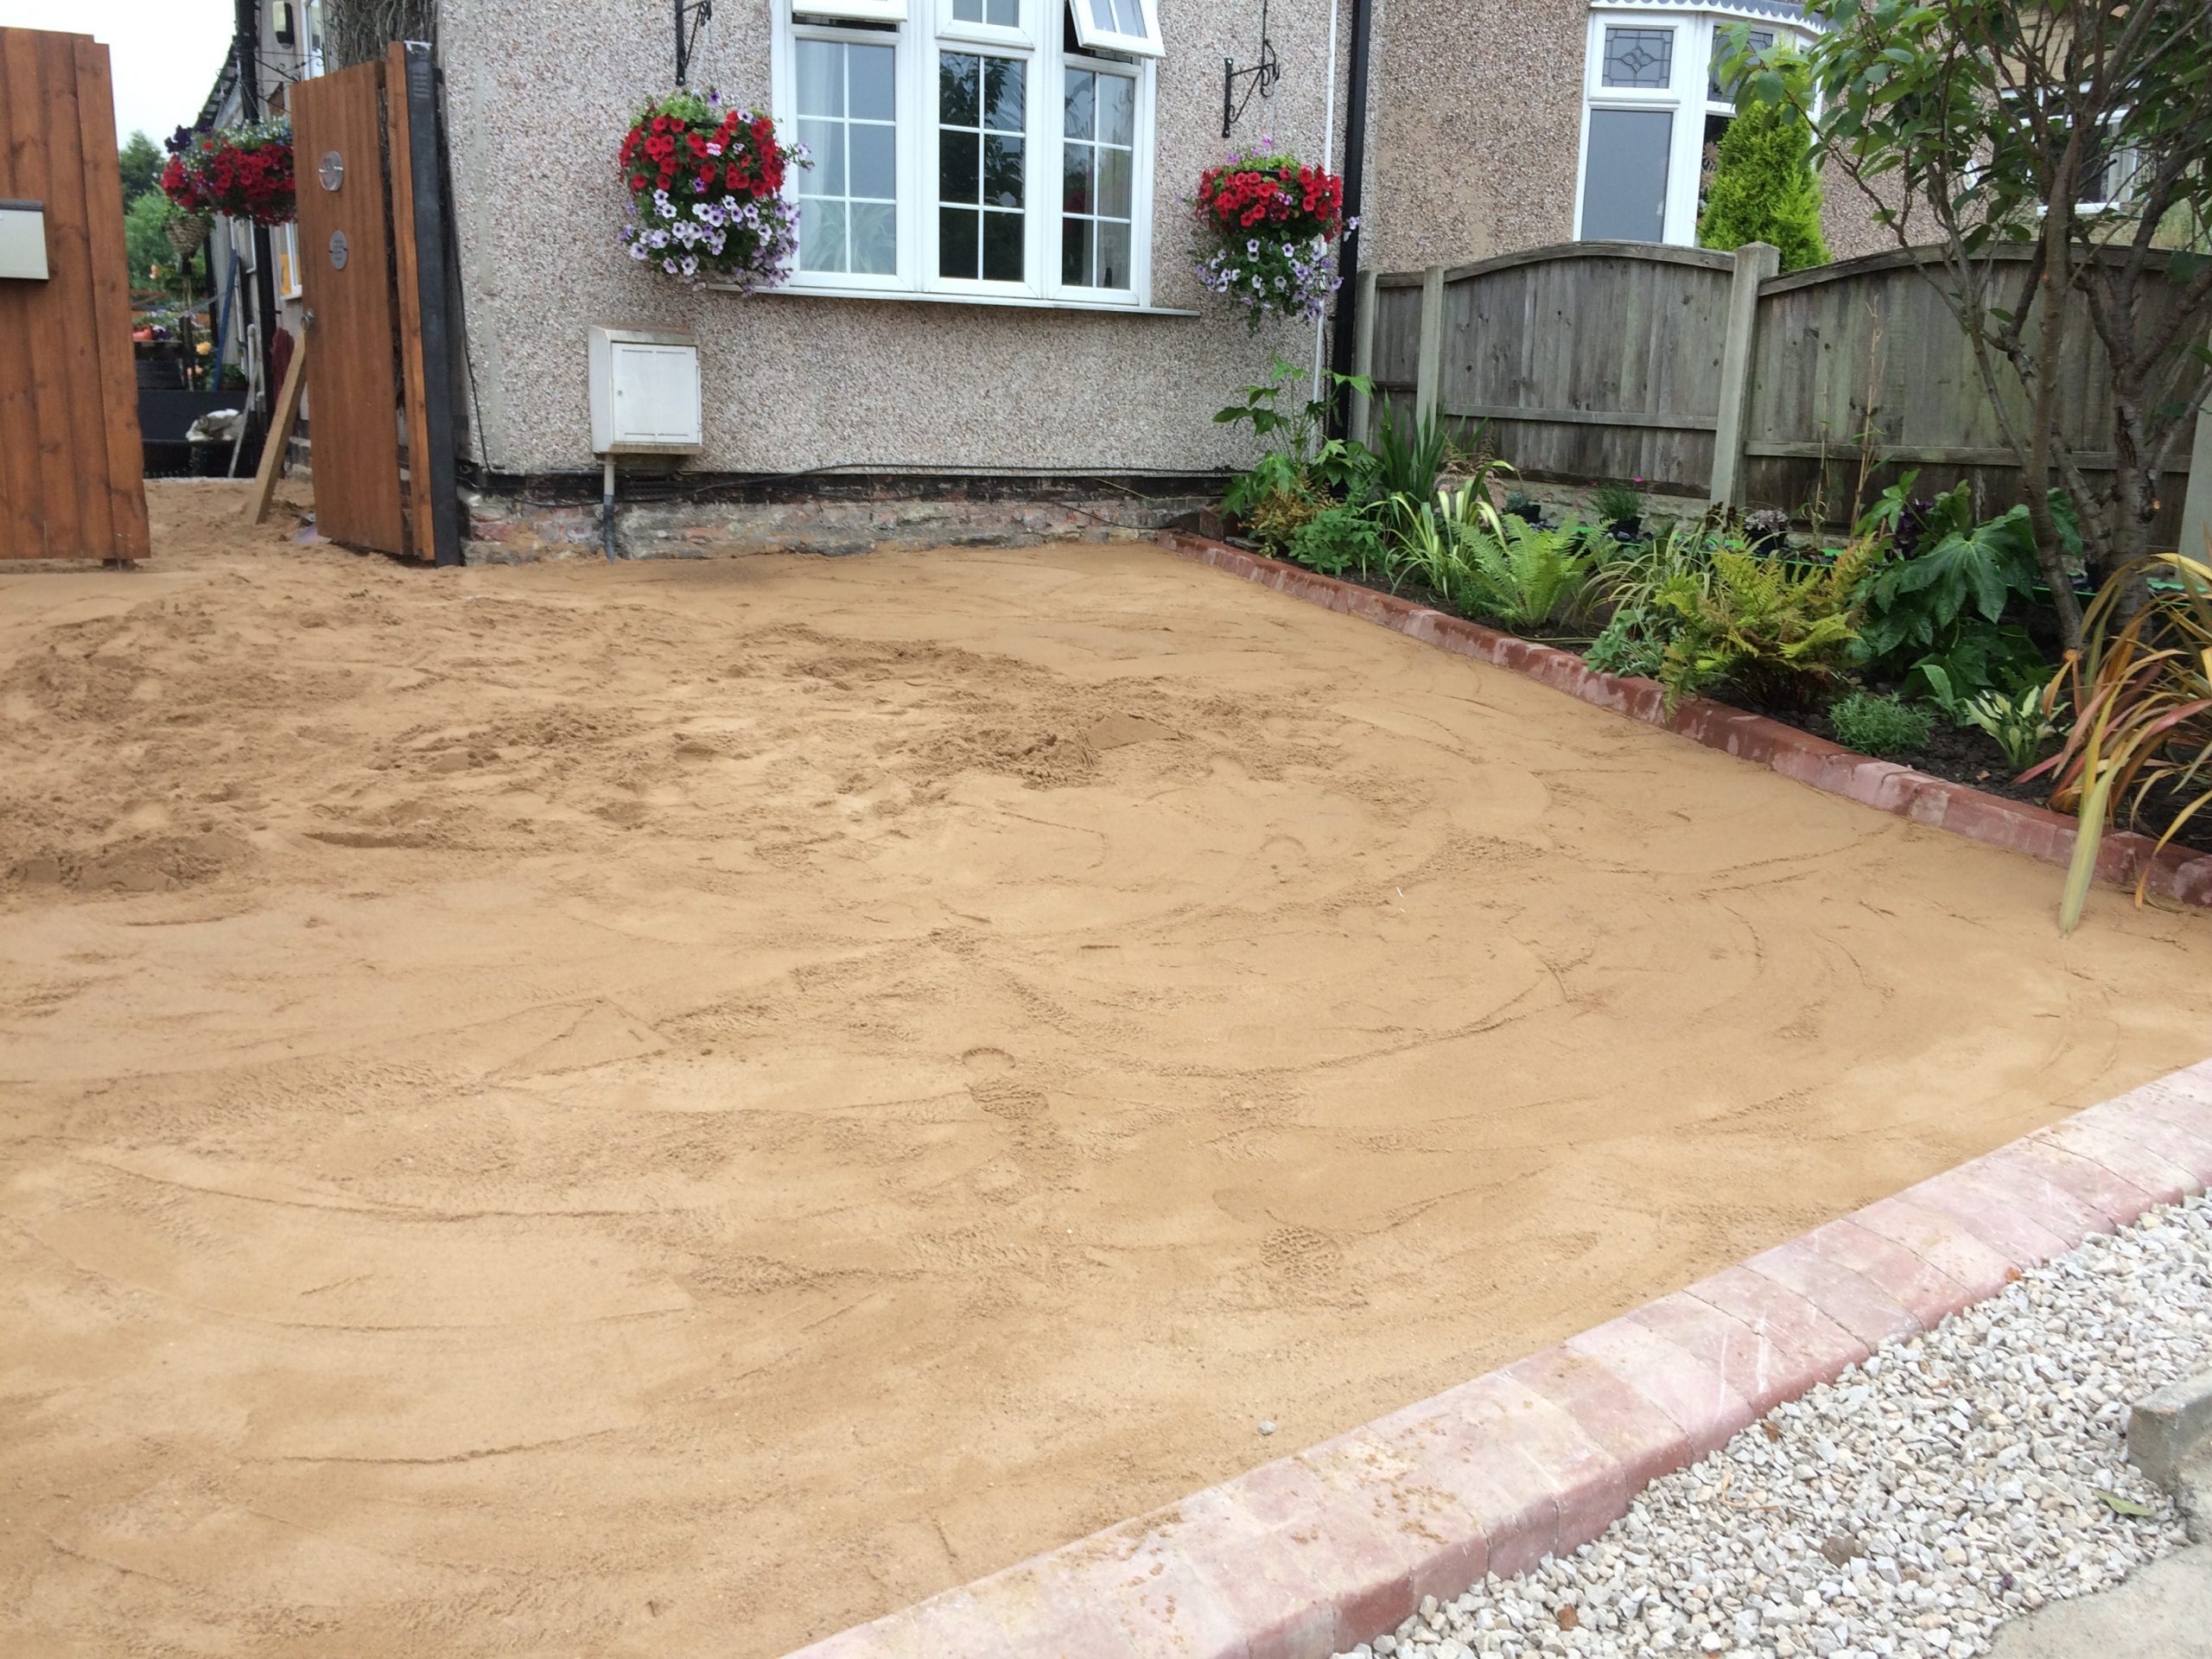
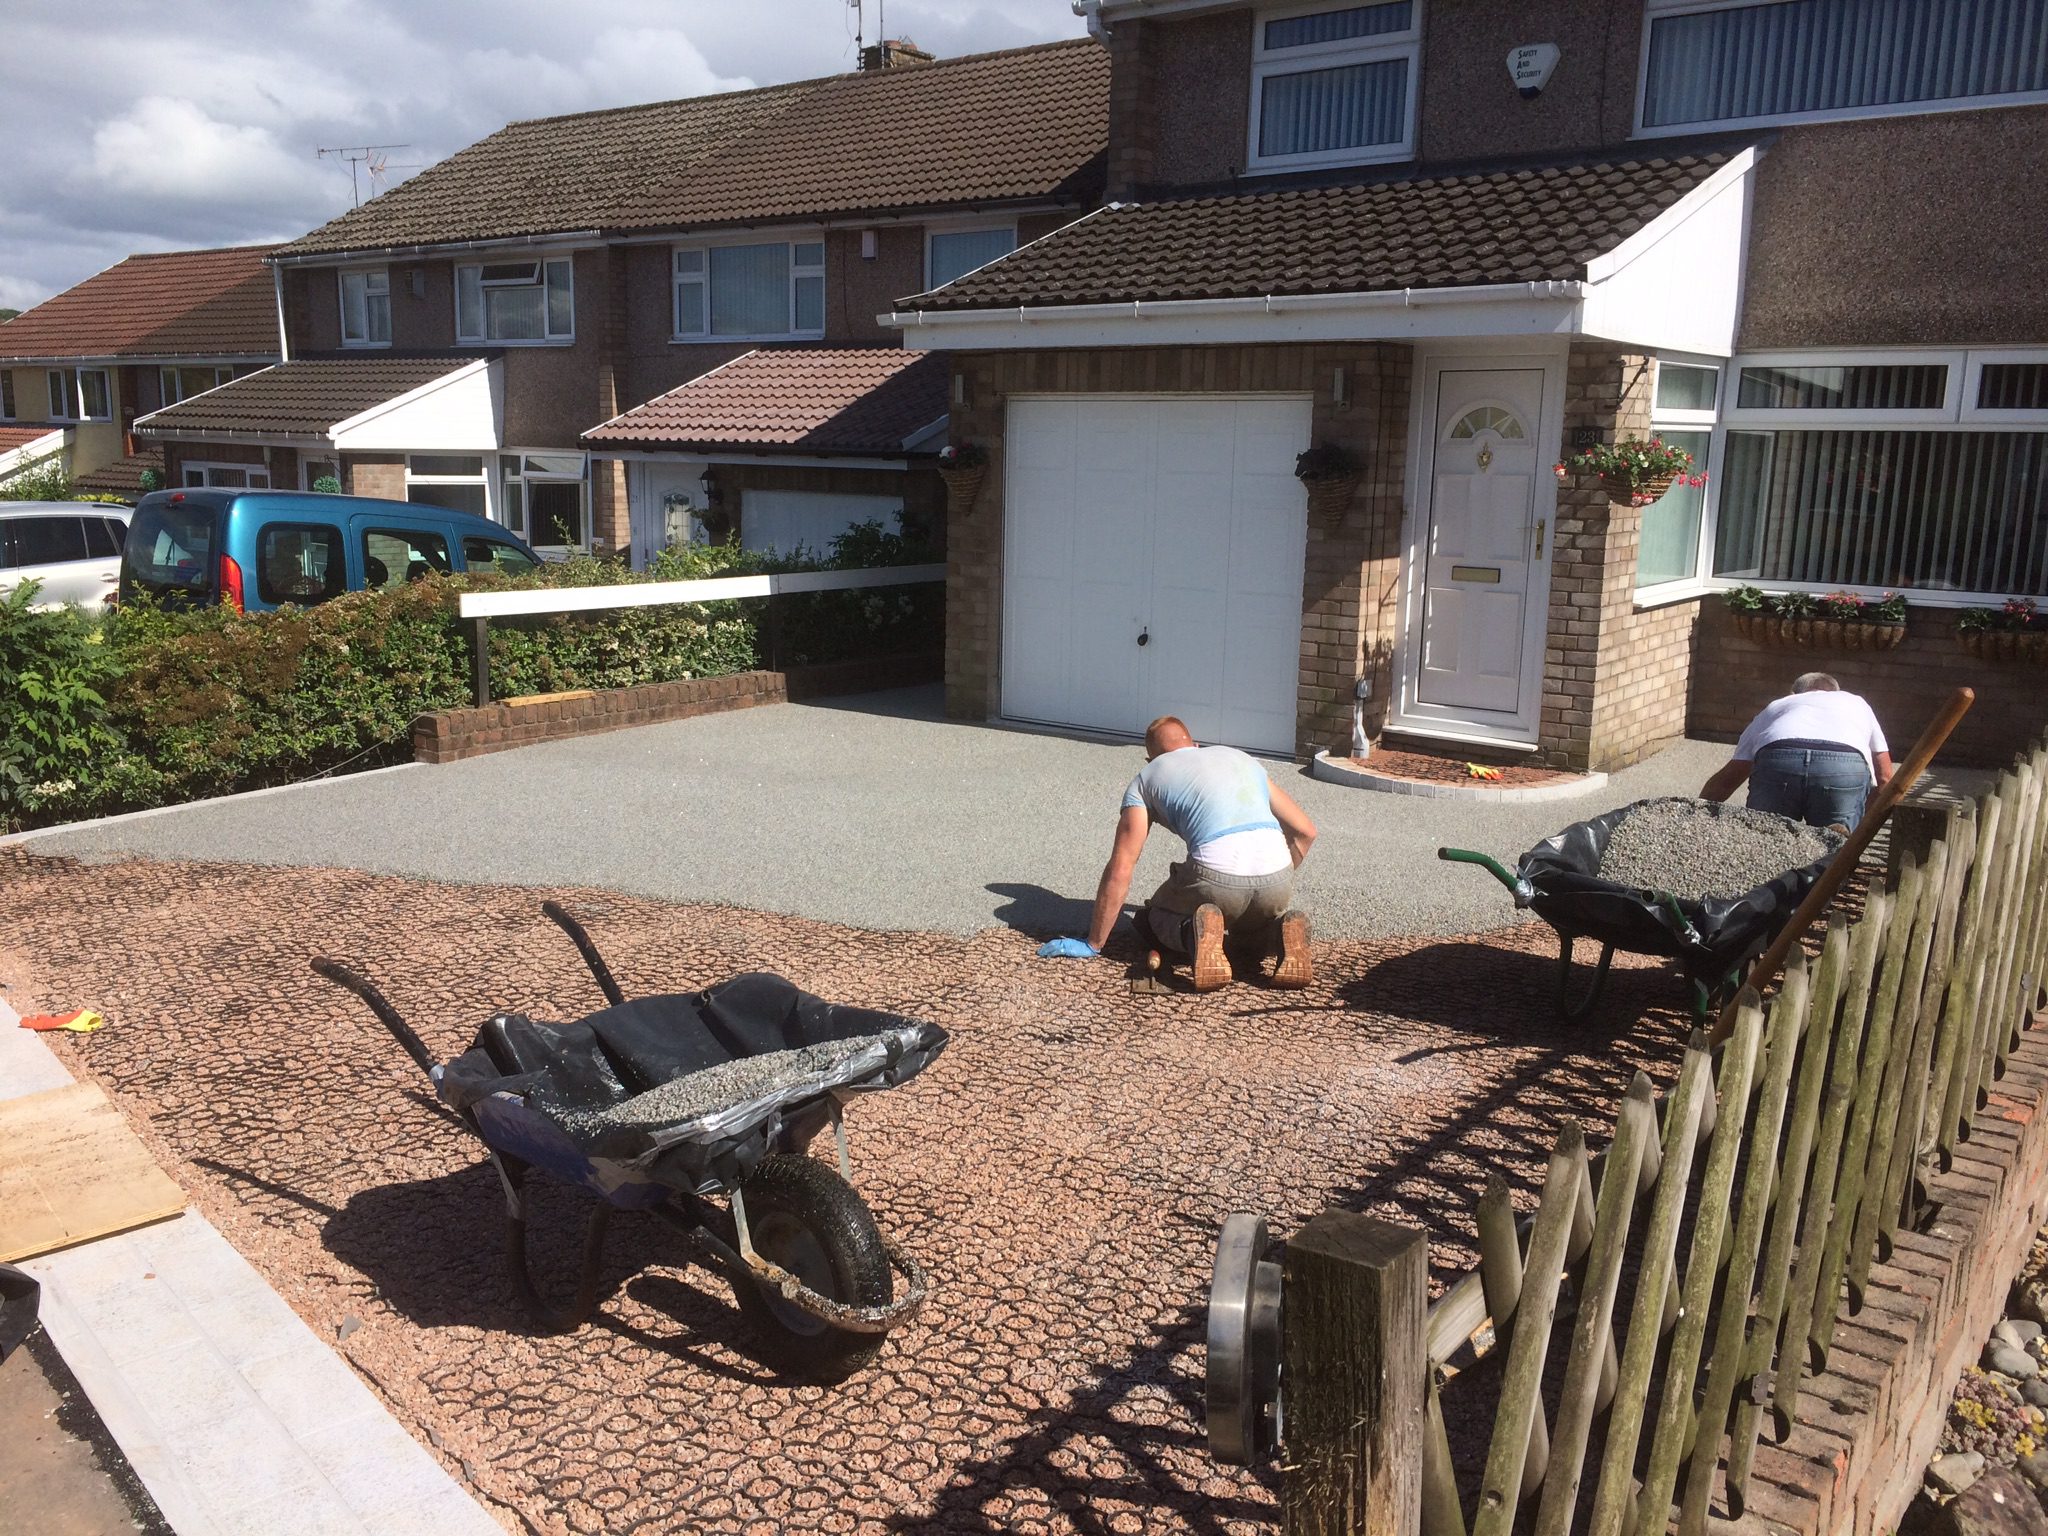
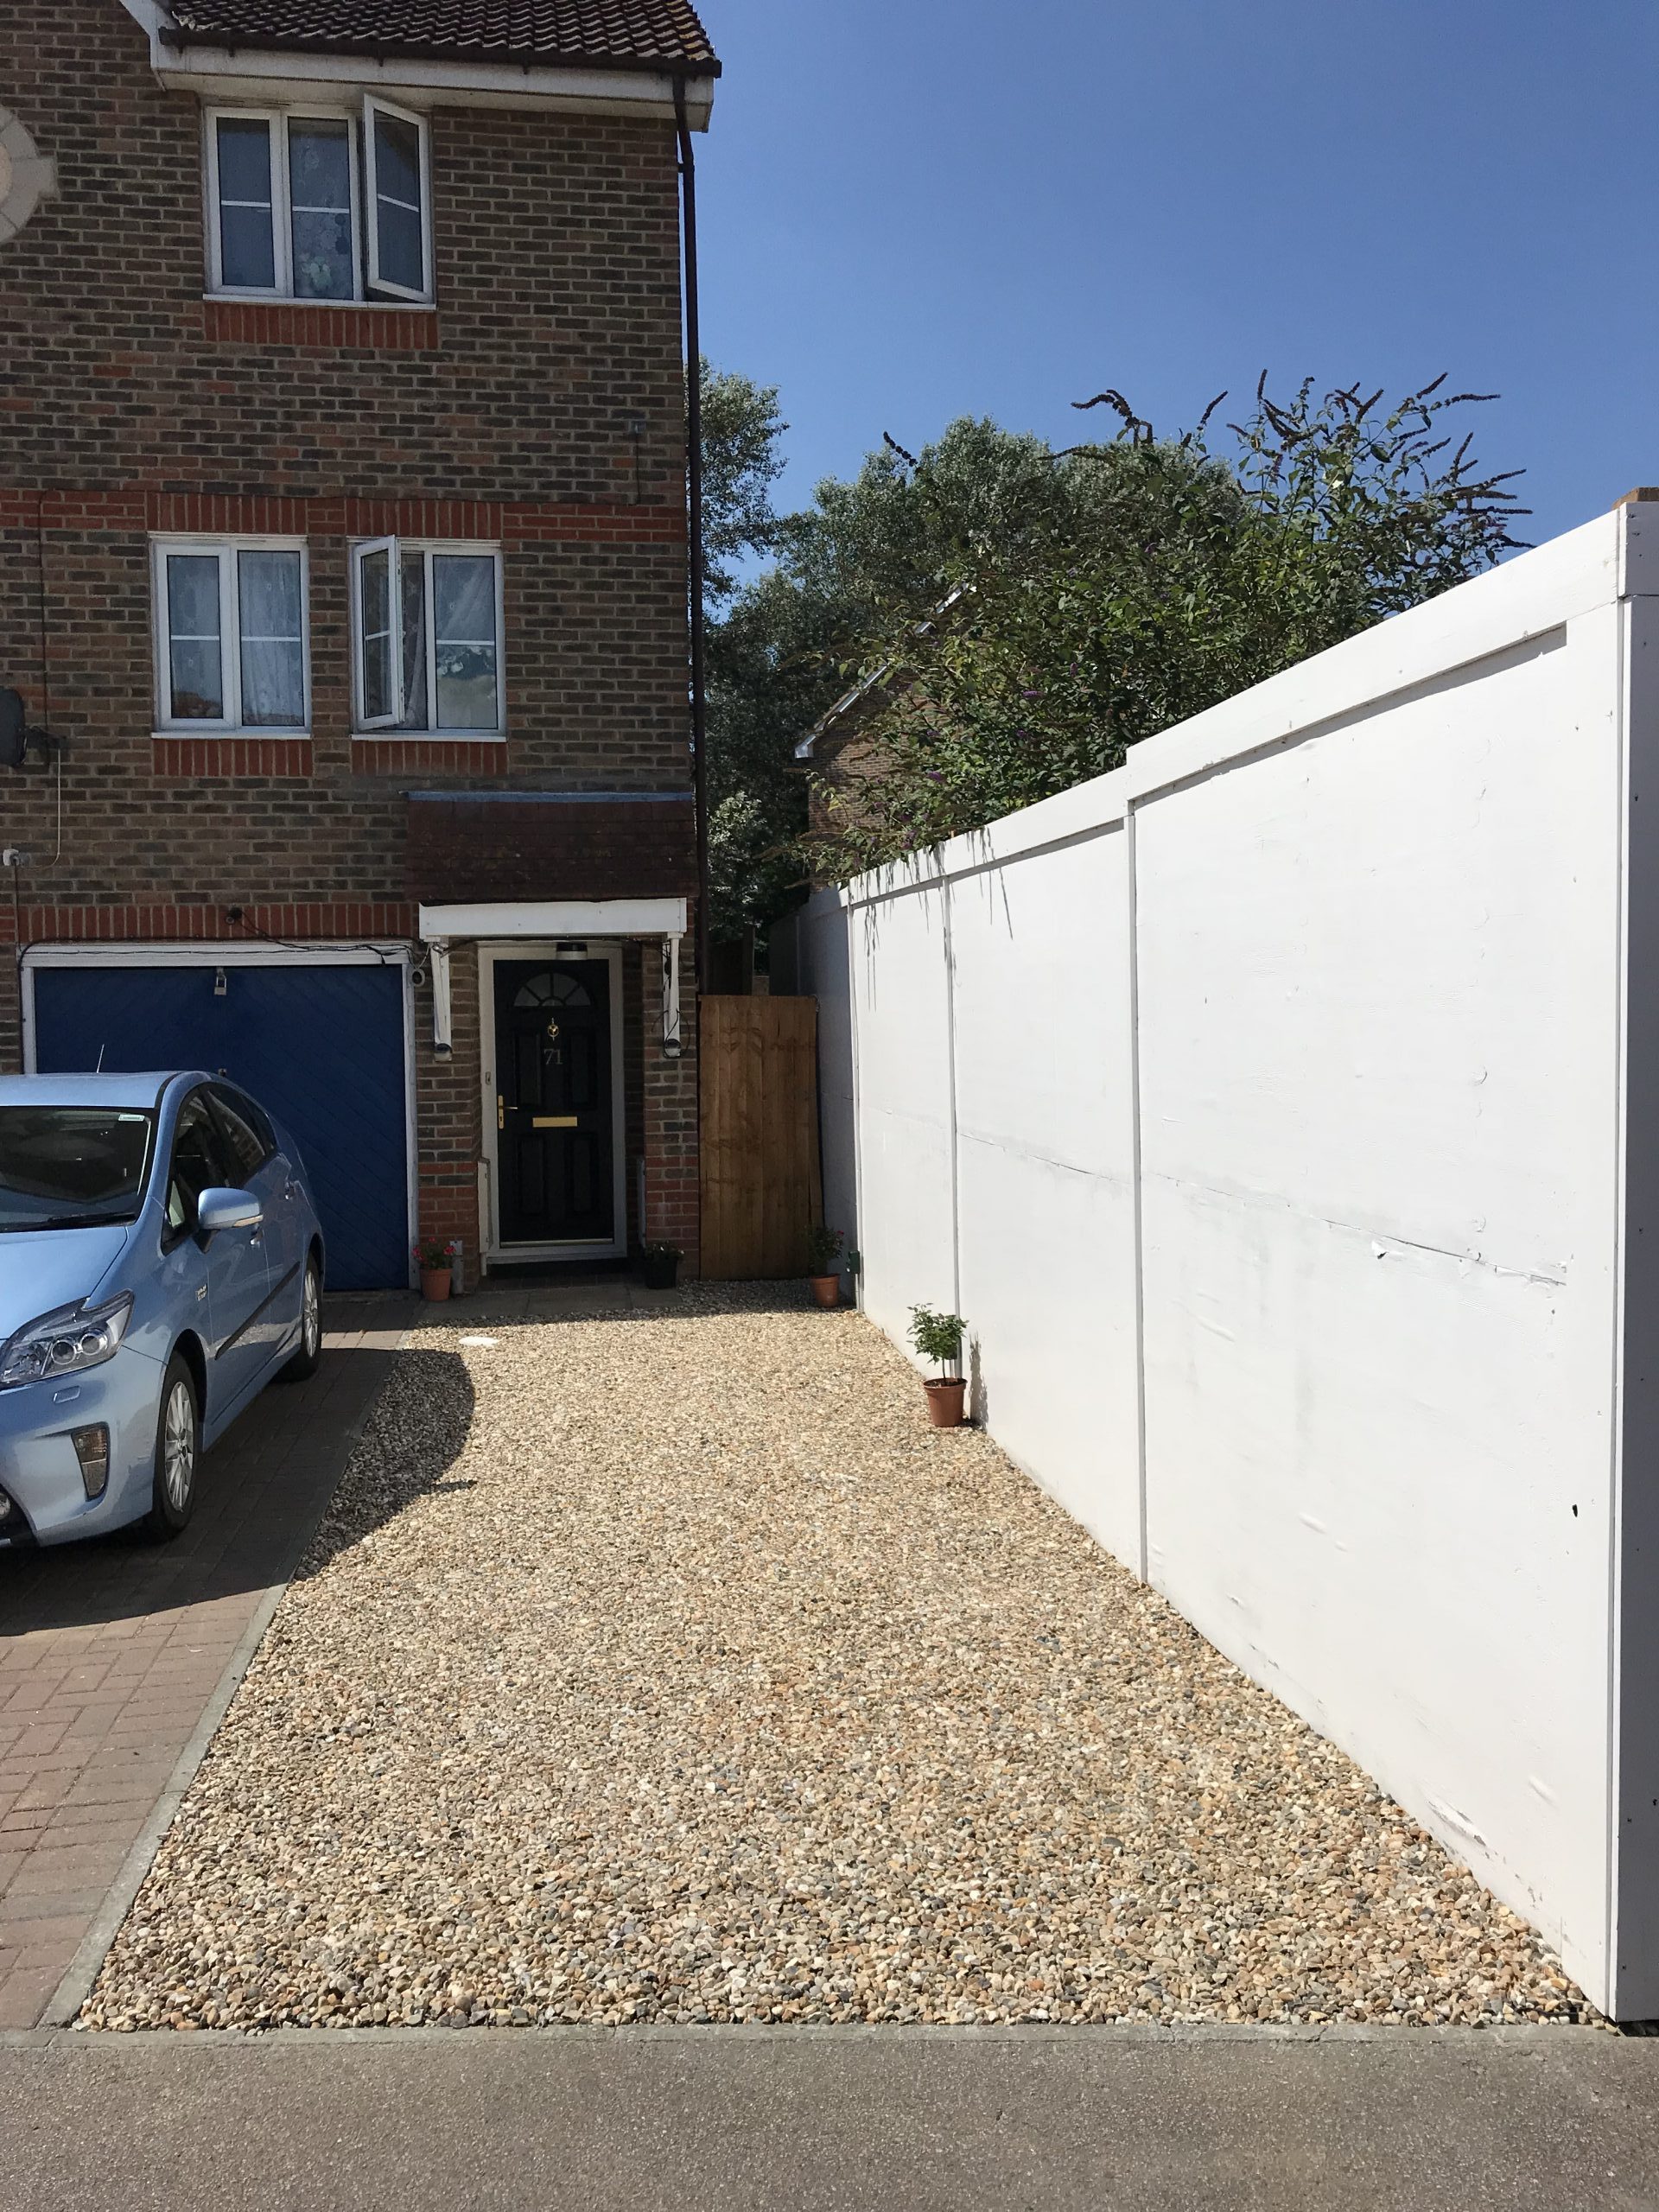
Gravel drives are a low cost, easy to create, popular alternative to slabs or block paves. They allow an increase in creativity – as you can create a colour scheme that matches or compliments brickwork or other features to create a beautiful front garden.
A graveled drive allows rainwater to travel through to the earth. If you had a concrete or paved driveway then water has nowhere to go – creating puddles and ending up on the road or in gutters. This increases the risk of flooding.
The risks associated with a paved or concreted driveway has made many local councils need planning permission in able to install these. This can be a long and costly process,
There is also very little maintenance needed for a gravel driveway – which gives it an advantage compared to alternatives.
Do you need to excavate when laying a gravel driveway?
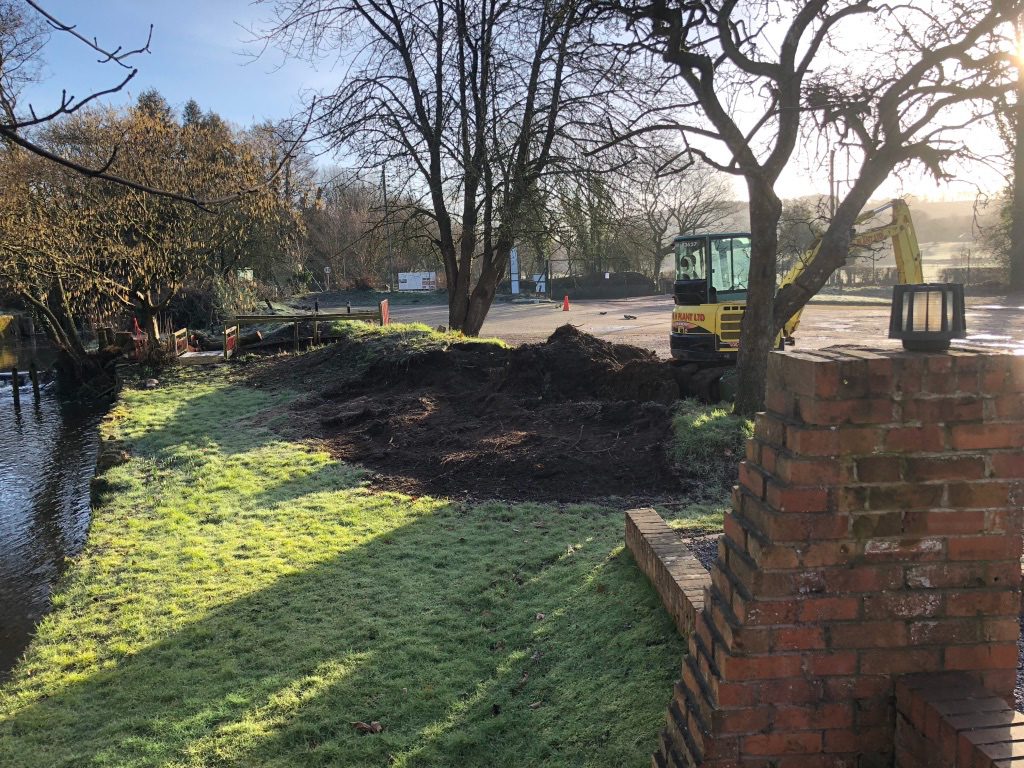
It is very rare that the construction will require no excavation.Before doing this, undertake the following three steps:
Safety
There is a reasonable chance that you will have underground cables – whether it is cable TV, electricity or gas. Hire a CAT scanner from your local hire shop to highlight where any cables or pipes are, then proceed with caution excavating around them.
Skip
Hire a skip on Day 1. This allows you get rubbish removed as it is produced, eliminating clutter and ensuring the build goes more smoothly.
Excavator.It is recommended that you hire an excavator to do this task on your behalf!
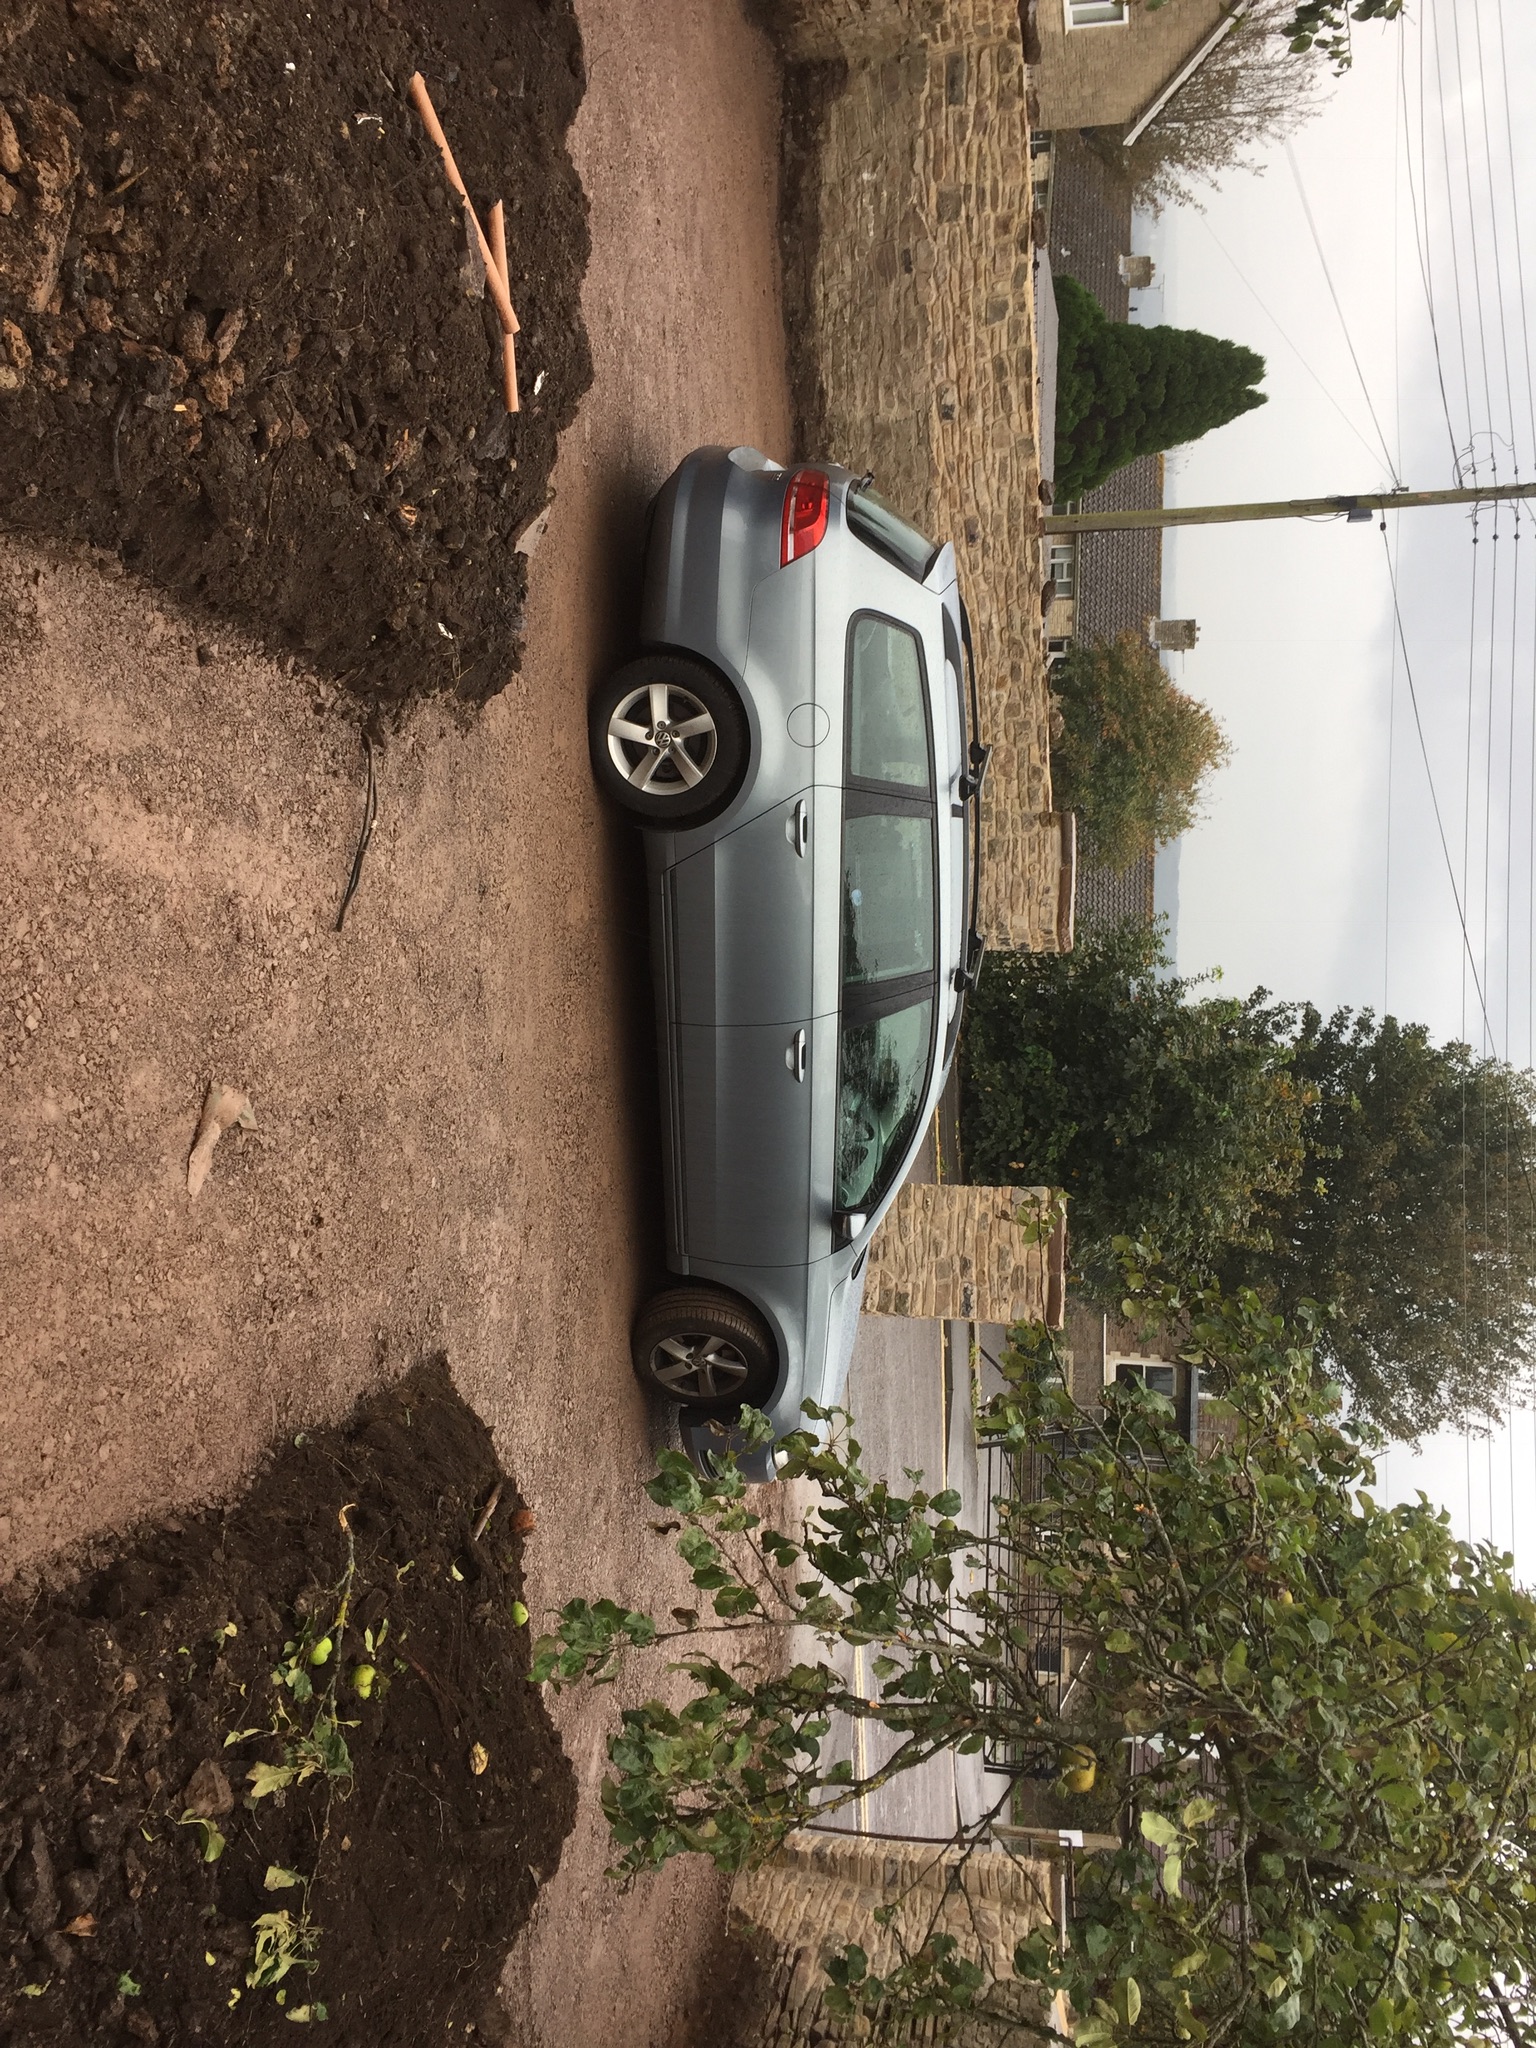
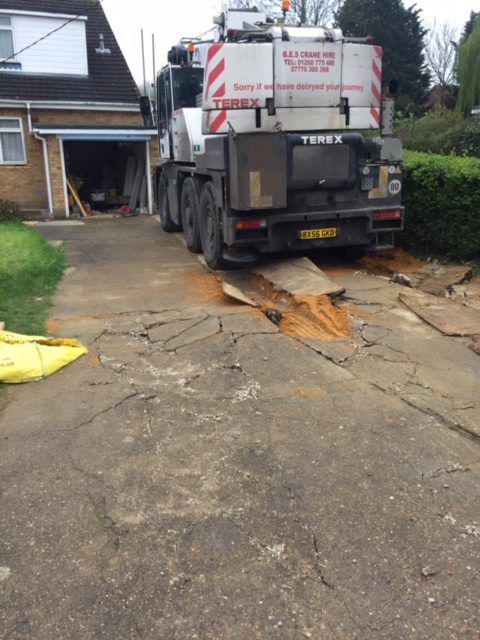
Step 1: Removing the existing base
The hardest part of the process involves digging.
If you are removing an old driveway – get materials excavated into the skip. If there is a good sub-base already prepared you can wacker it.
Excavate out to a minimum depth of 100mm – 150mm is recommended for a driveway.
At the very least the topsoil should be removed as its load bearing ability is poor and the heavy concentration of decomposed organic material makes topsoil prone to retaining rainwater.
Once the topsoil has been removed you should have exposed a layer of firm subsoil. The desired finished level will vary from site to site.
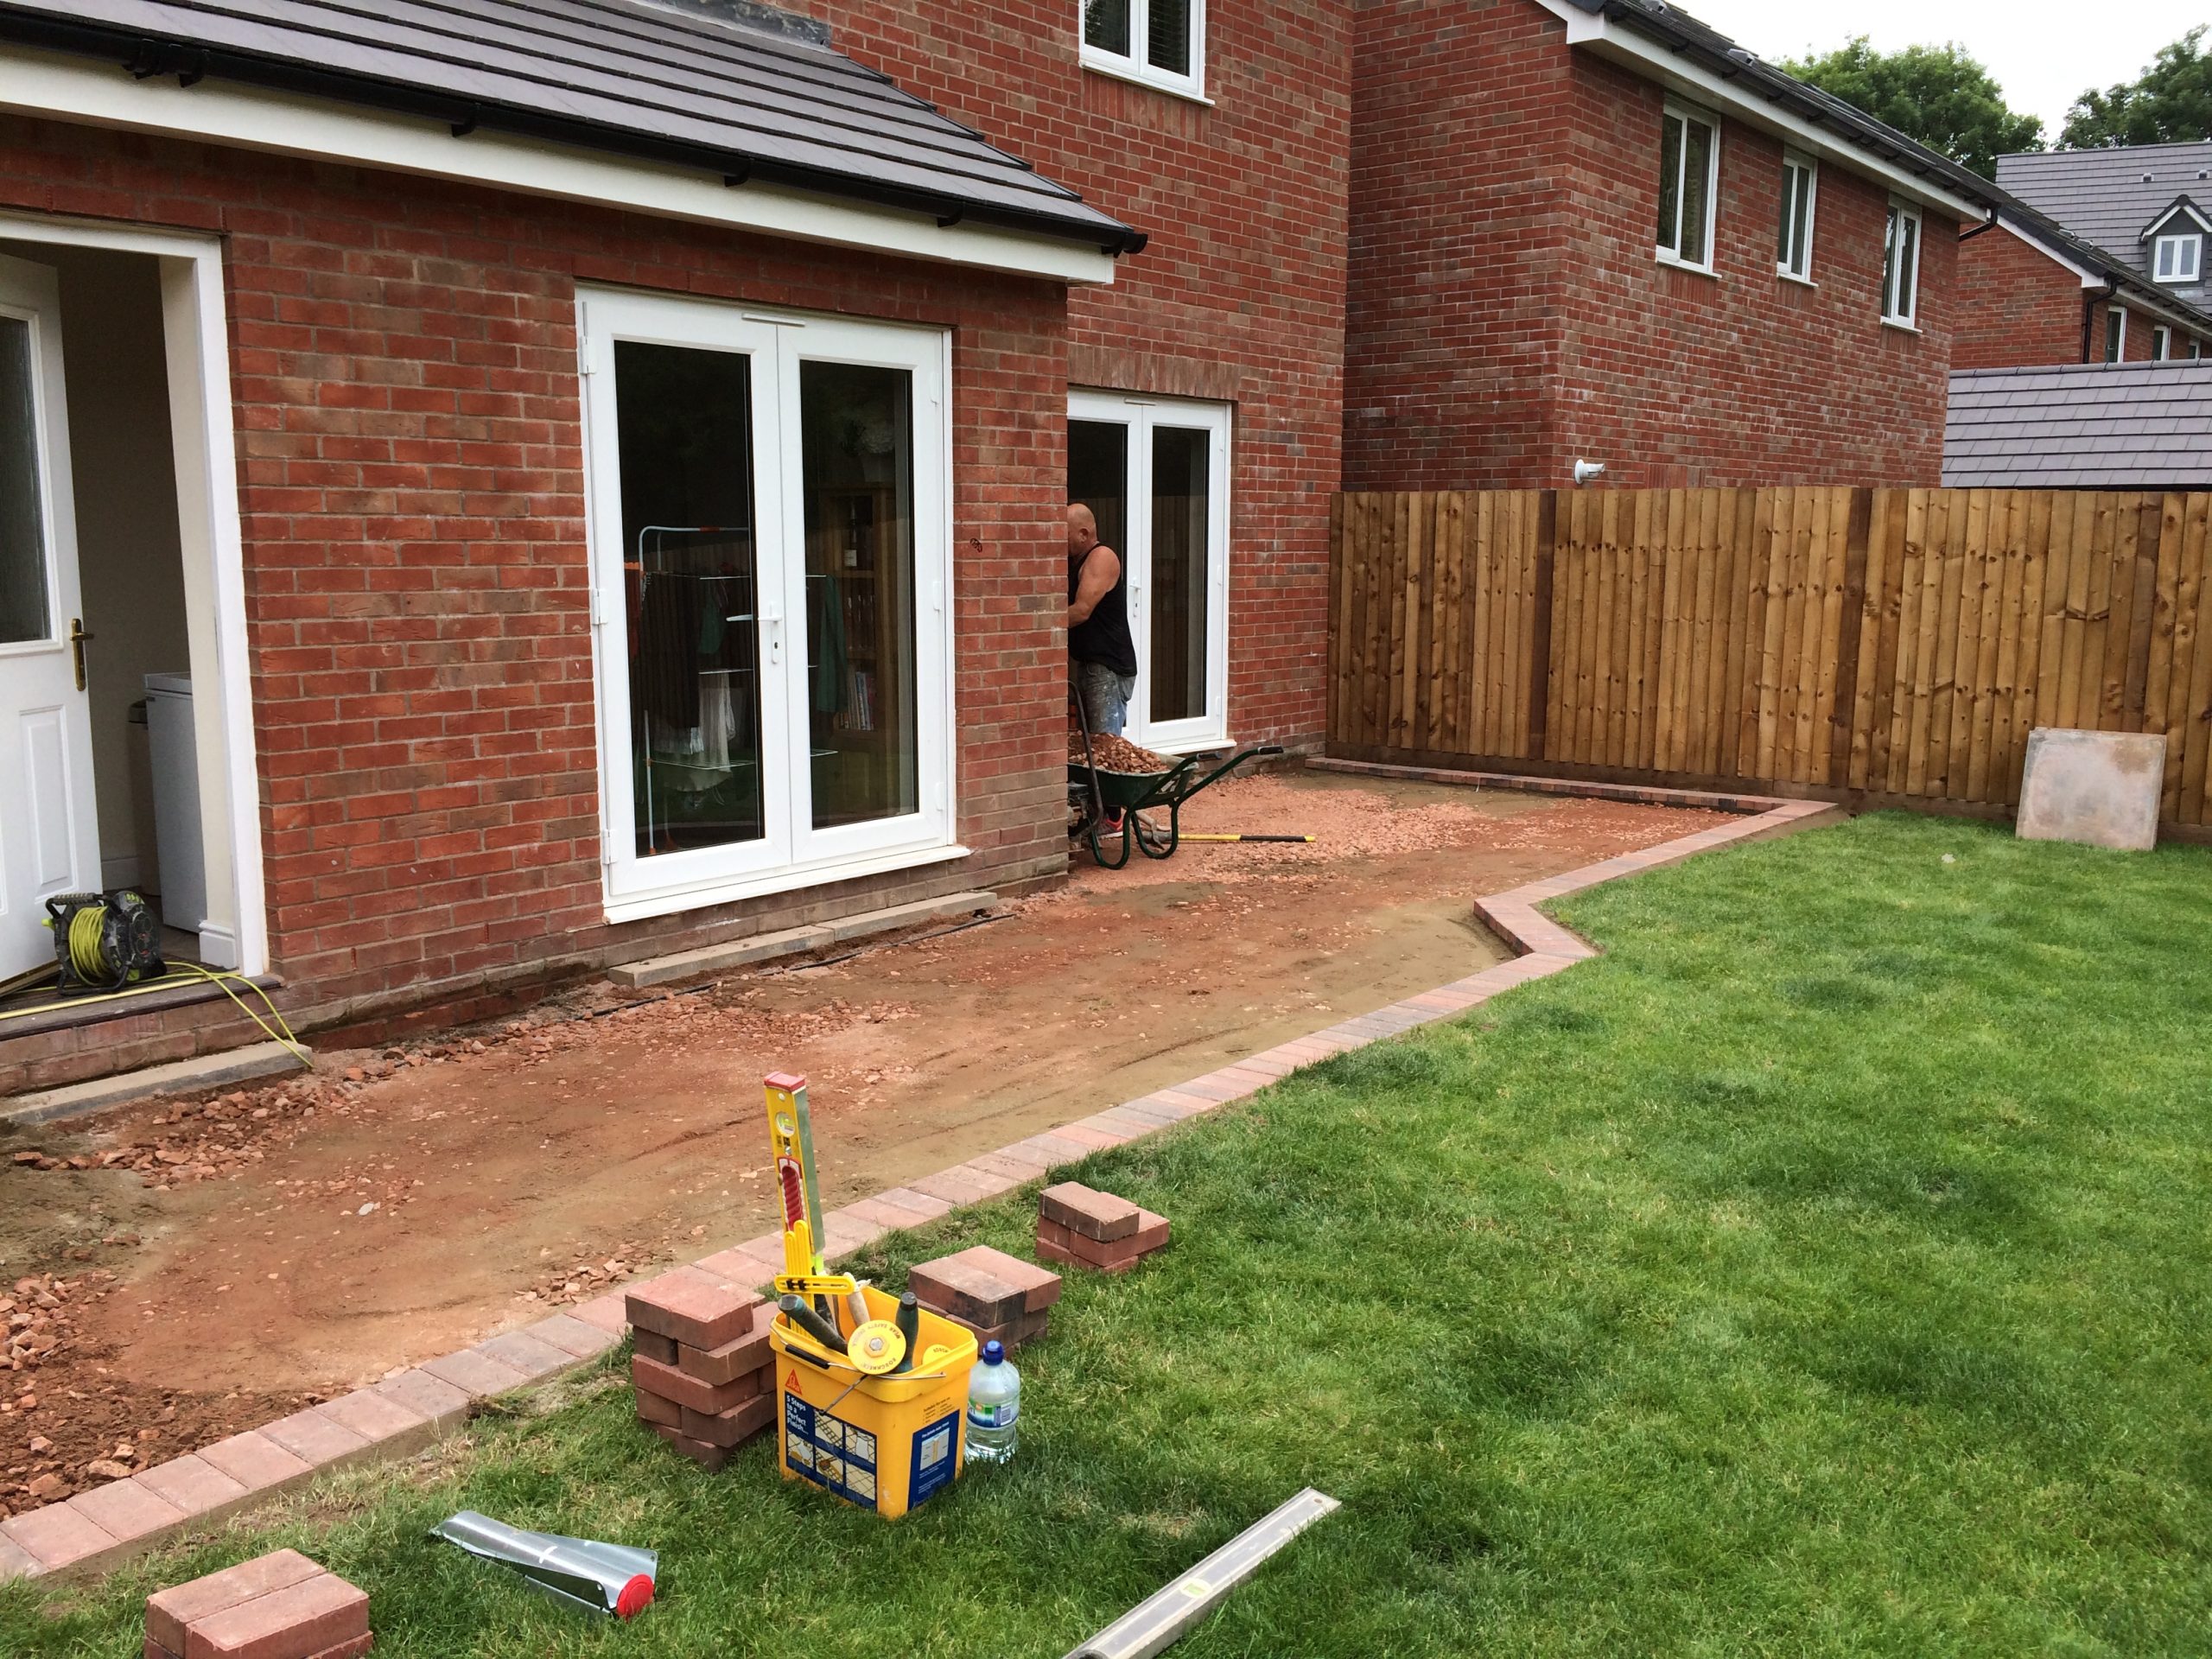
If you are edging your driveway using block paving (or similar), you need to make sure that this is all laid and dried before you install the MOT and gravel.
The edging area should also be excavated and a strong cement bed laid for the blocks to be placed.
Step 2: How to install the sub-base
Gravel should consist of three parts: the sub-base, weed membrane and gravel.
The sub-base provides the load bearing ability of the driveway by helping to spread the weight of traffic from above whilst also creating s solid layer that is resistant to rutting and channelisation.
The depth of the sub-base will depend on the size of the vehicles using the drive.
The most common sub-base material is DT Type 1 (MOT) which consists of crushed rock graded from 40mm down to dust.
The range of sizes ensure the material interlocks when compacted whilst still remaining permeable to water.
Increasingly a product known as DT Type 3 is being used – this is similar to Type 1 but contains a low fines content and is more permeable to water. The use of Type 3 complies with Sustainable Urban Drainage Scheme (SUDS) protocol which is increasingly becoming the norm in the UK to counter the risk of flooding.
All sub-bases should be installed in thin layers and compacted with a vibrating roller or whacker plate to ensure full compaction throughout the sub-base layer.
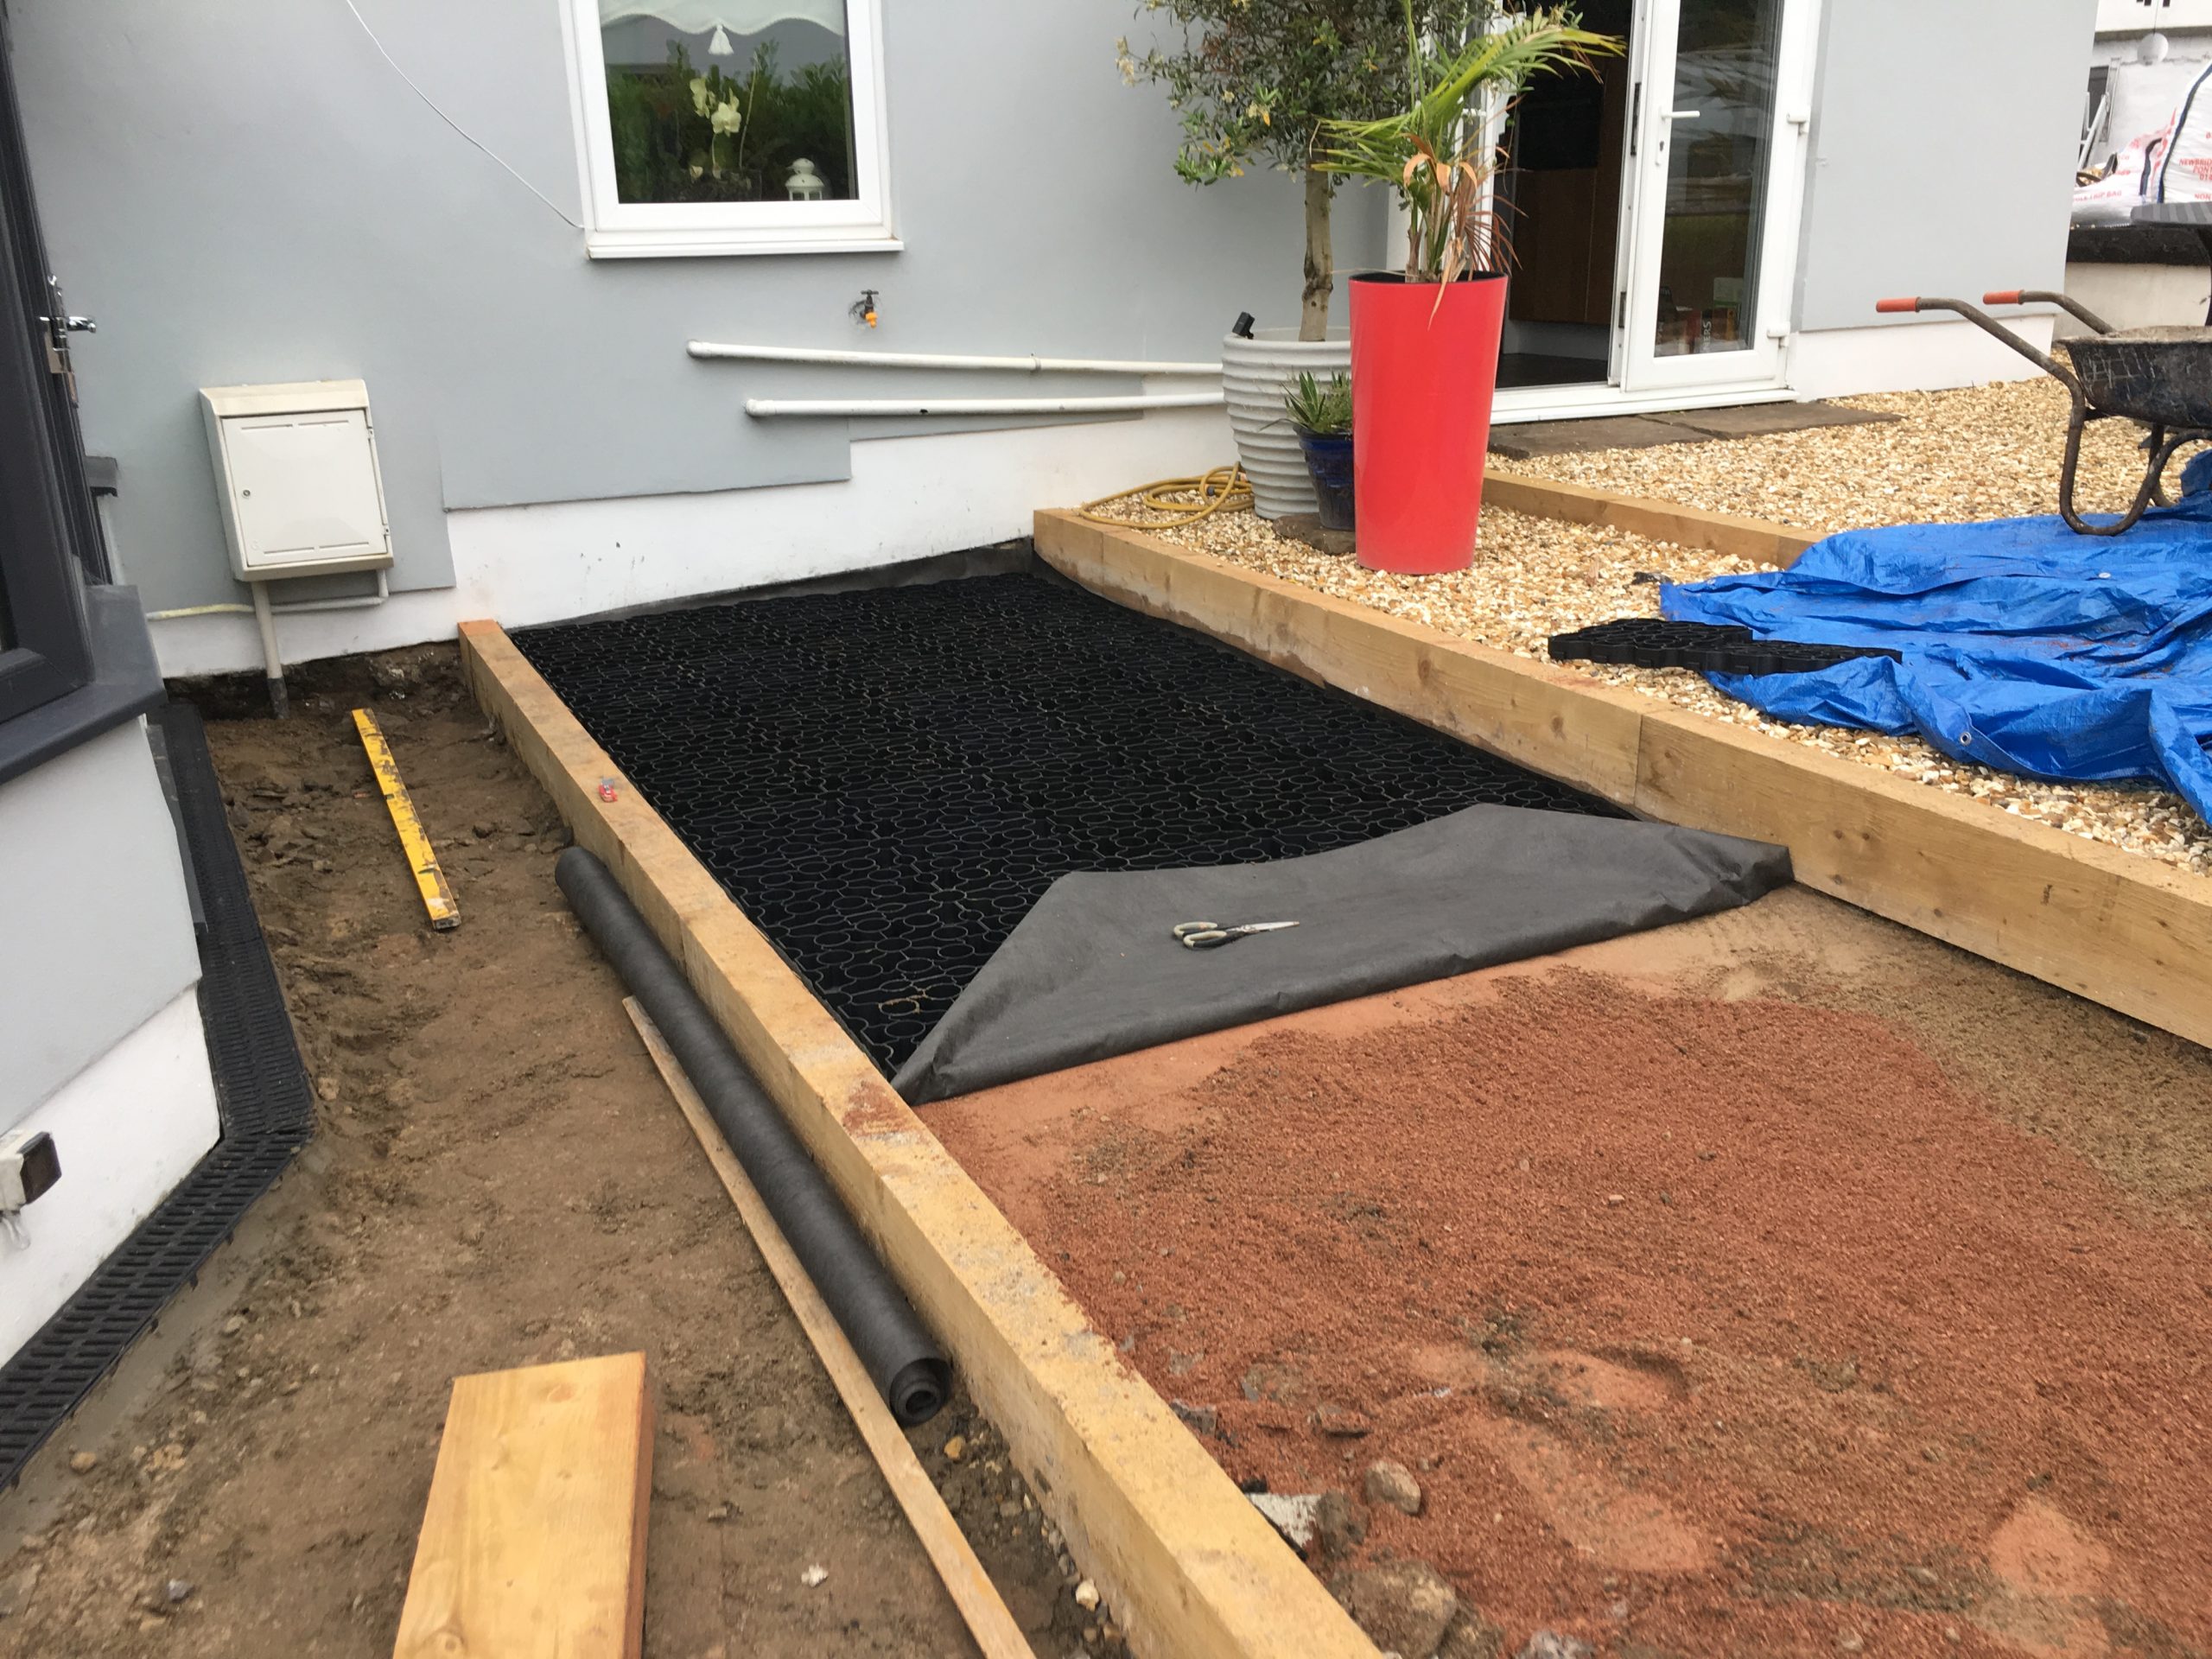
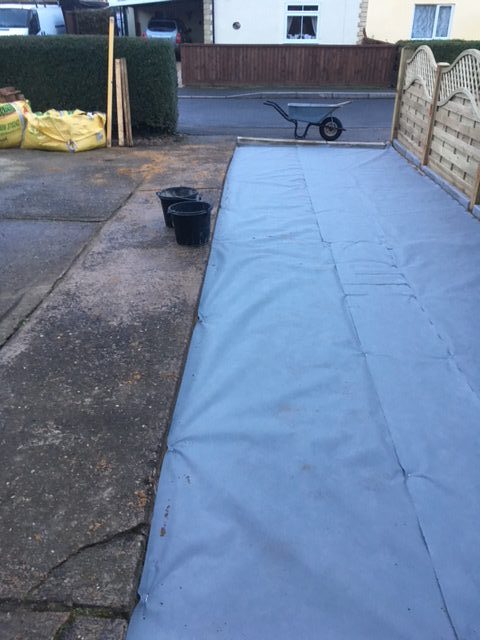
Step 3: How to lay the weed membrane
The weed membrane should be laid directly under the gravel on top of the sub-base.
Roll the weed barrier out ensuring it covers the entirety of the sub-base or soil. Then peg this into position.
It is recommended for gravel driveways that a heavy duty weed membrane – such as a polypropeylene one – is used. This is harder wearing and more suitable for use on a drive.
This step will stop weeds but also ensure your driveway stays cleaner for longer.
These landscape membranes are available to suit any sized driveway – from 1m x 12m to 500m².
This can be done quickly – although you might have to trim when you get to the edges.
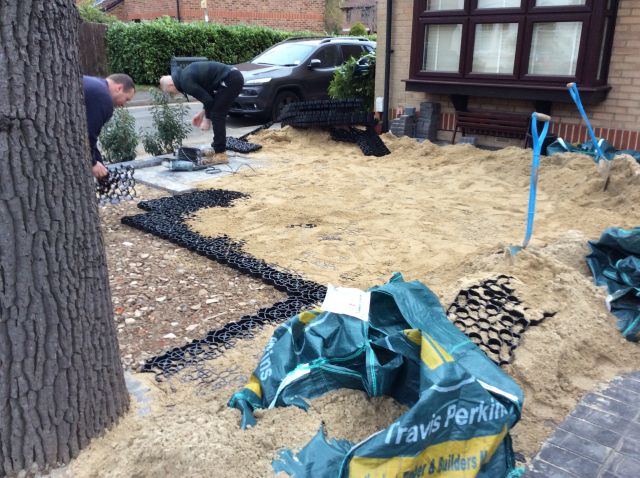
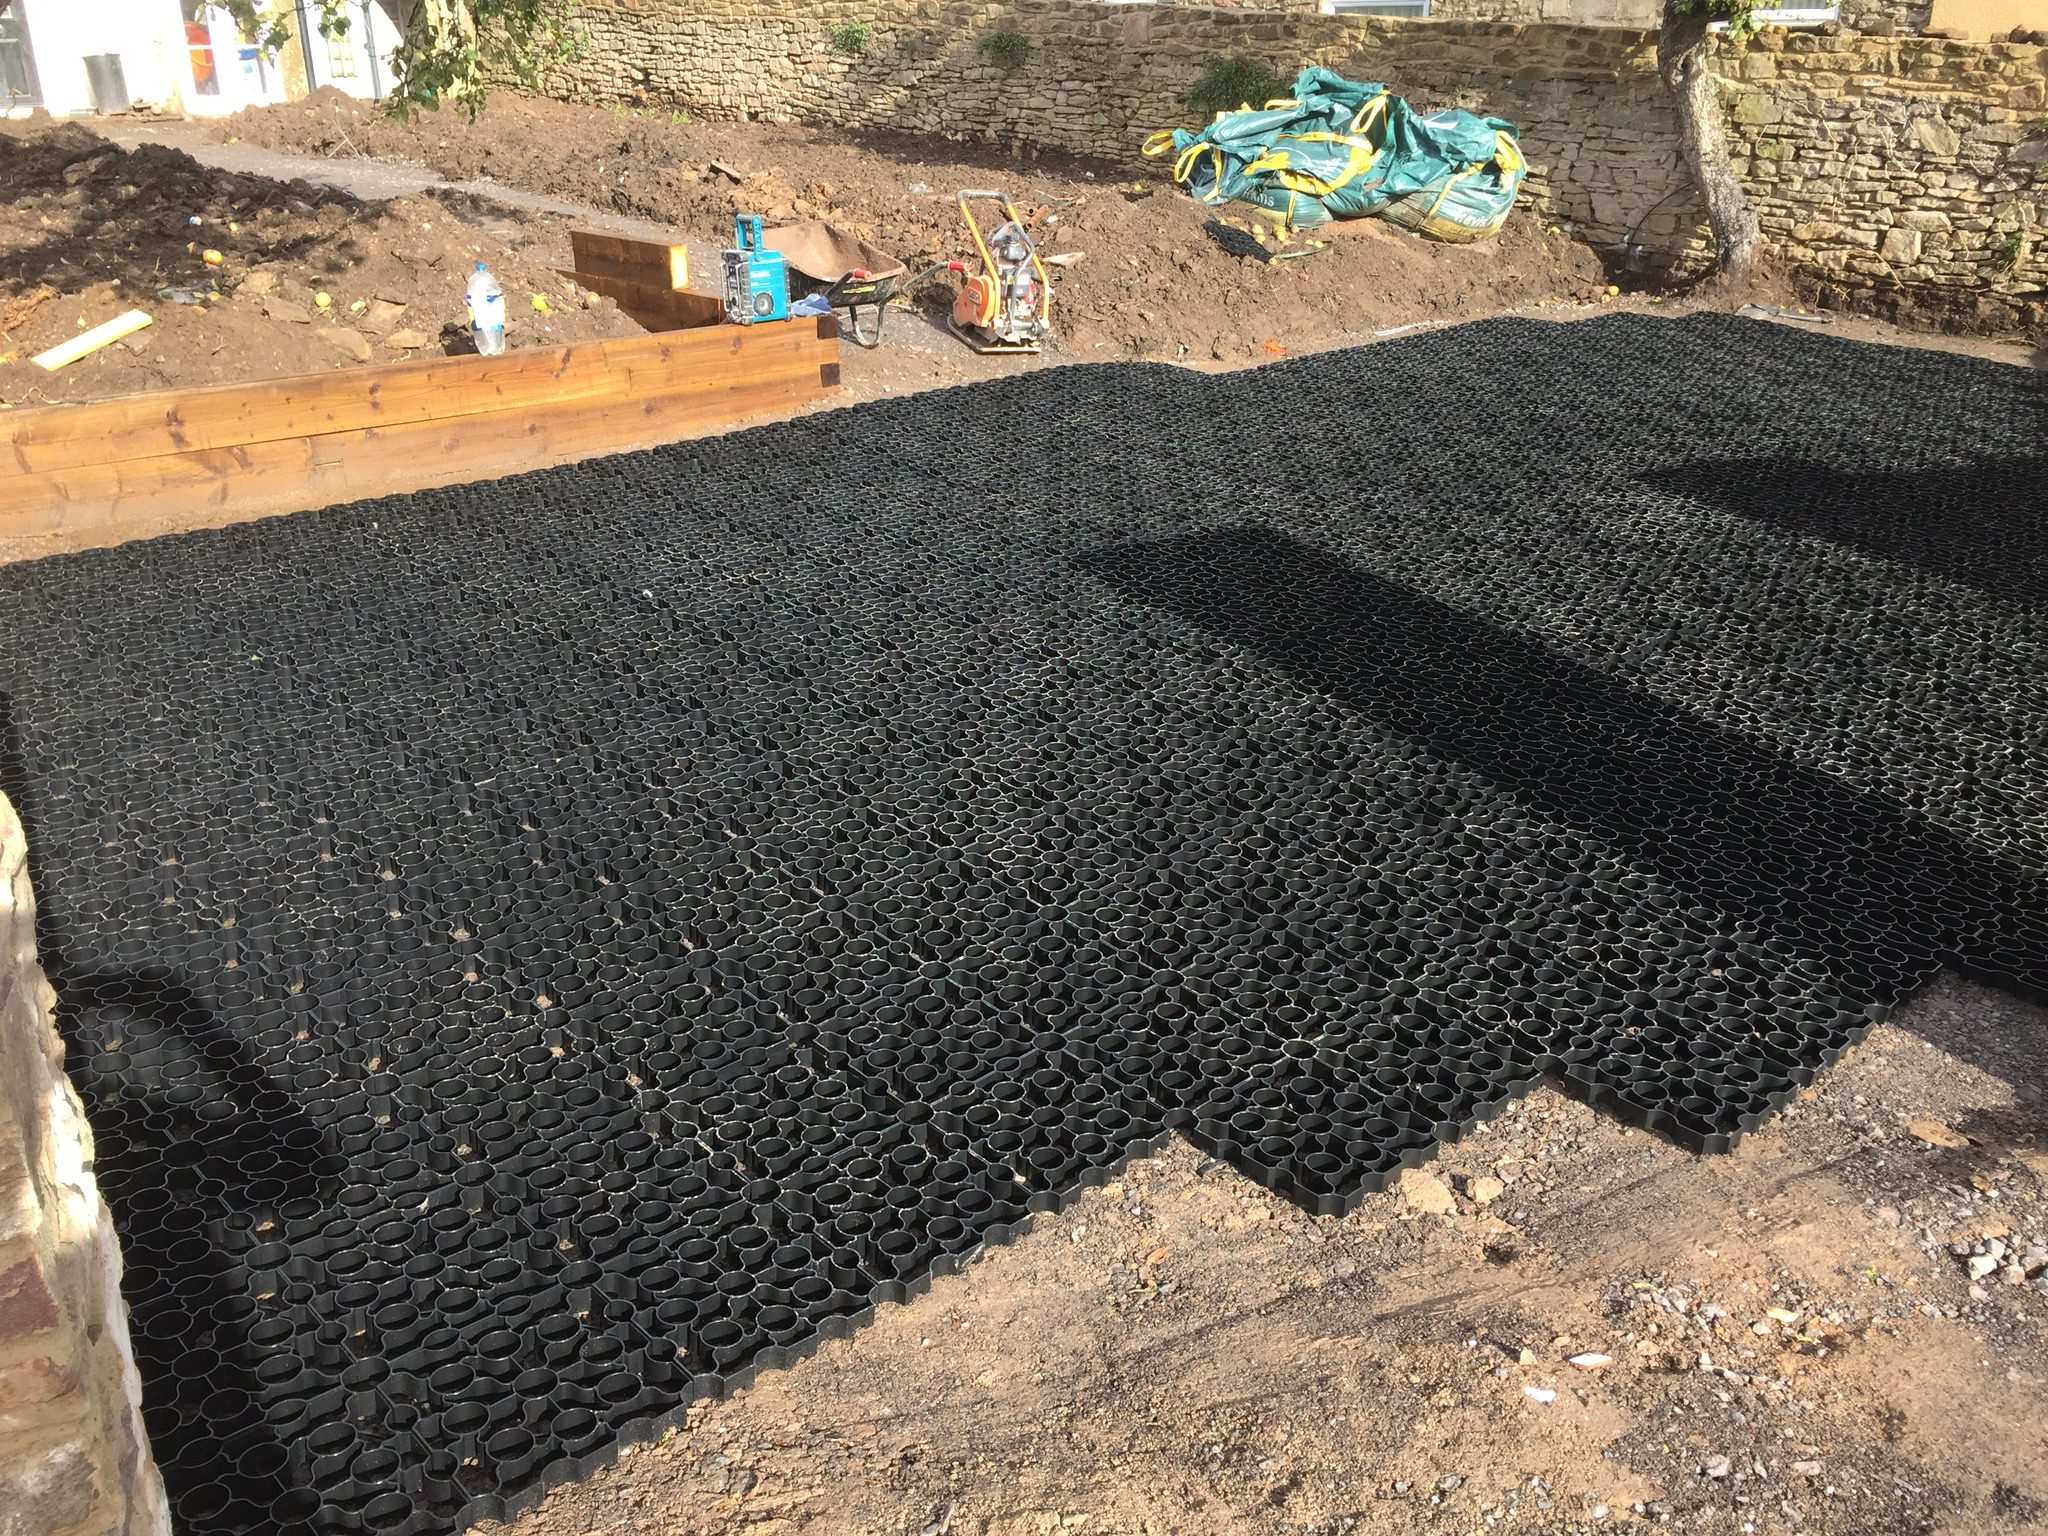
Graving paving grids provide a stable base for your gravel and reduce the risk of slipping. They are simple and easy to use.
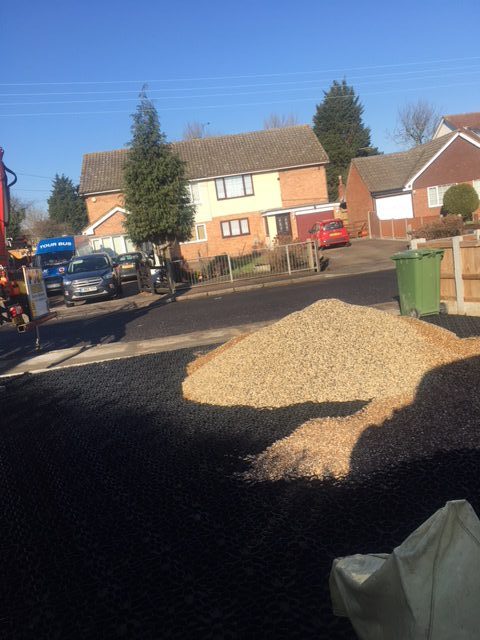
Step 5: Laying the gravel
Gravel provides a decorative finish – though many DIYers make the mistake of laying the gravel too deep. Laying the gravel too deep costs more and takes longer to install without any benefit to the performance.
It is recommended that a maximum depth of 50mm be applied – as this provides great coverage to the sub-base whilst also being shallow enough to prevent rutting.
The size of the gravel should be around 20mm in size. If smaller sizes are used they can get stuck in car tyres. Any larger and they can be difficult to walk on.
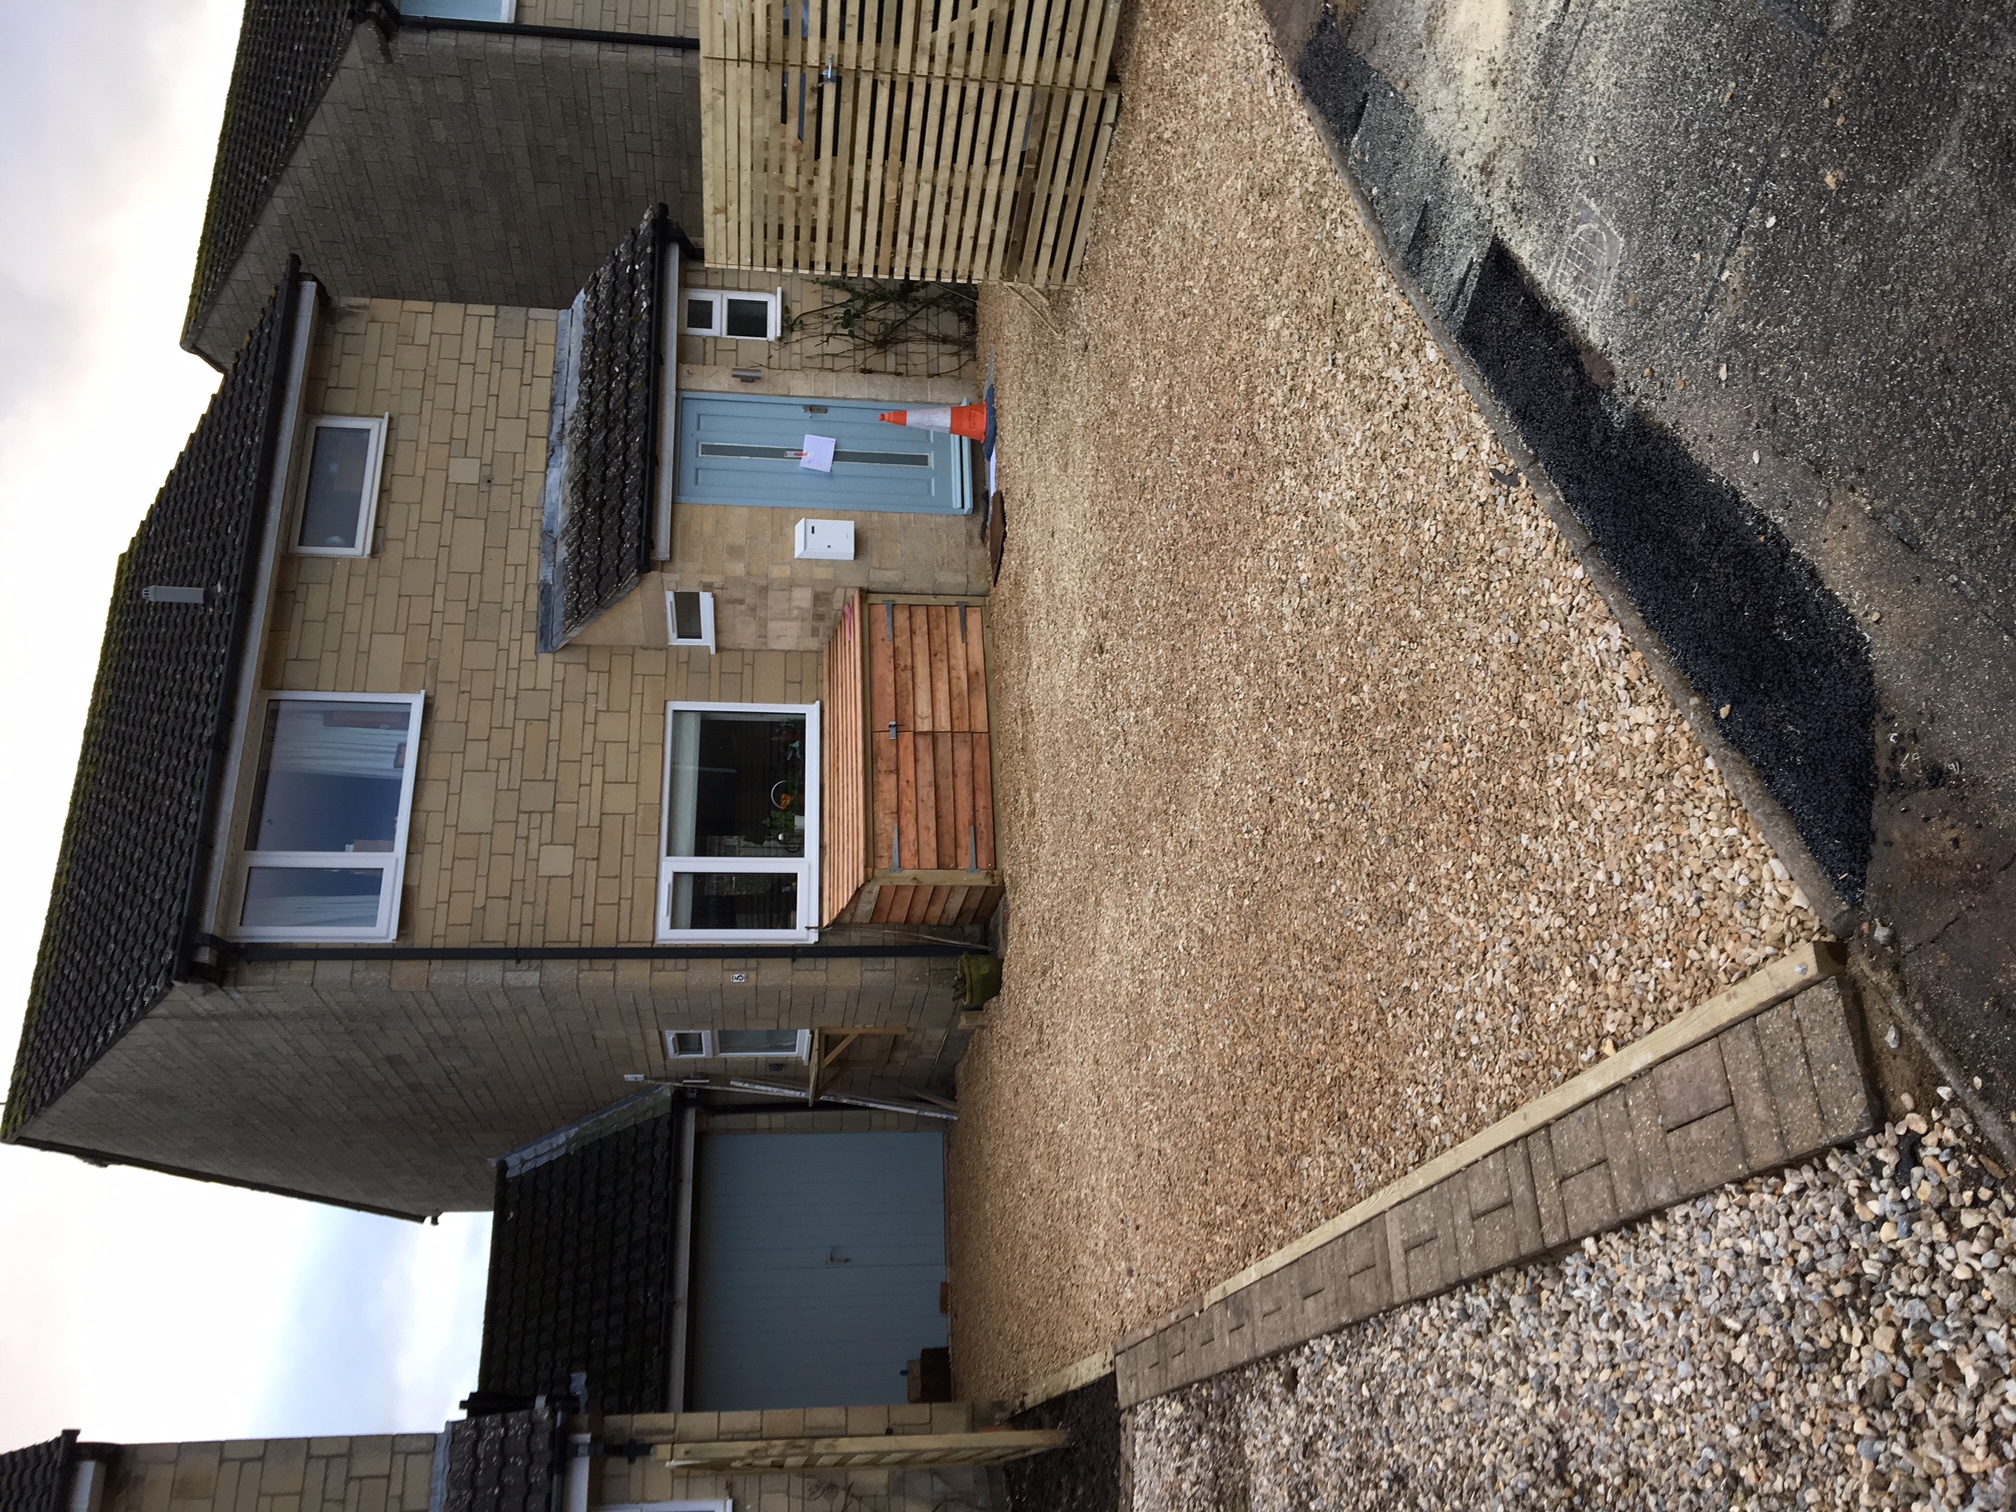
Spread your gravel over the entire area ensuring an even coverage. Then use a rake or spade to help level out the stone.
To make finishing touches, apply the hose. The gravel may have arrived dusty and this is both better for the environment and more economical. This displays the true colours of your new gravel and finishes the driveway.
Advantages of gravel driveways
Advantages include:
1. Budget: It is easy to budget for gravel especially if you are covering a large area. The only things to budget for are an initial cost and new top-layer potentially every few years.
2. Maintenance: The only maintenance is the removal of weeds – and this only applies if you’ve not installed a weed protection membrane. This does not need any specialist equipment.
3. Style: Gravel is natural and therefore suitable for many different styles of homes. Other alternatives can look out of place.
4. Permeable: A gravel drive, when installed properly, maintains access to natural drainage routes. This means that groundwater is replenished and the risk of flooding is significantly reduced.
Gravel paving grids also assist as their cellular structure is intended to hold gravel tightly and also allows natural water to flow.
Find out more
For more information and to speak to a member of our team call us on 01246 418144 or contact us here.