As a plaster industry specialist, we are determined to make life easy for plasterers.
Following on from our comprehensive guide to machinery for plastering, this blog post will advise on the tools and techniques to aid the plastering process.
This blog post is the top 20 tips for DIY plasterers and plastering professionals.
Plasterers of all skill level can find these top 20 tips useful.
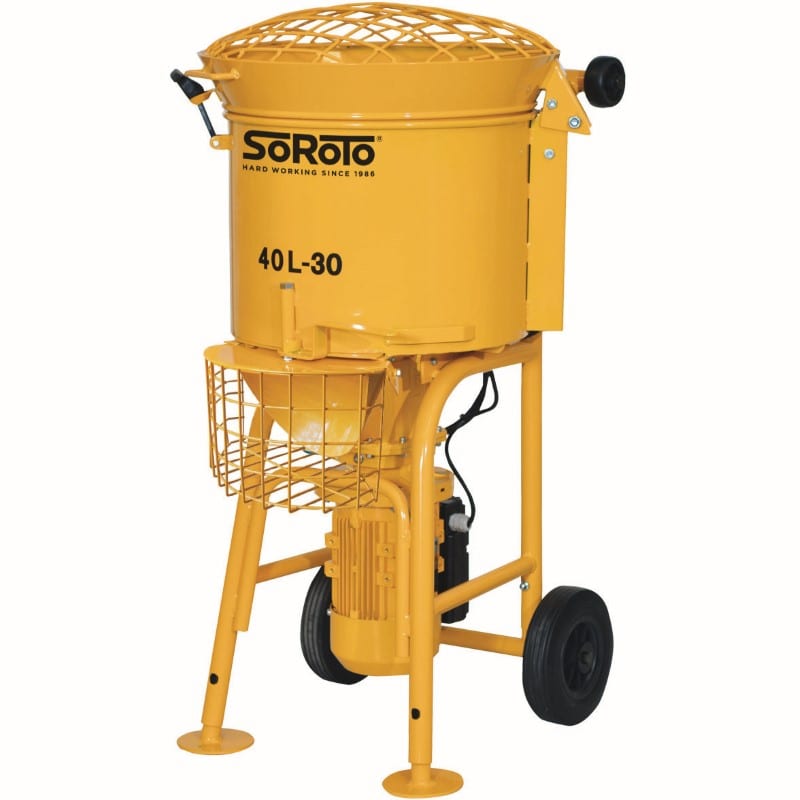
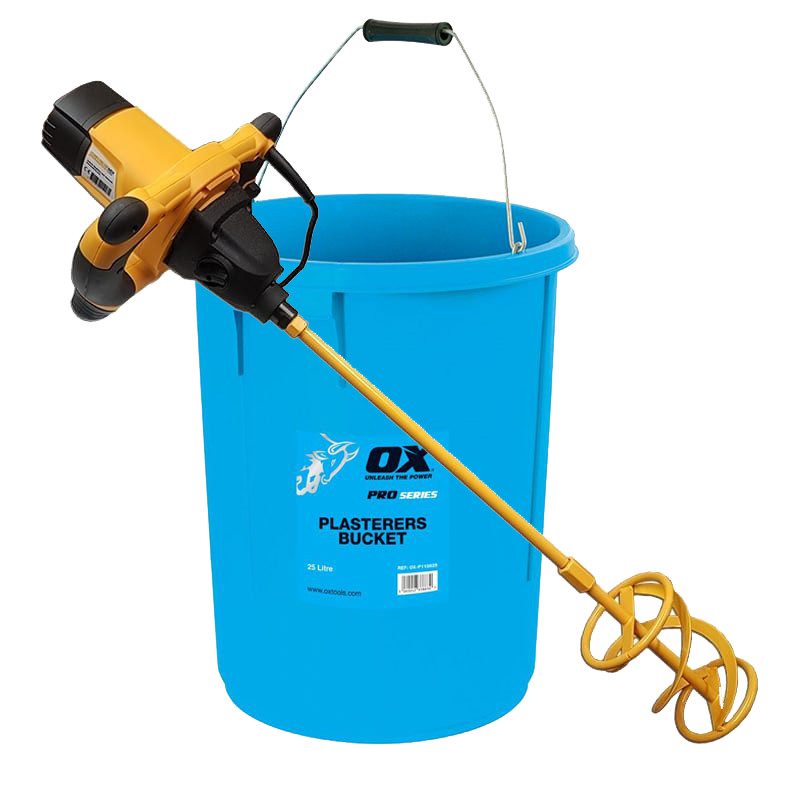
The SoRoTo 40L Forced Action Mixer is a super portable mixer that can be taken where it is needed. Weighing just 64kg it is easy for one person to move. It can mix plaster in a matter of minutes without the need for human effort, saving labour time and energy.
Assembling the correct equipment and know-how in advance means that the job is seamless, providing better finished results.
Here are 20 tips:
The SoRoTo 40L Forced Action Mixer can make plastering jobs faster and less labour intensive.
Top tips for plasterers
Tip 1: Use clean equipment
The first tip is to clean the equipment as you go along. Although this may sound over the top it is vital to have clean buckets, tools and equipment to ensure that the plaster does not go off and it gives a better finish that lasts. It is also recommended as dry plaster is a nightmare to remove from tools and can cause drags in the plaster finish on the next job.
The use of clean equipment means that plaster has a long life expectancy.
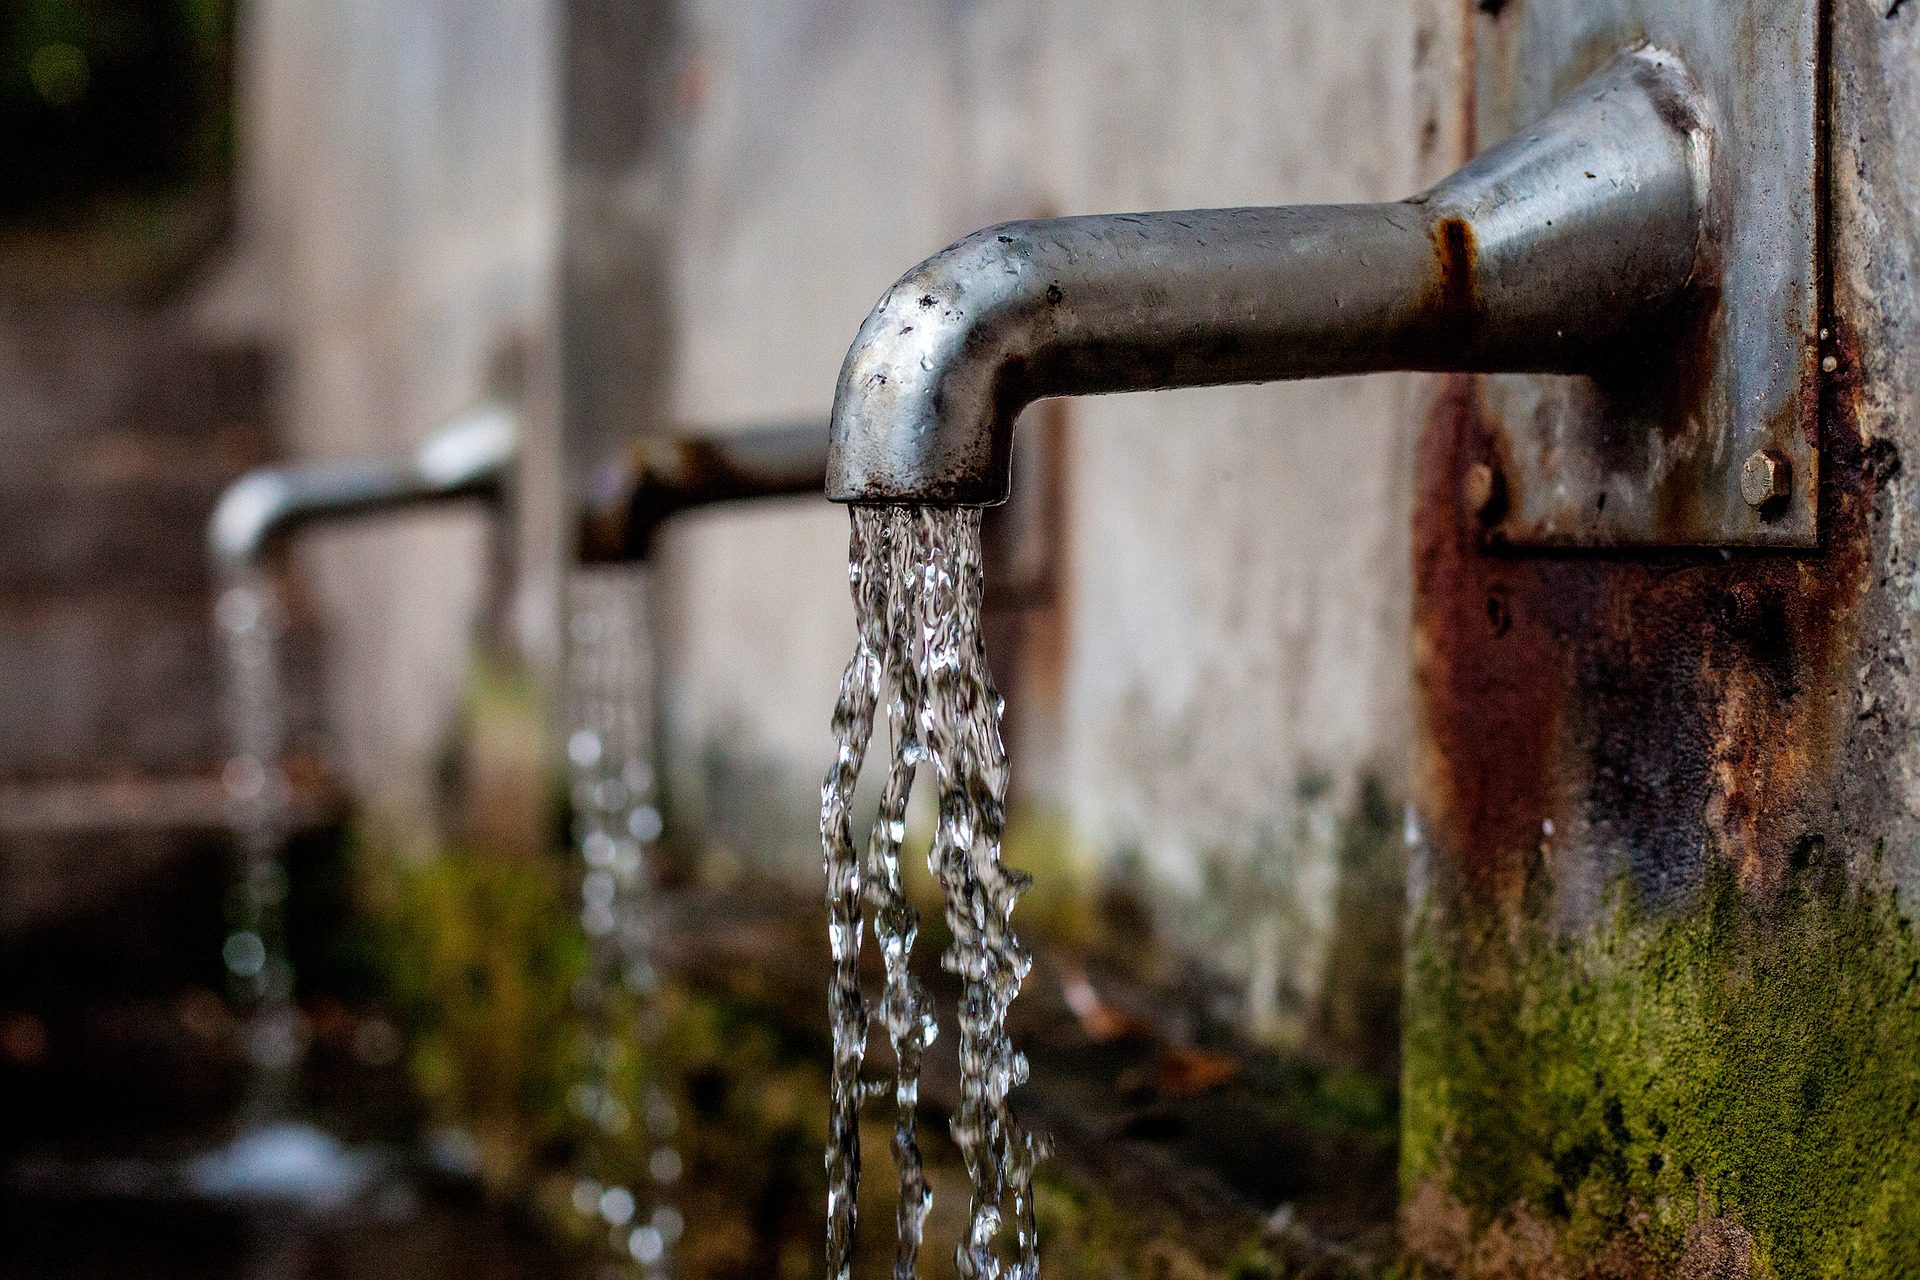
Tip 2: Clean water is recommended
It is recommended that clean water is used in order to avoid contamination which may cause it to go off or set too quickly.
Clean water is recommended as it prevents contamination.
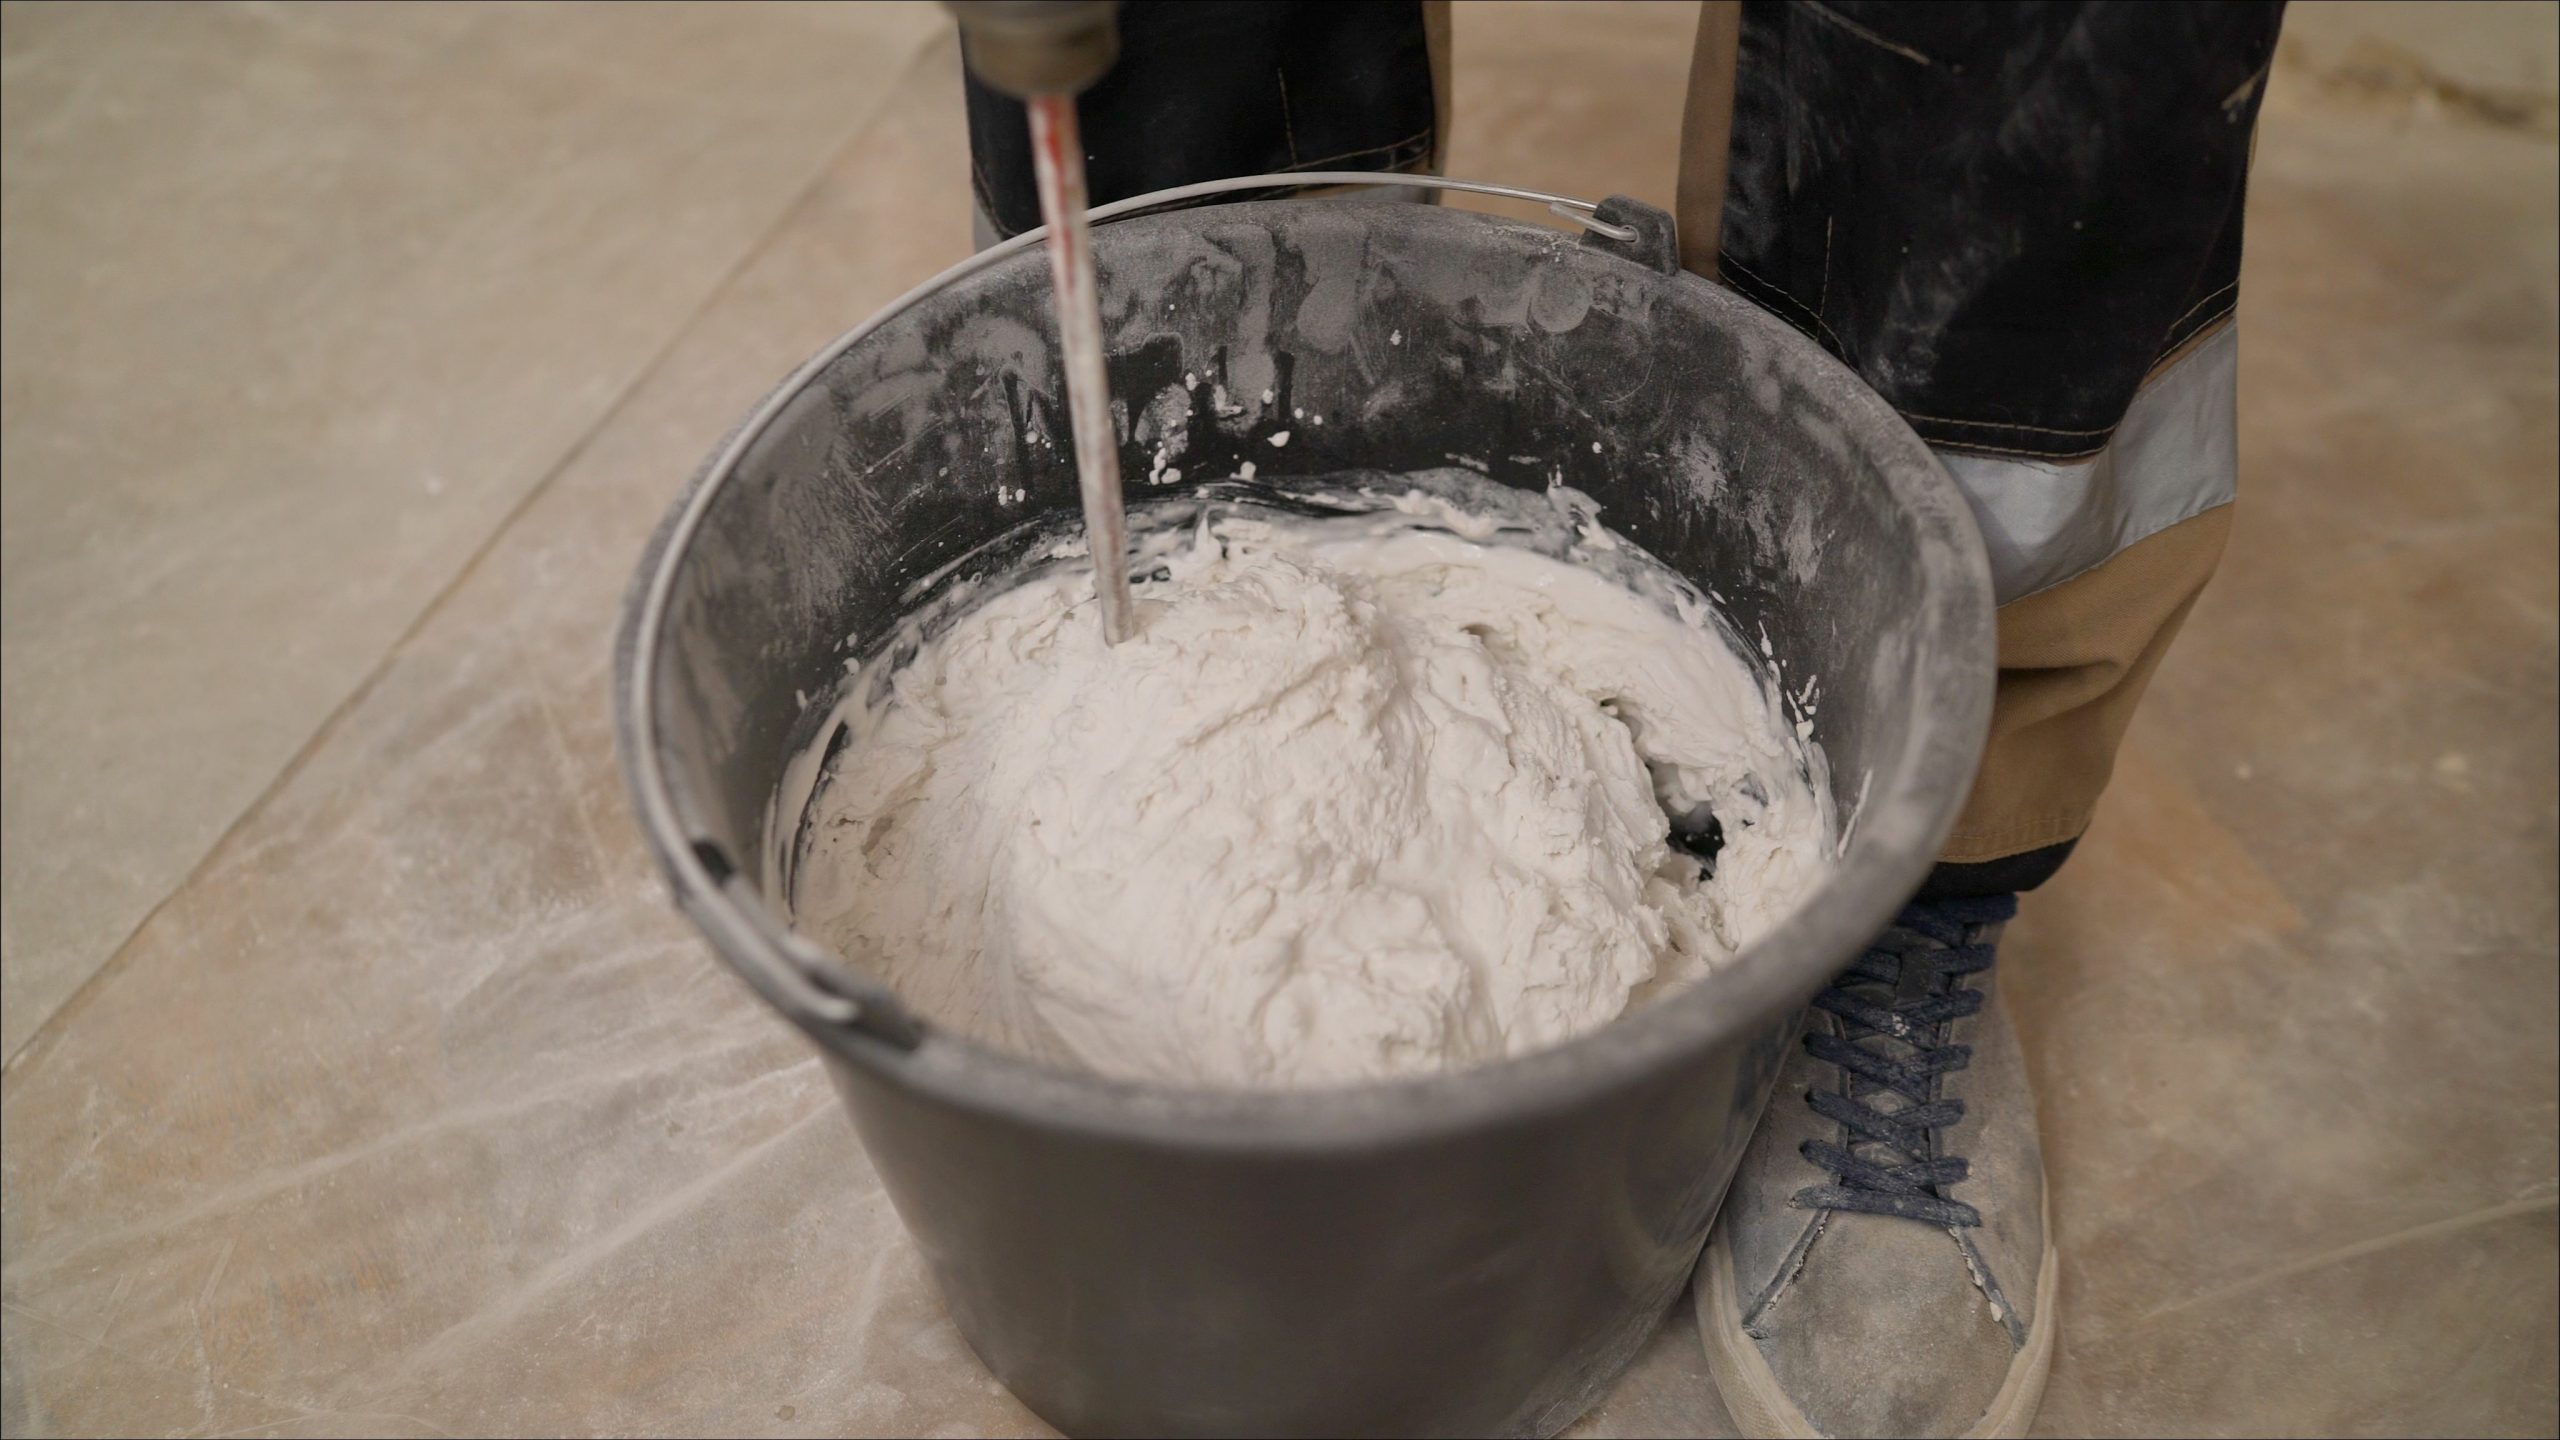
Tip 3: Mixing the plaster and the water
If mixing using a paddle mixer, whisk and bucket then it should be undertaken by adding plaster to the water and not the other way around.
Plaster is mixed with water to form a lump-free consistent mix. This can be achieved using a paddle mixer and bucket or a forced action mixer.
Tip 4: Making a lump free mixture
The mix should be created by adding just enough plaster first to make a heap on top of the water and mix it using the paddle mixer so that it is lump-free. Once complete add the plaster in order to get the correct consistency either with a wooden stick or mixer drill.
Using a paddle mixer, it should be mixed to the correct consistency so that it is smooth and lump-free.
Tip 5: Creating the right quality mix
The plaster and water mix together as roughly a 50:50 mix. In other words, half a bucket of water should make a full bucket of plaster. The plaster should be the consistency of melted ice cream – try standing a stick in the plaster bucket – if it can stand up, the plaster is mixed perfectly.
A half-and-half mix is recommended, and stirred until consistency is the same as melted ice cream.
Tip 6: When to apply the plaster
The plaster must be applied when it feels tacky, but also not too wet as this helps to bond the surface to the wall.
The timing for applying the plaster can be crucial to a good job.
Tip 7: Room temperature
It is vital that the room is kept cool whilst plastering takes place. Radiators should be turned off or the plaster will dry out too quickly. This can make it difficult to apply and crack.
Ensure that the room is cool so that the plaster does not dry too quickly.
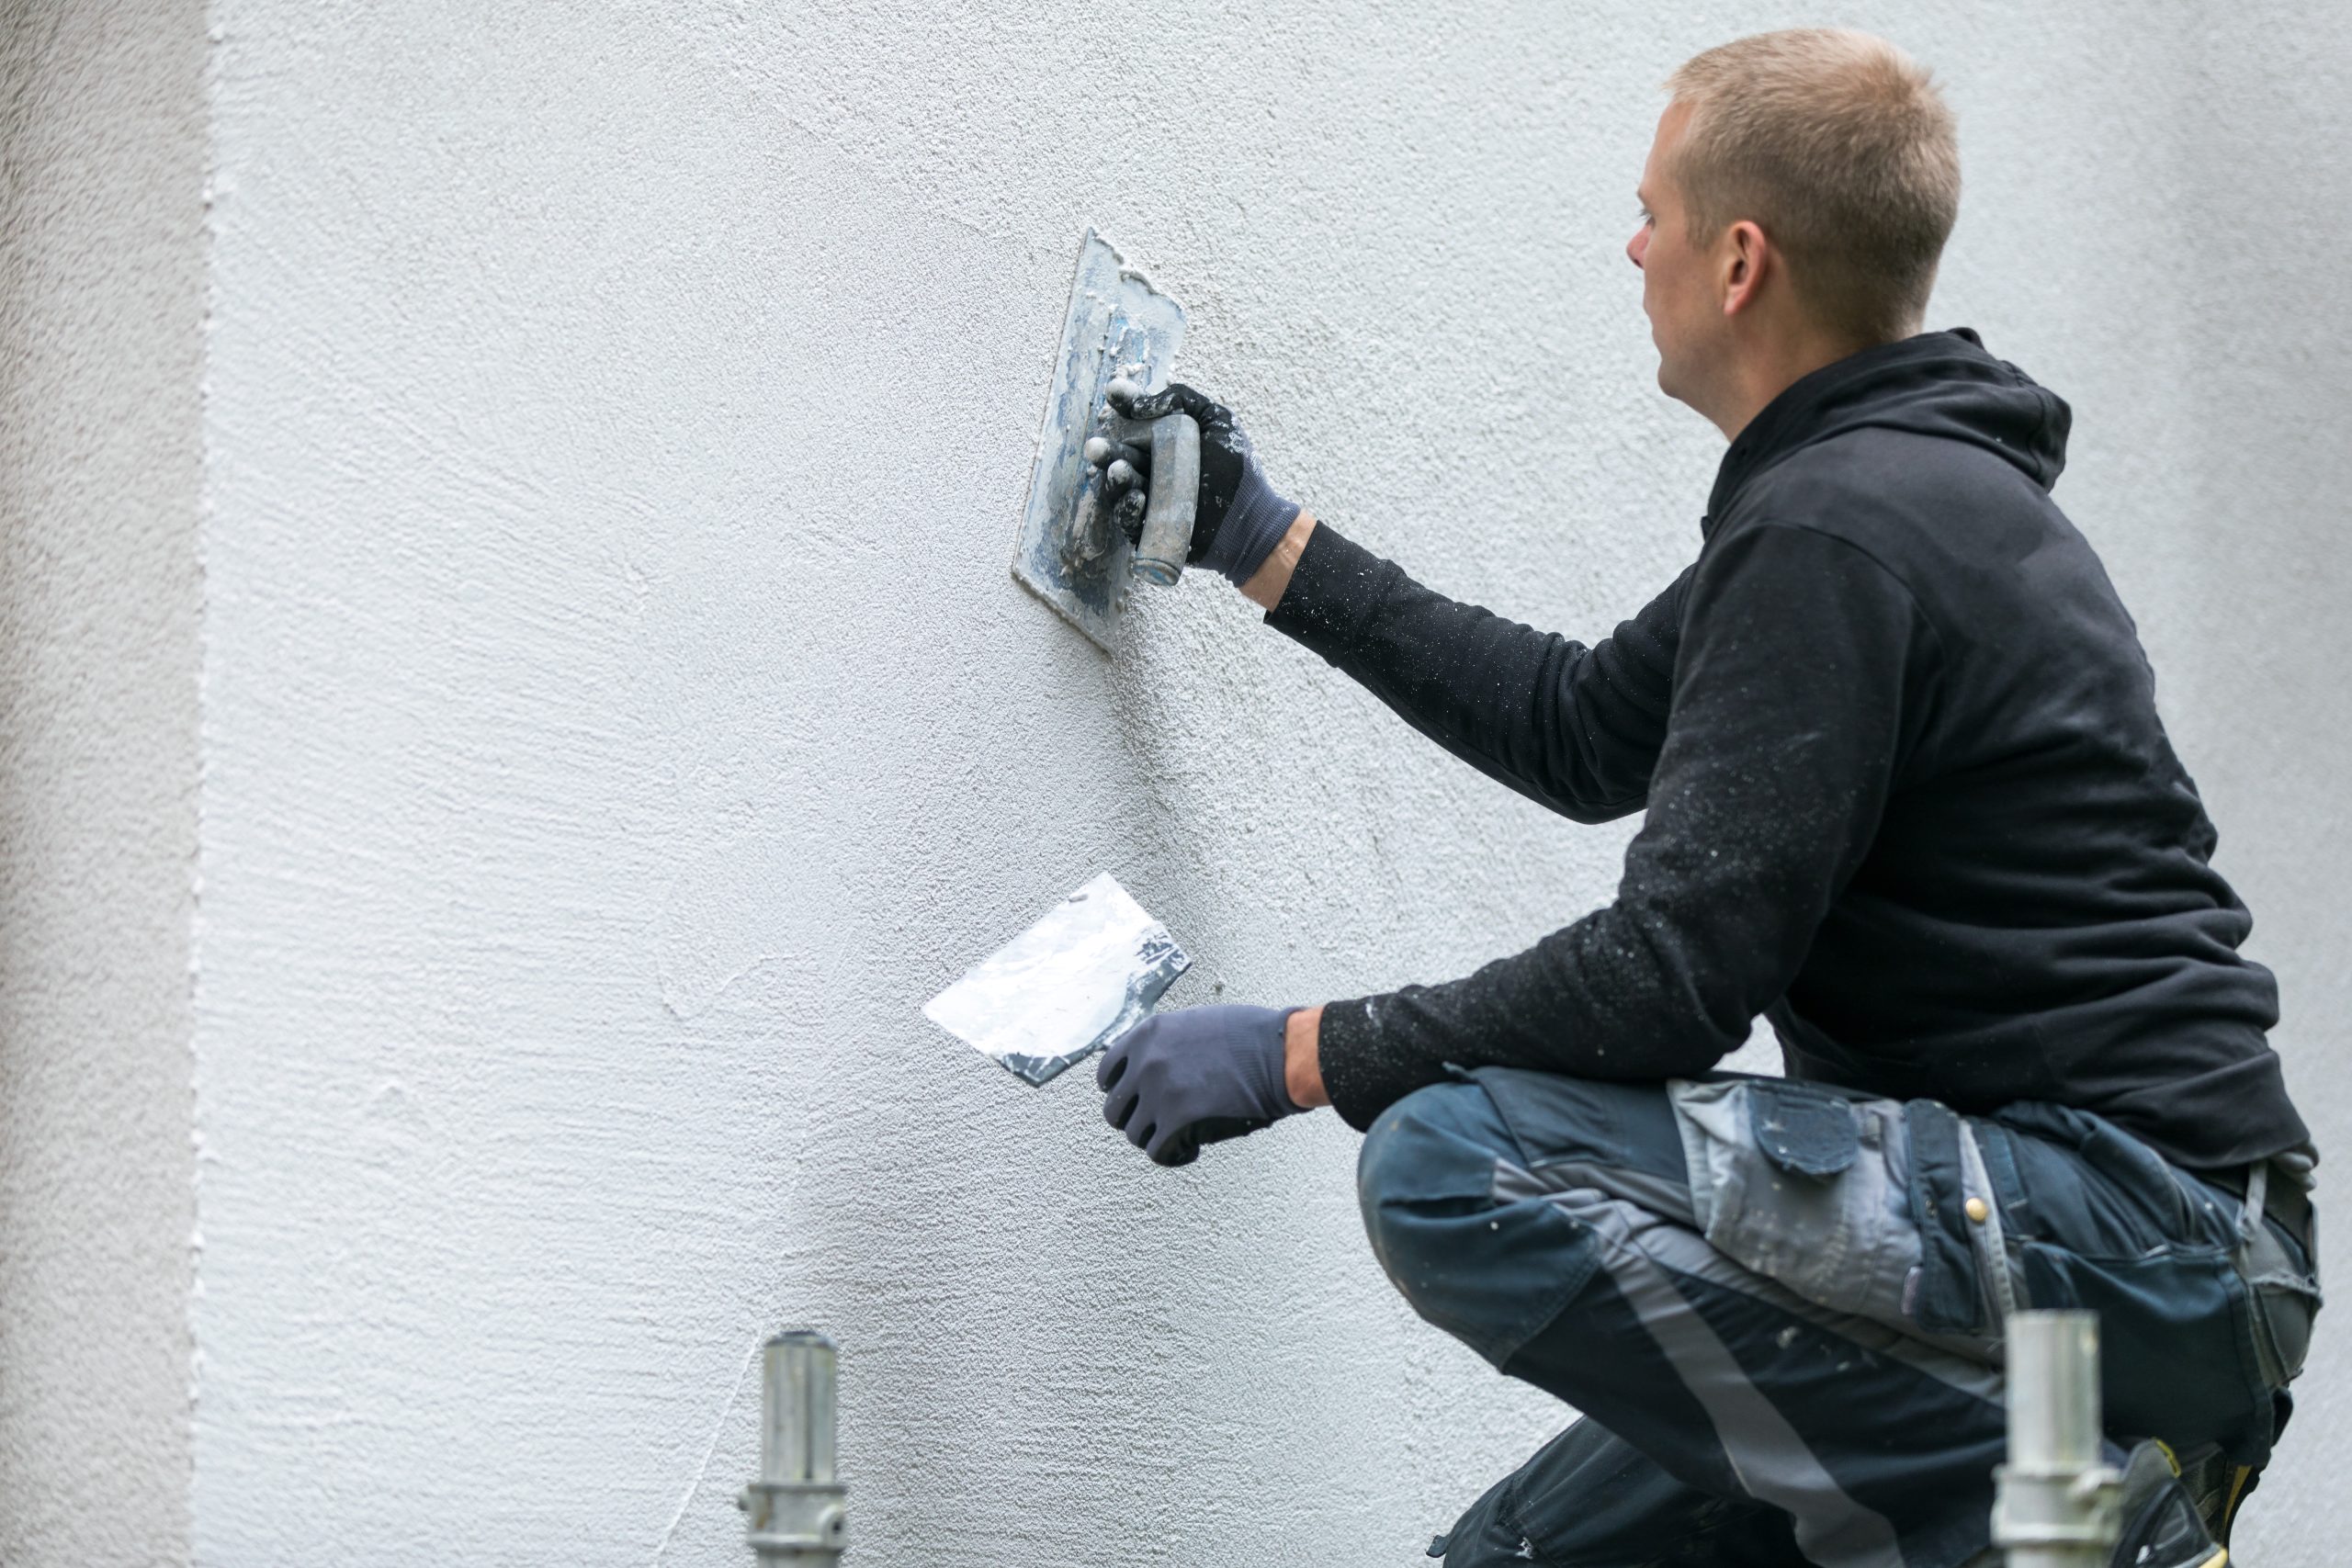
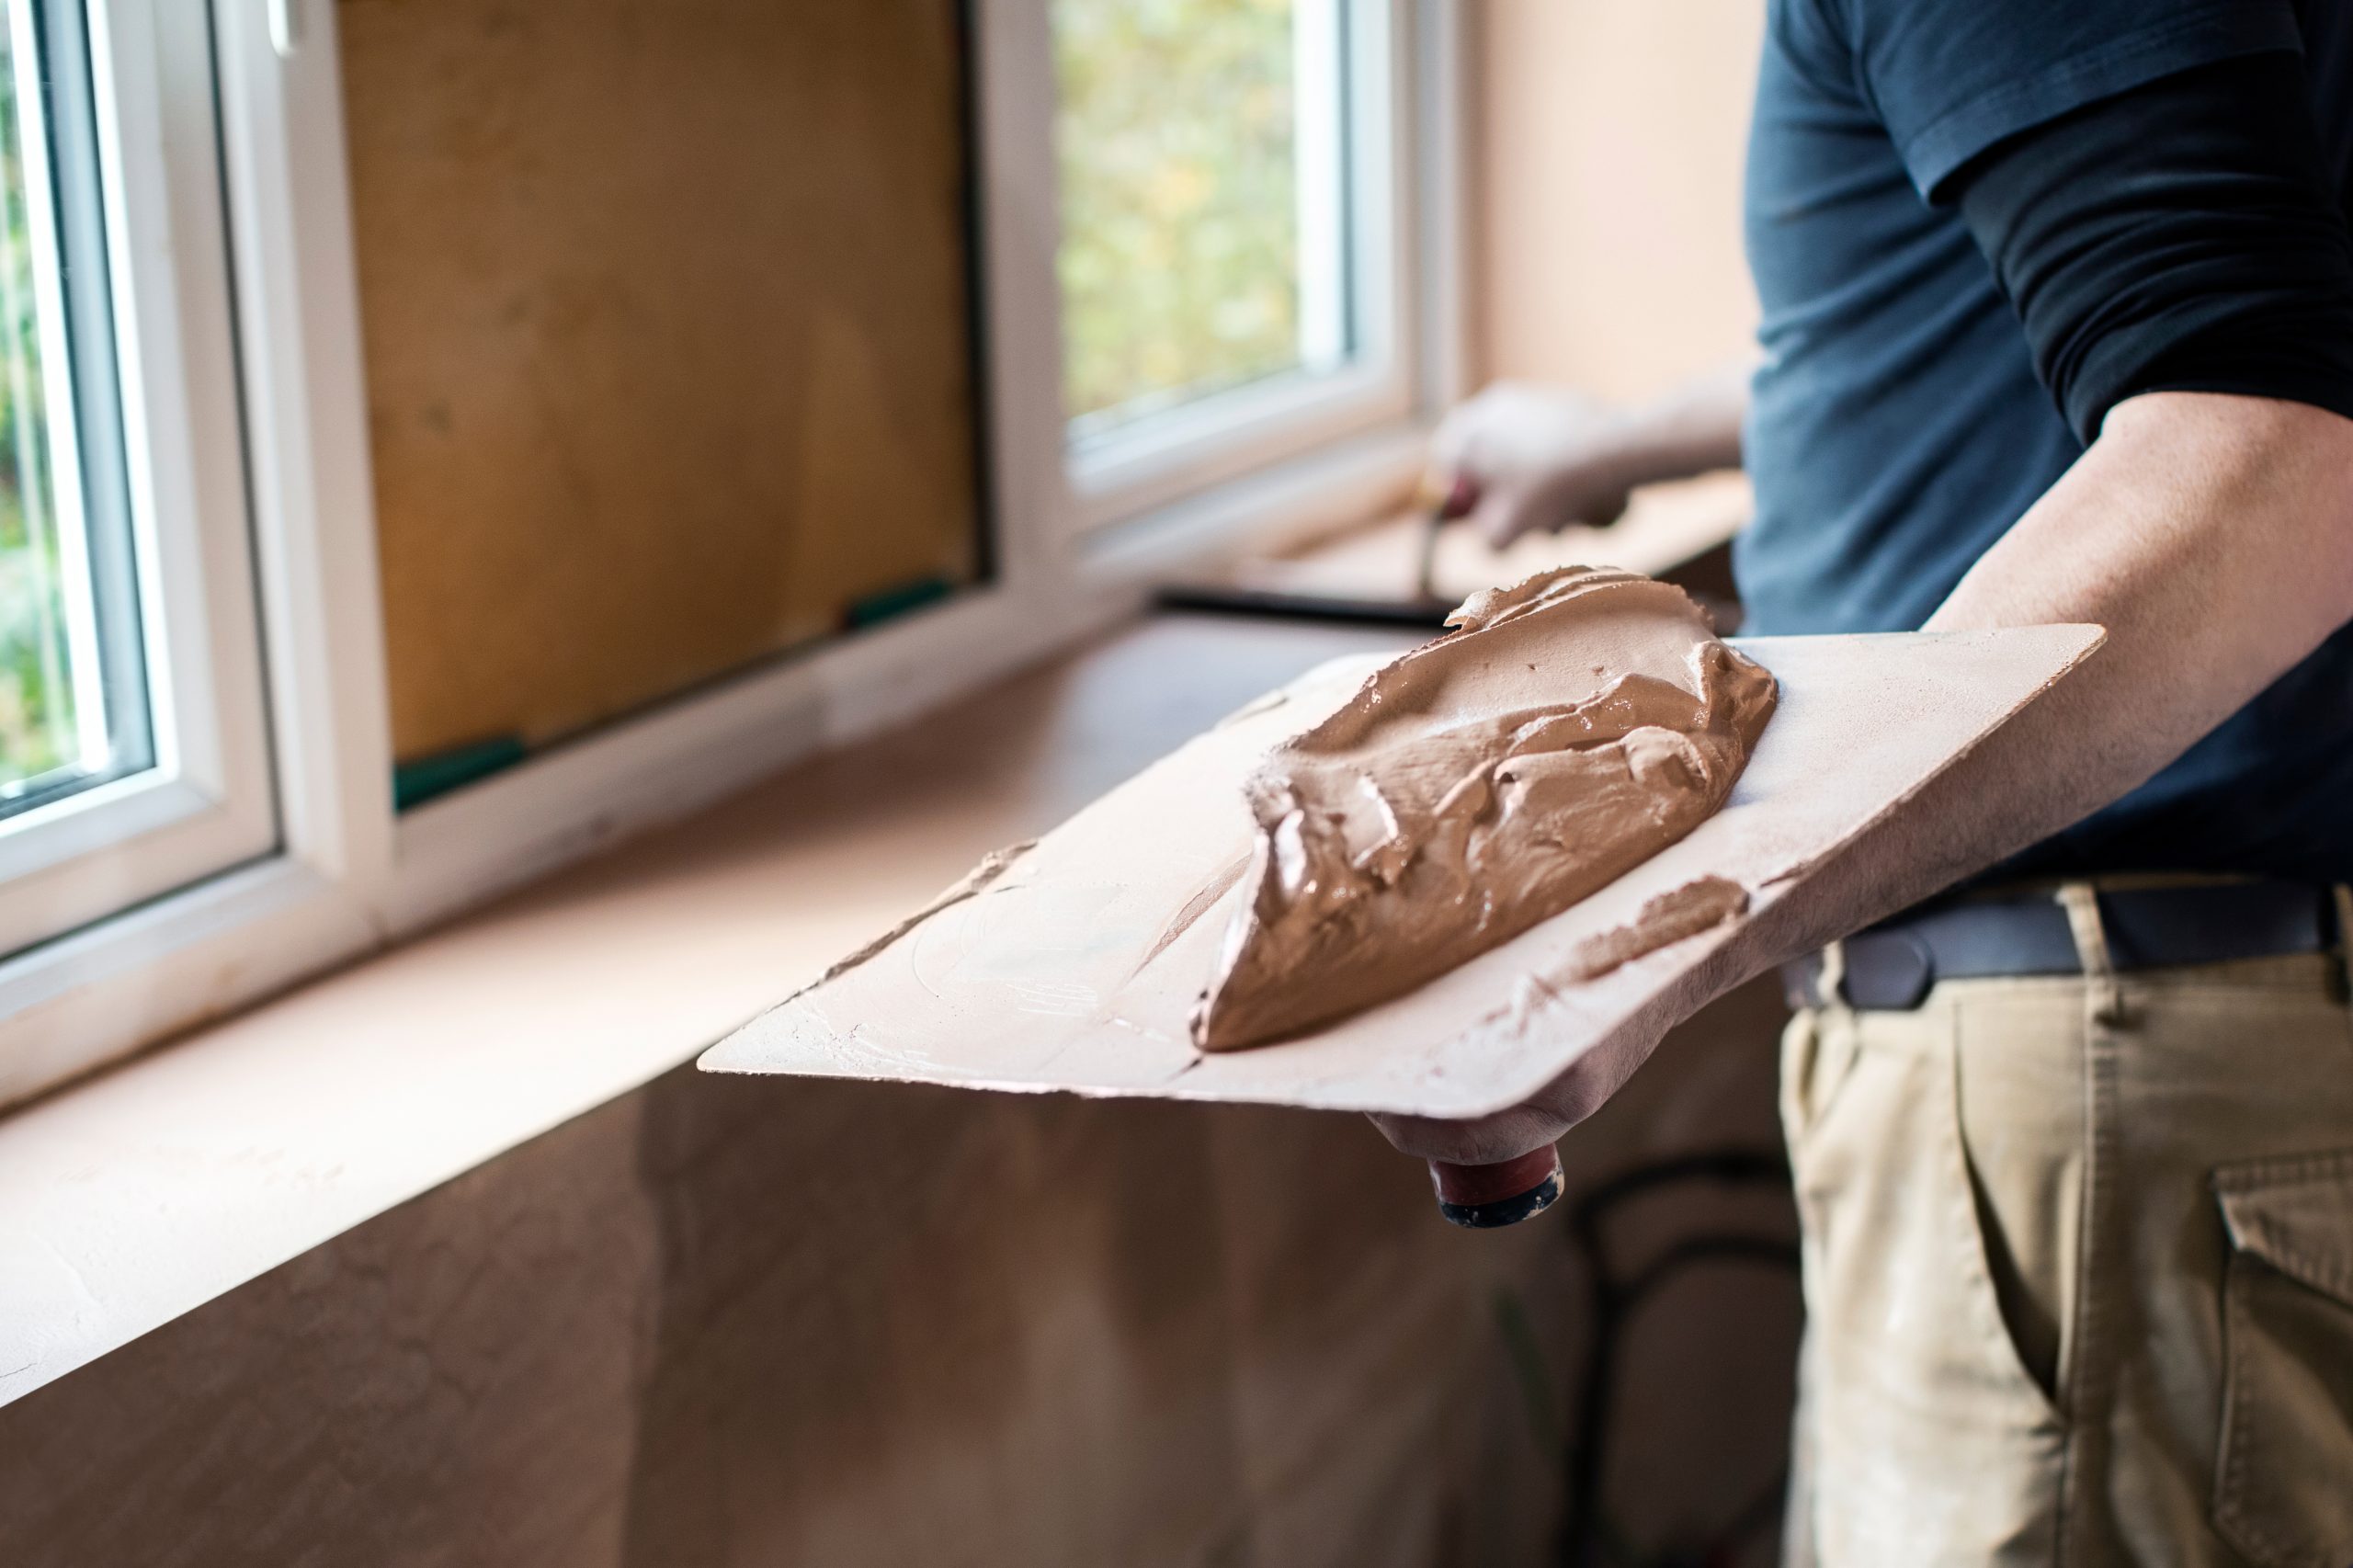
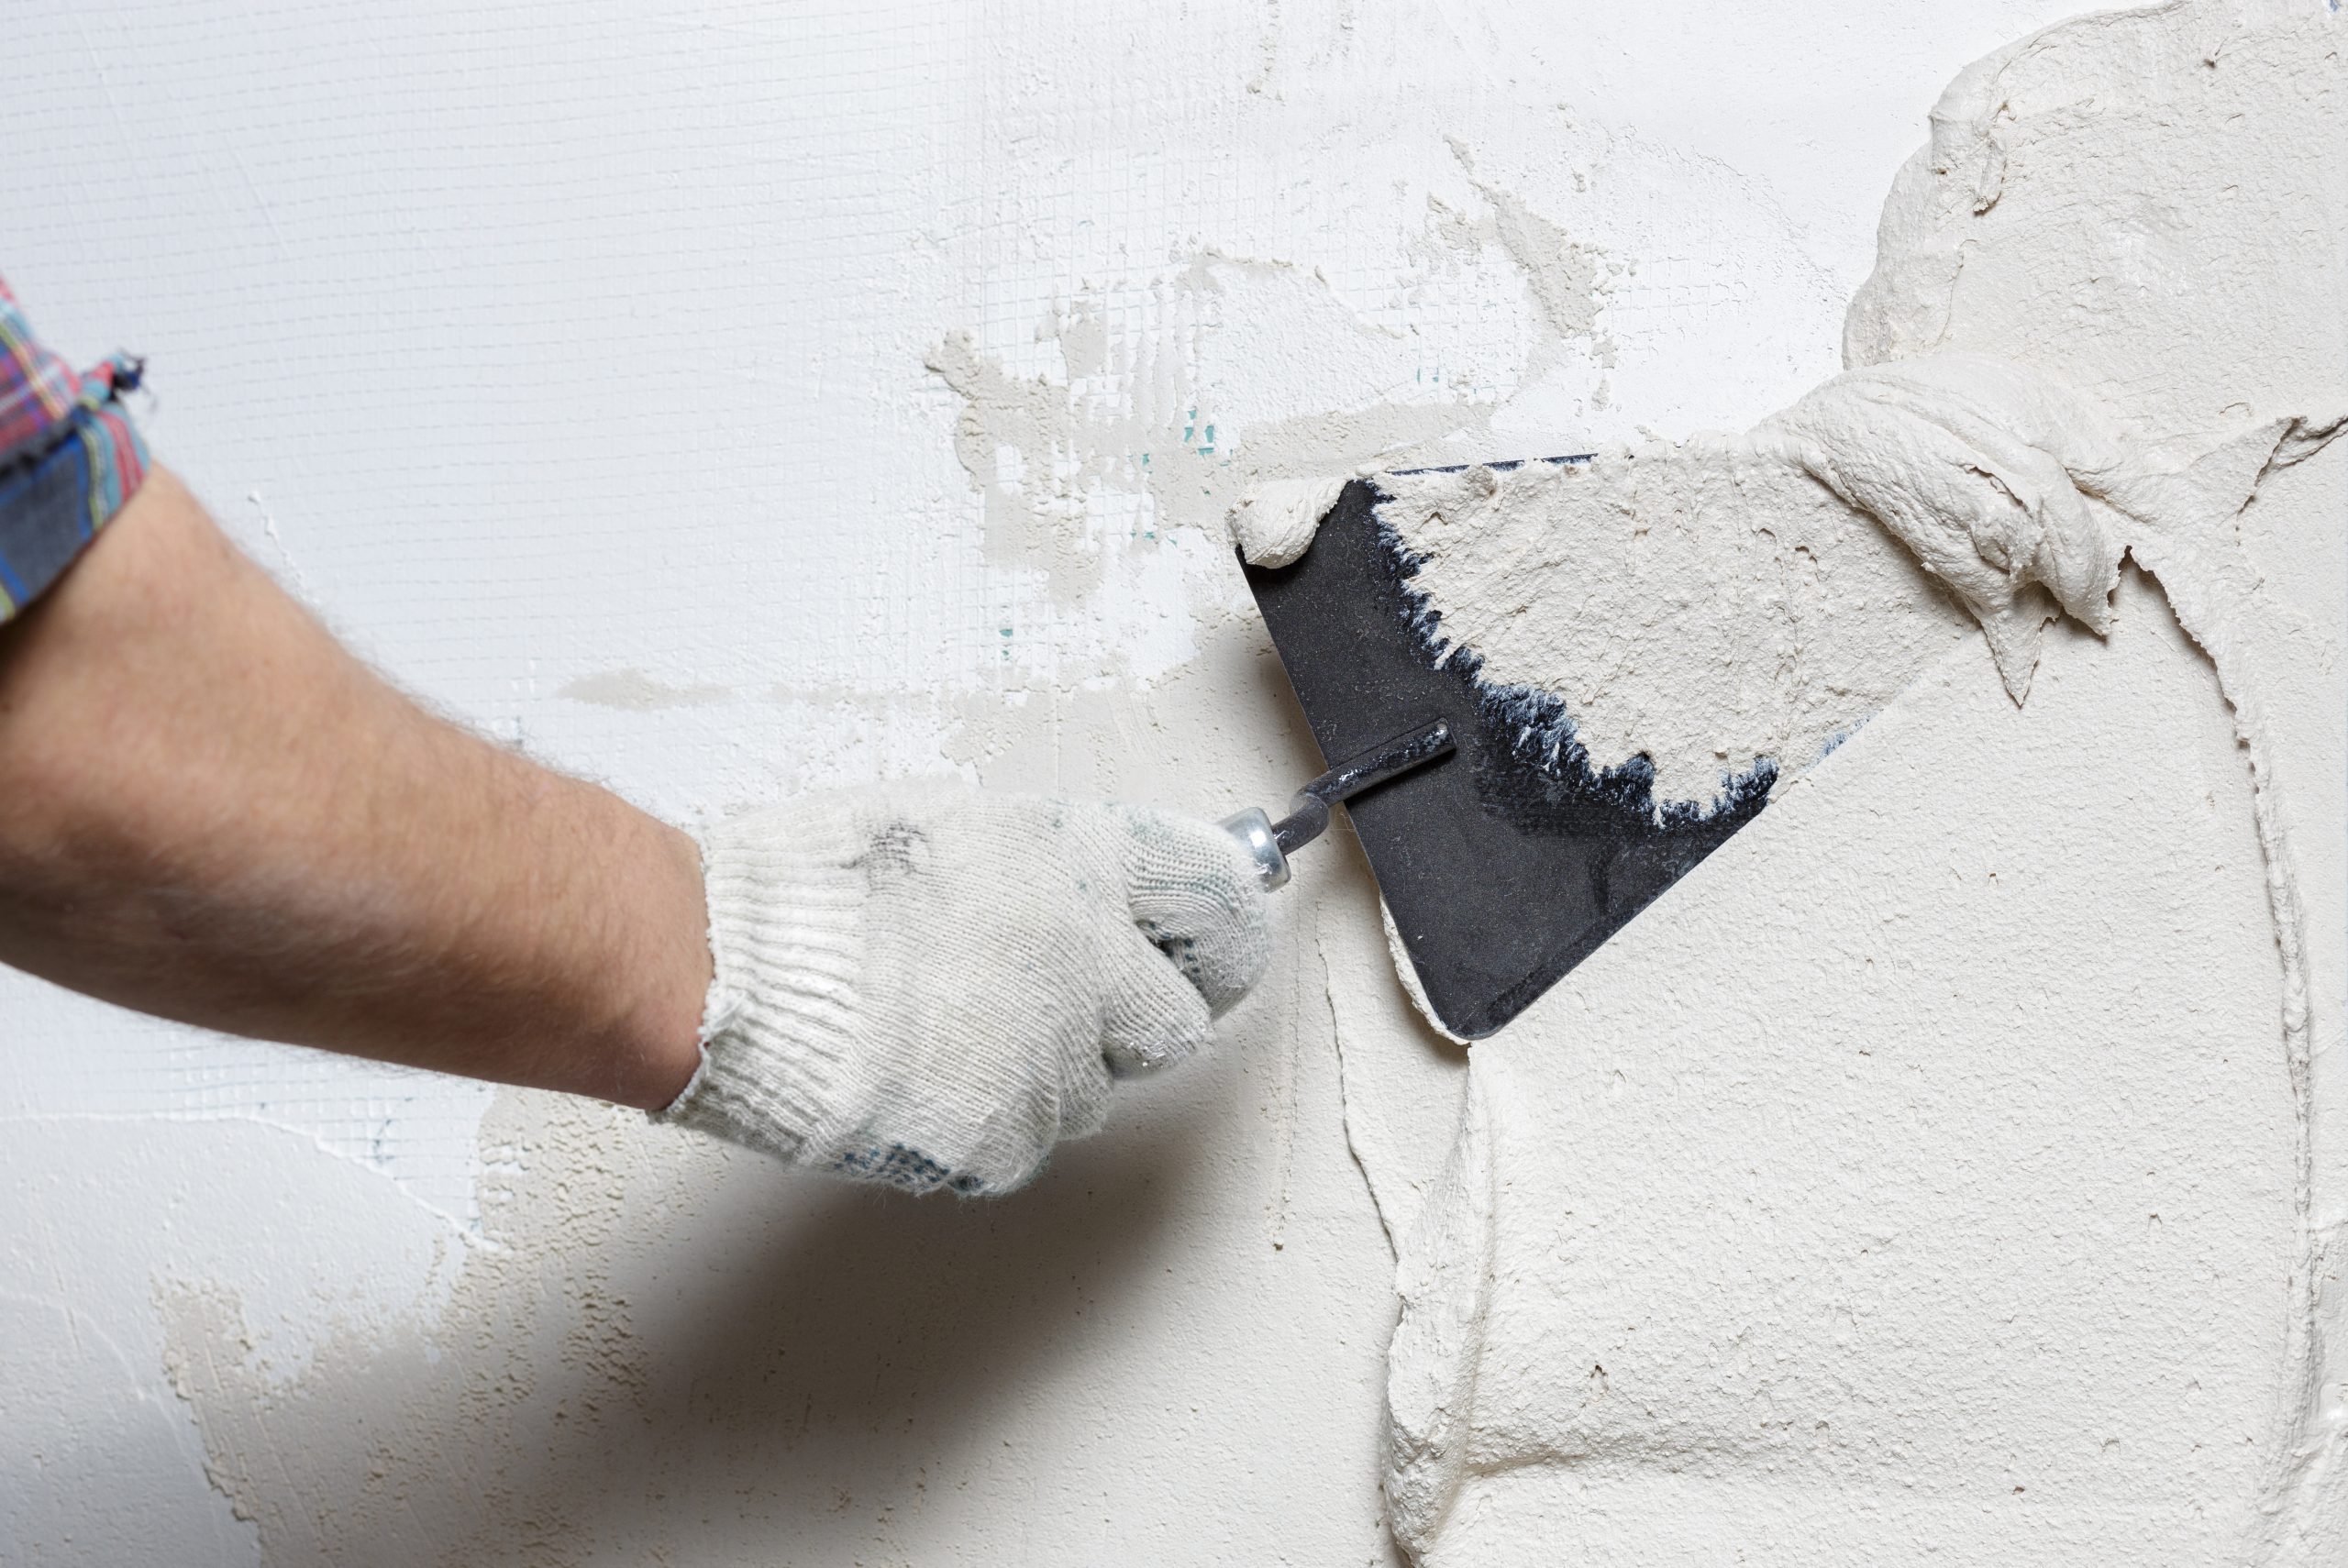
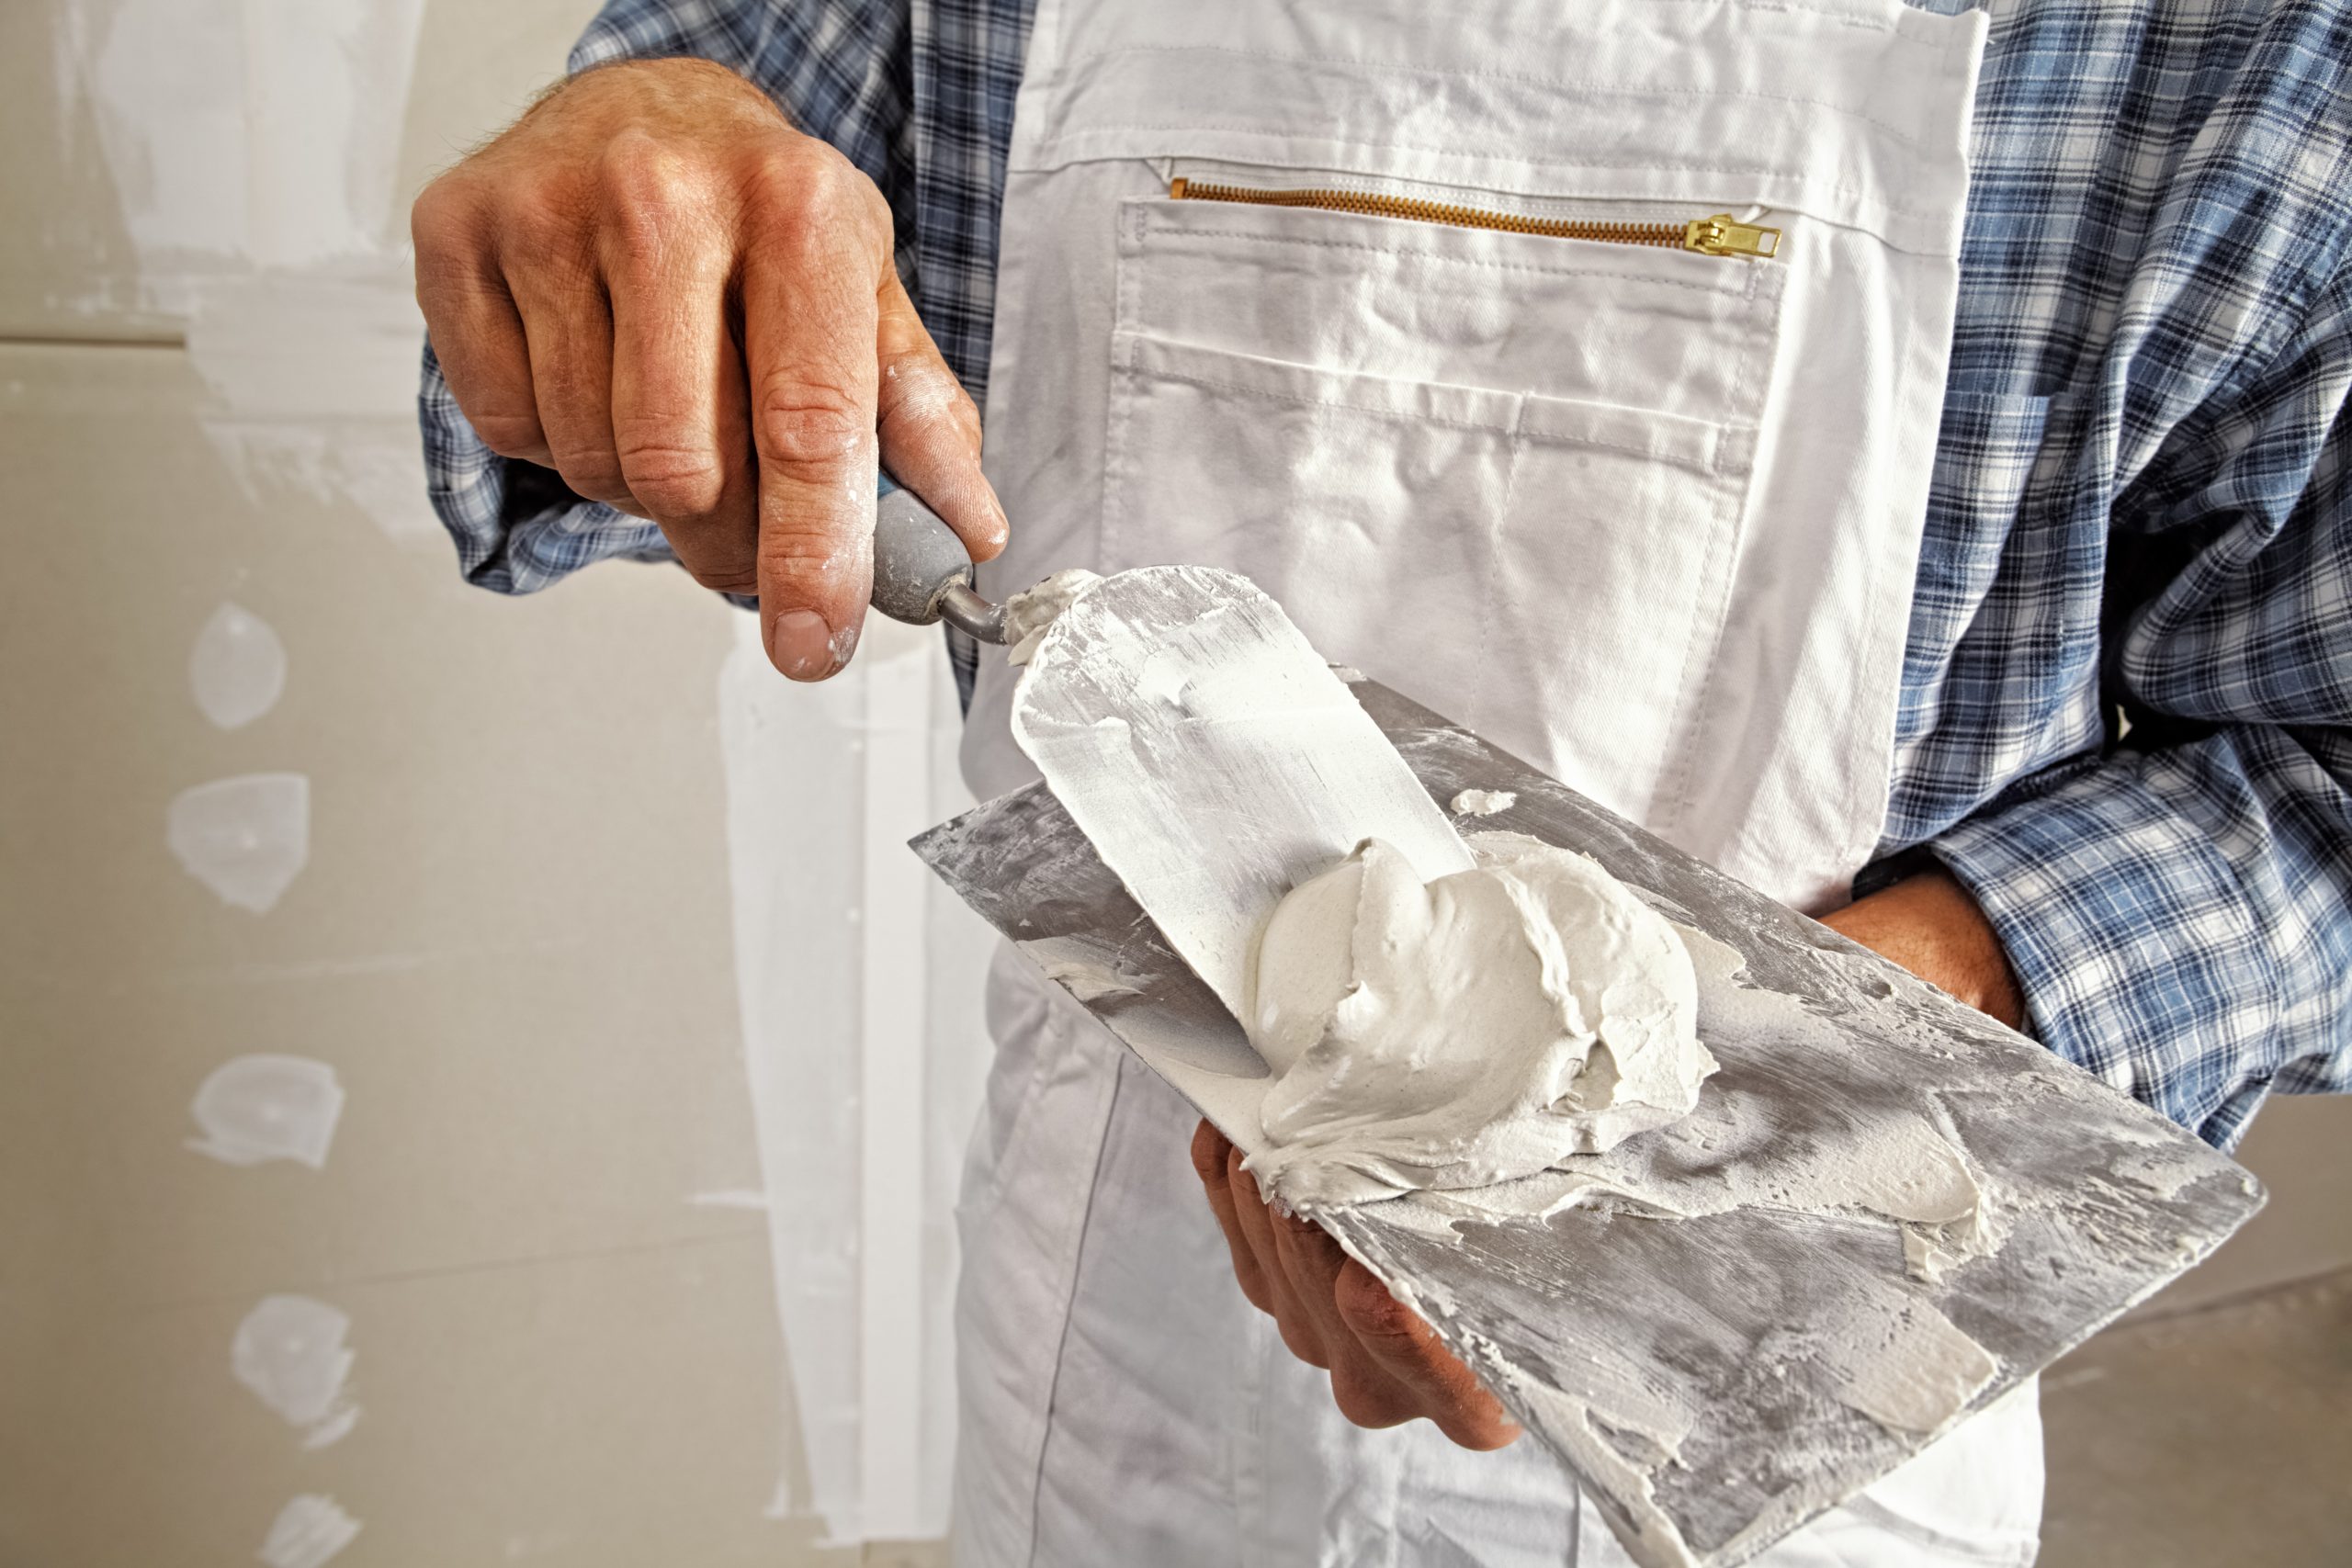
Tip 8: Applying a good plaster finish
A good plaster finish can be achieved with a combination of confident firm pressure and the correct angle of the trowel. Don’t try and get the surface perfect in the first coat as it can take time and lead to the plaster drying out before it is done. Should imperfections occur they can be ironed out in the later stages.
Firm pressure and the correct angle of the trowel help to create a perfect first coat.
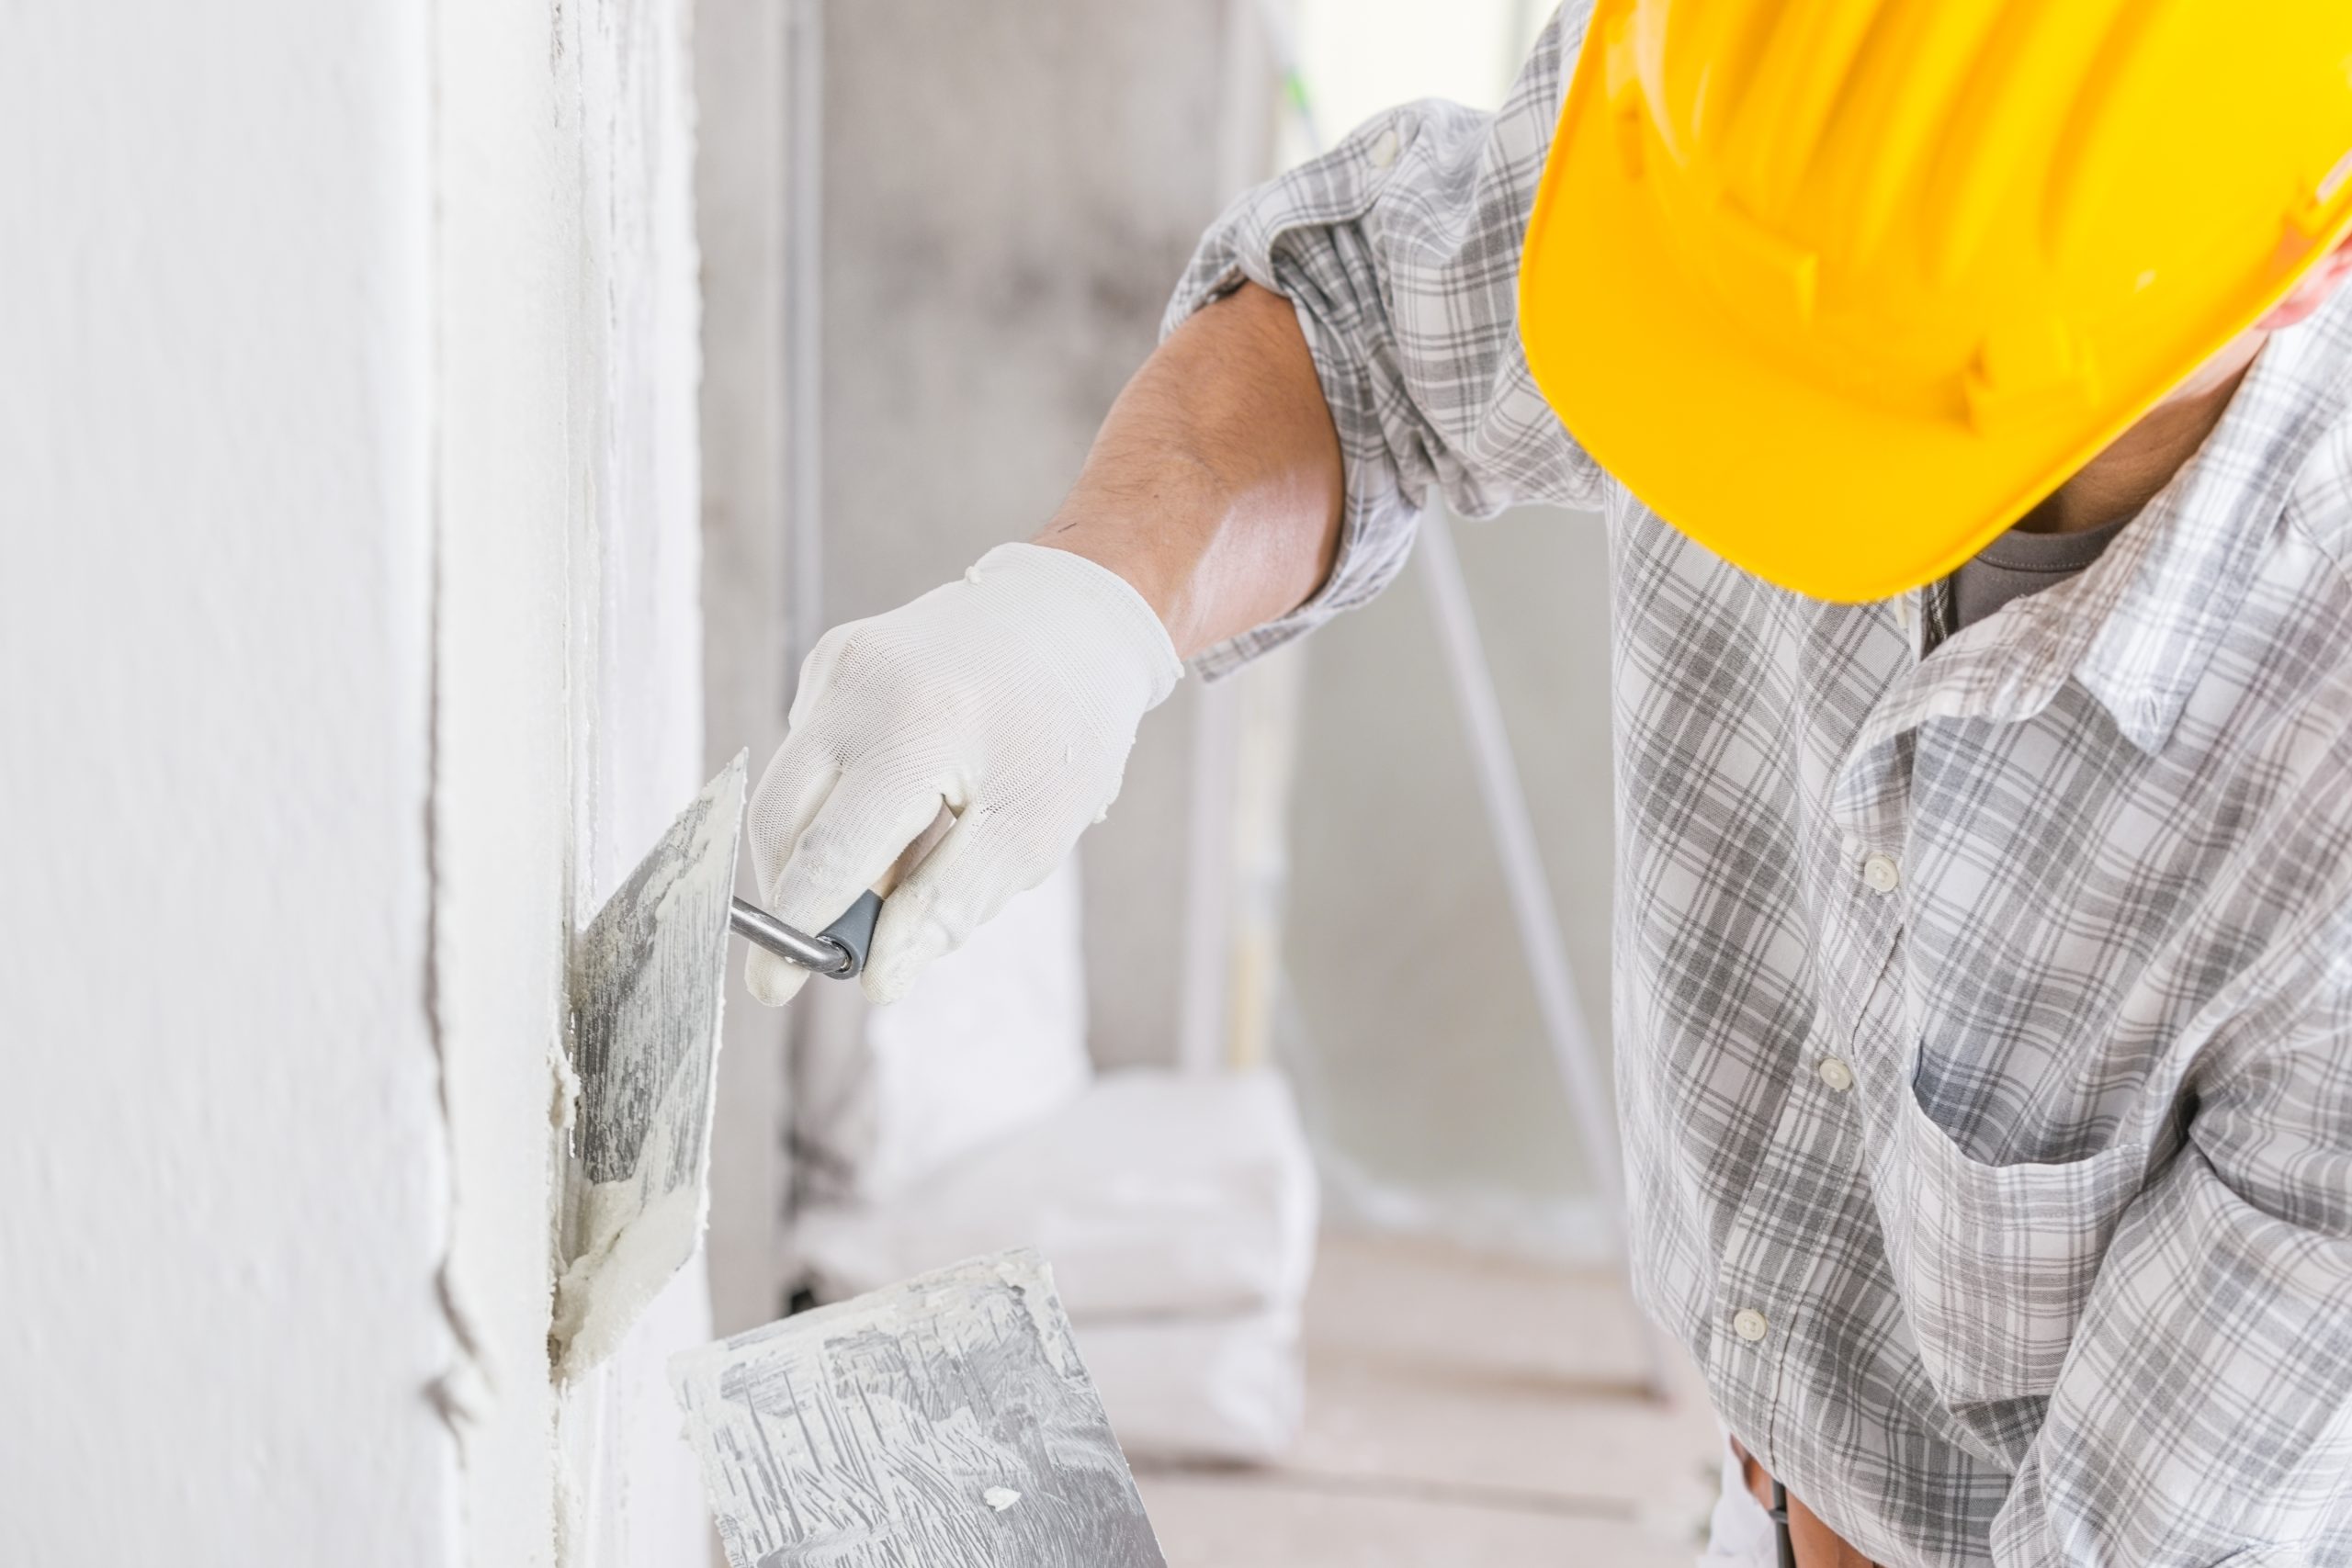
Tip 9: Using a trowel on the plaster
When the trowel is first applied to the ceiling or wall, start with one edge of the trowel angled away from it. As the plaster on the trowel gets less and less with movement, the angle between the trowel and the surface gets smaller. Watch out for spillage when the angle of the trowel changes.
Manoeuvering the trowel creates a smooth and consistent finish.
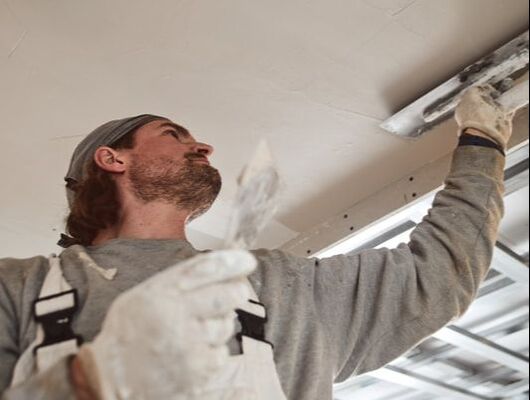
Tip 10: Where to stand
When doing the ceiling, don’t stand directly underneath the trowel. This can be dangerous as plaster can end up in the person’s eye. Don’t go into the edges between the ceiling and wall straight away – this can help to avoid lumps of plaster clumping in the corners.
If attending to the ceiling, be careful not to stand directly below the dripping plaster.
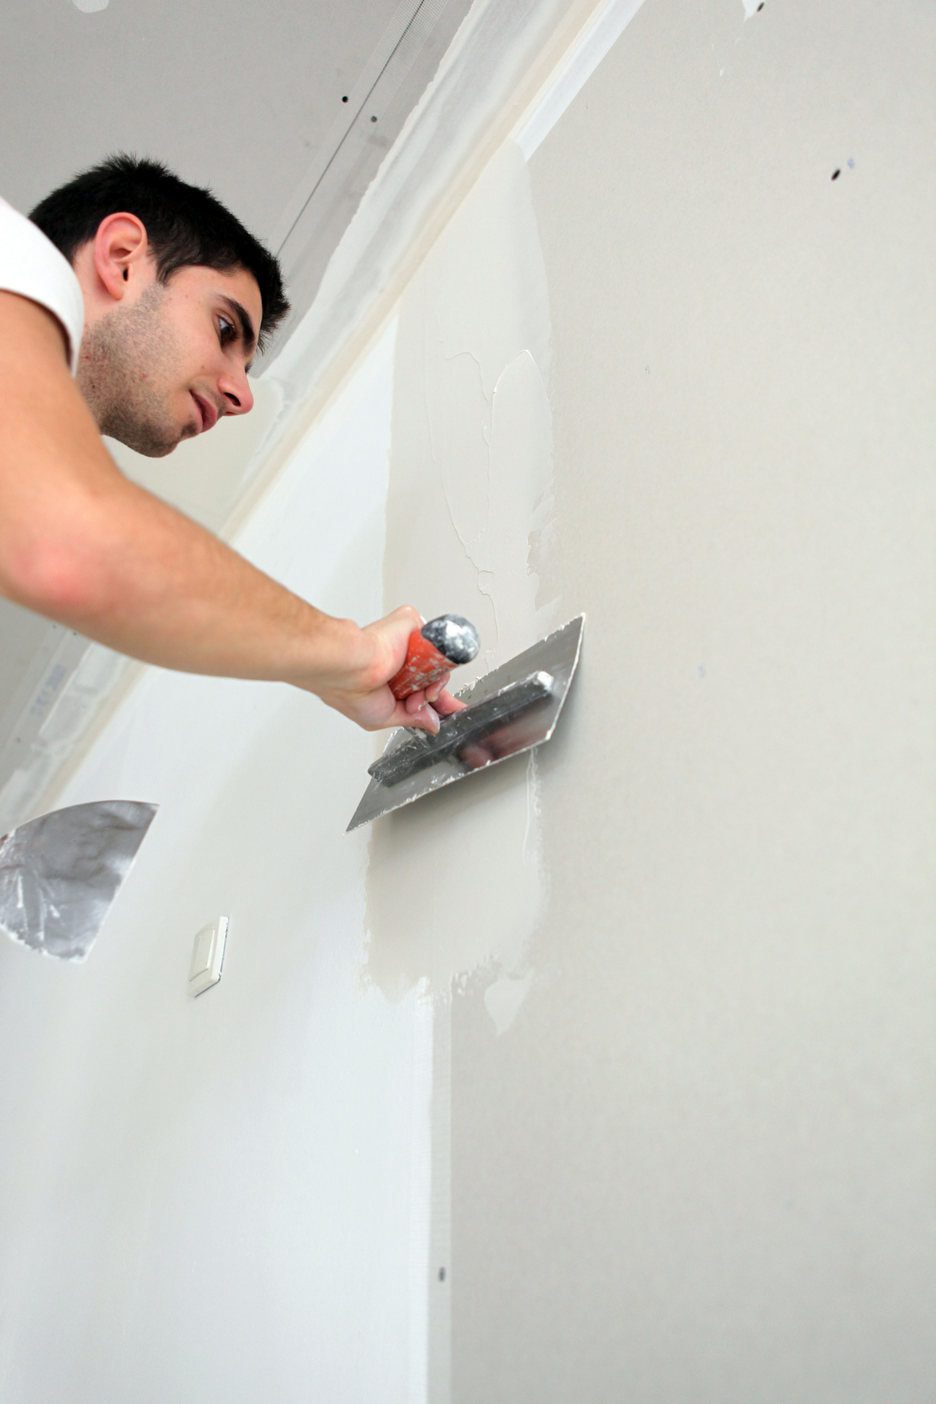
Tip 11: Ensure the thickness is consistent
The thickness should be even on both the first and second coats for consistency. Applying firm pressure ensures that it is flat with no bulges.
Ensure consistency between the first and second coat.
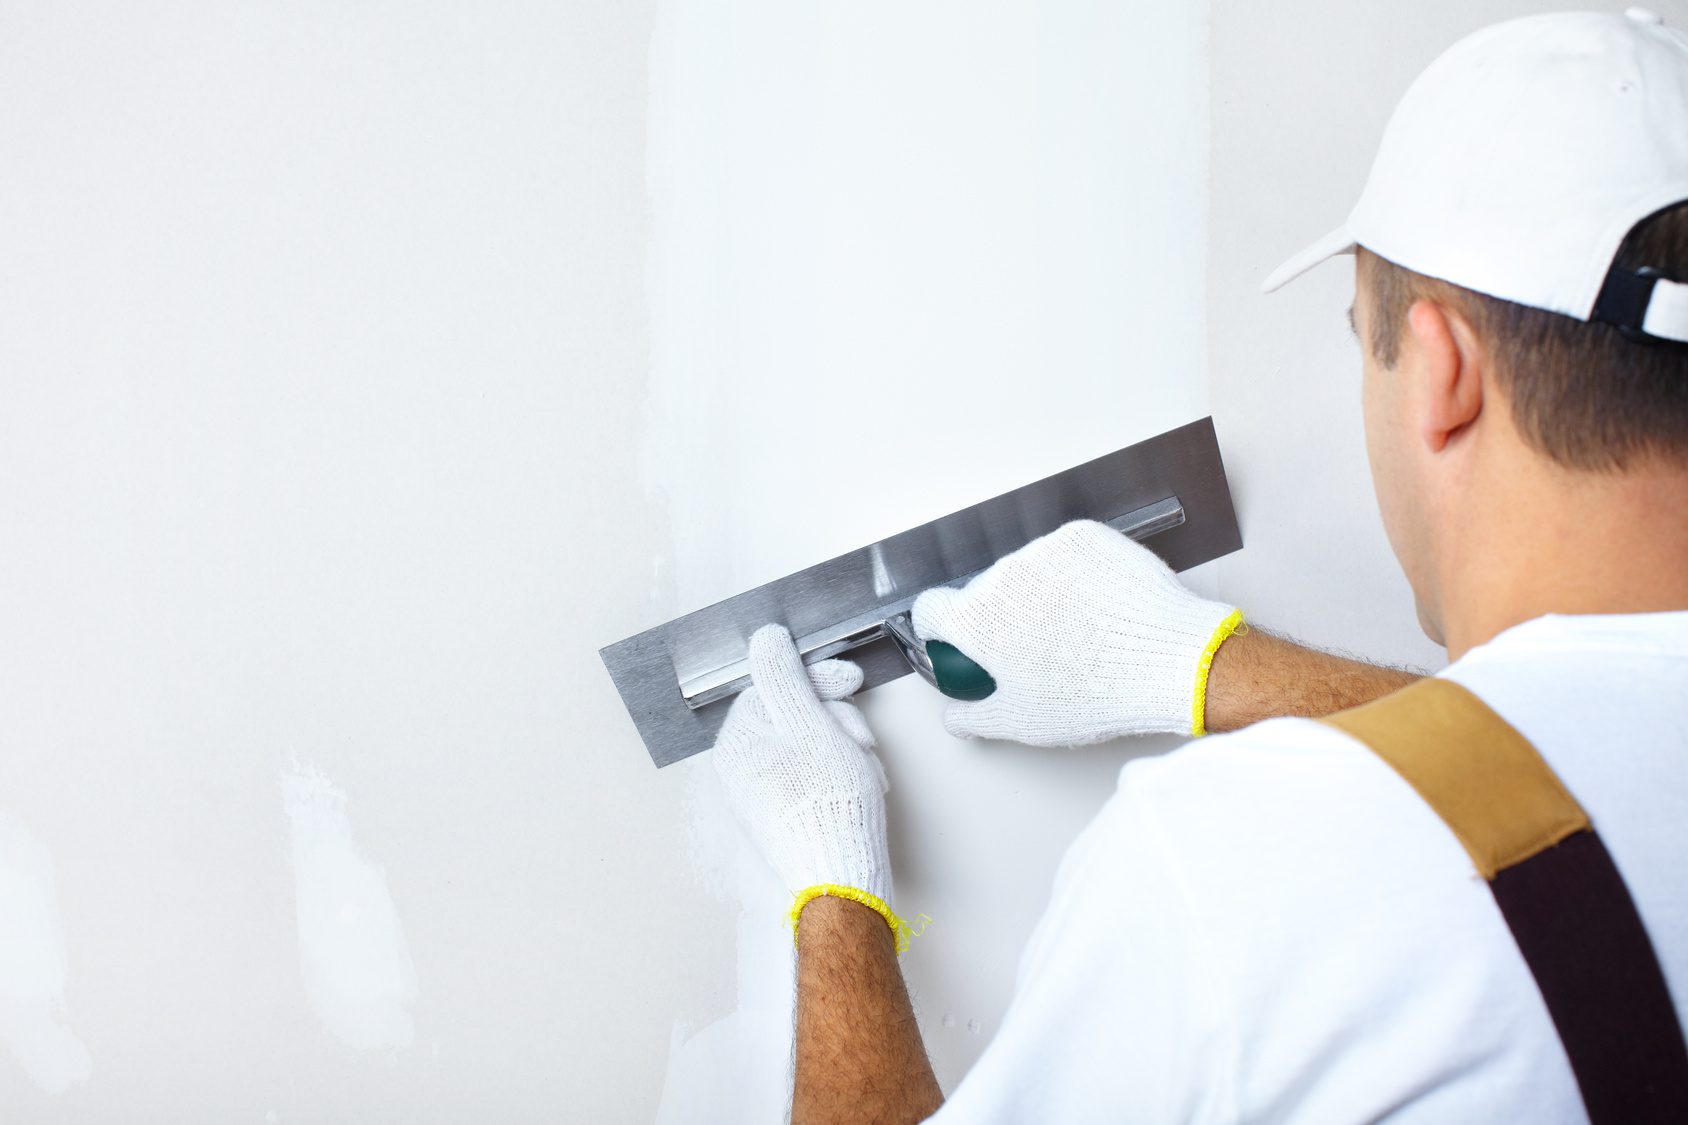
Tip 12: When to "trowel up"
After the first two coats, the ‘troweling up’ process can begin. This is the perfect time to fill in all the holes, removing the trowel marks and making it smooth. Assess that the plaster is tacky and pliable enough to push the plaster into the holes and not so wet that it makes new holes.
The trowelling up process means filling in any holes and removing trowel marks.
Tip 13: Watch for the plaster darkening in colour
The plaster will darken in colour which will mean that it is ready for the final trowel. Do not over polish the plaster on the final dry trowel stage. It should be even and slightly polished but feel like an eggshell. If it is any smoother, it makes paint and wallpaper difficult to stick to.
A darker colour means the surface is ready for the final trowel to be applied.
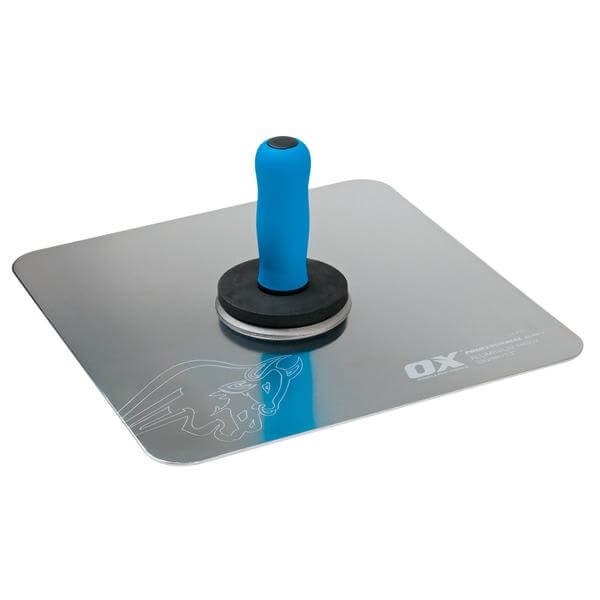
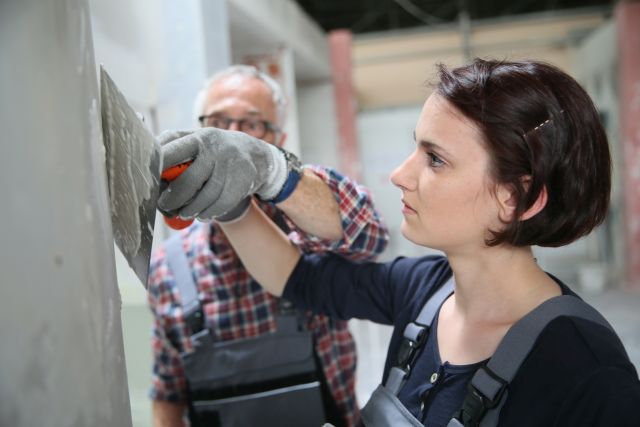
Tip 14: Choose the right plastering tools and know-how
Before starting the task, ensure you have the right plastering tools and equipment to hand. Know-how is also essential. An absence of any of these could interrupt the task and be detrimental to the end result.
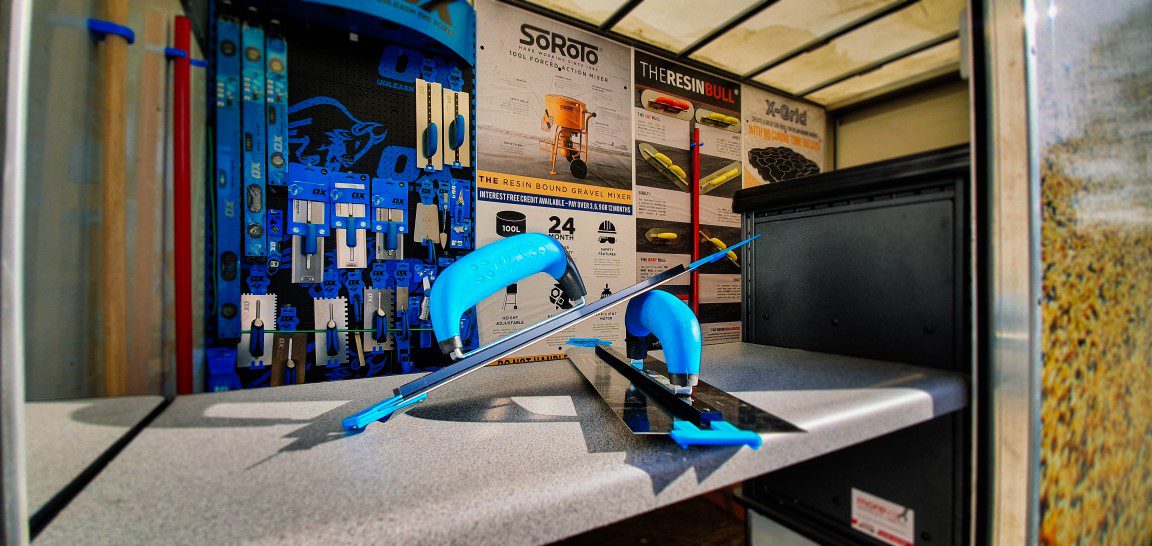
The Aluminium Hawk is perfect for using alongside a trowel.
Tip 15: Supporting equipment
Supporting equipment means that you can comfortably access hard to reach areas. Make sure you have access to stilts, scaffolding or other equipment that would aid the project.
Use supporting equipment - such as a stepladder - to access hard to reach areas.
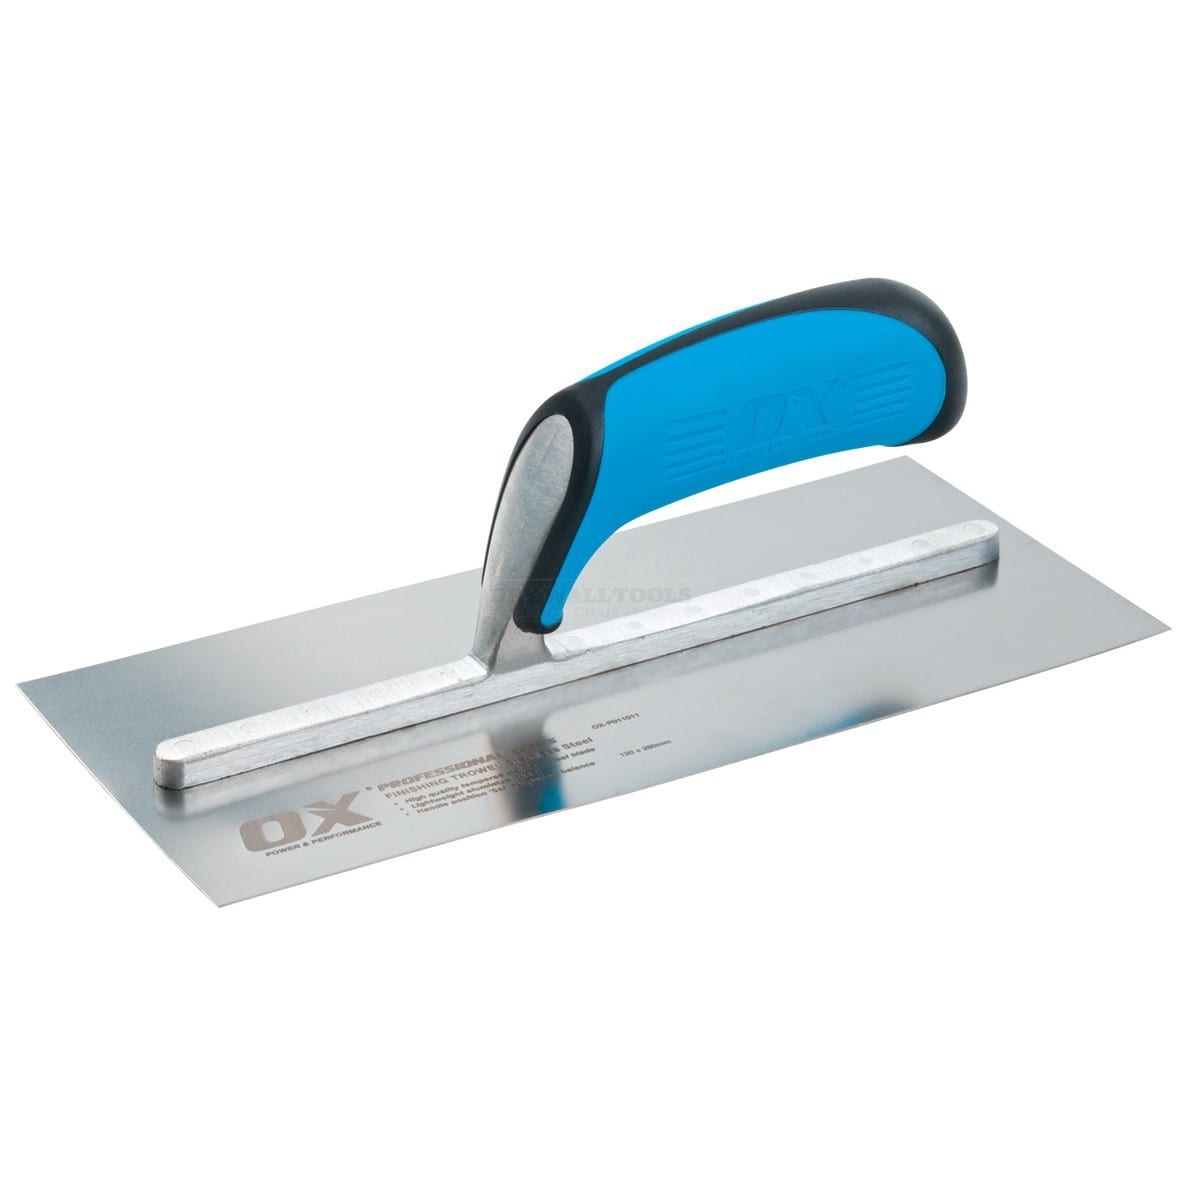
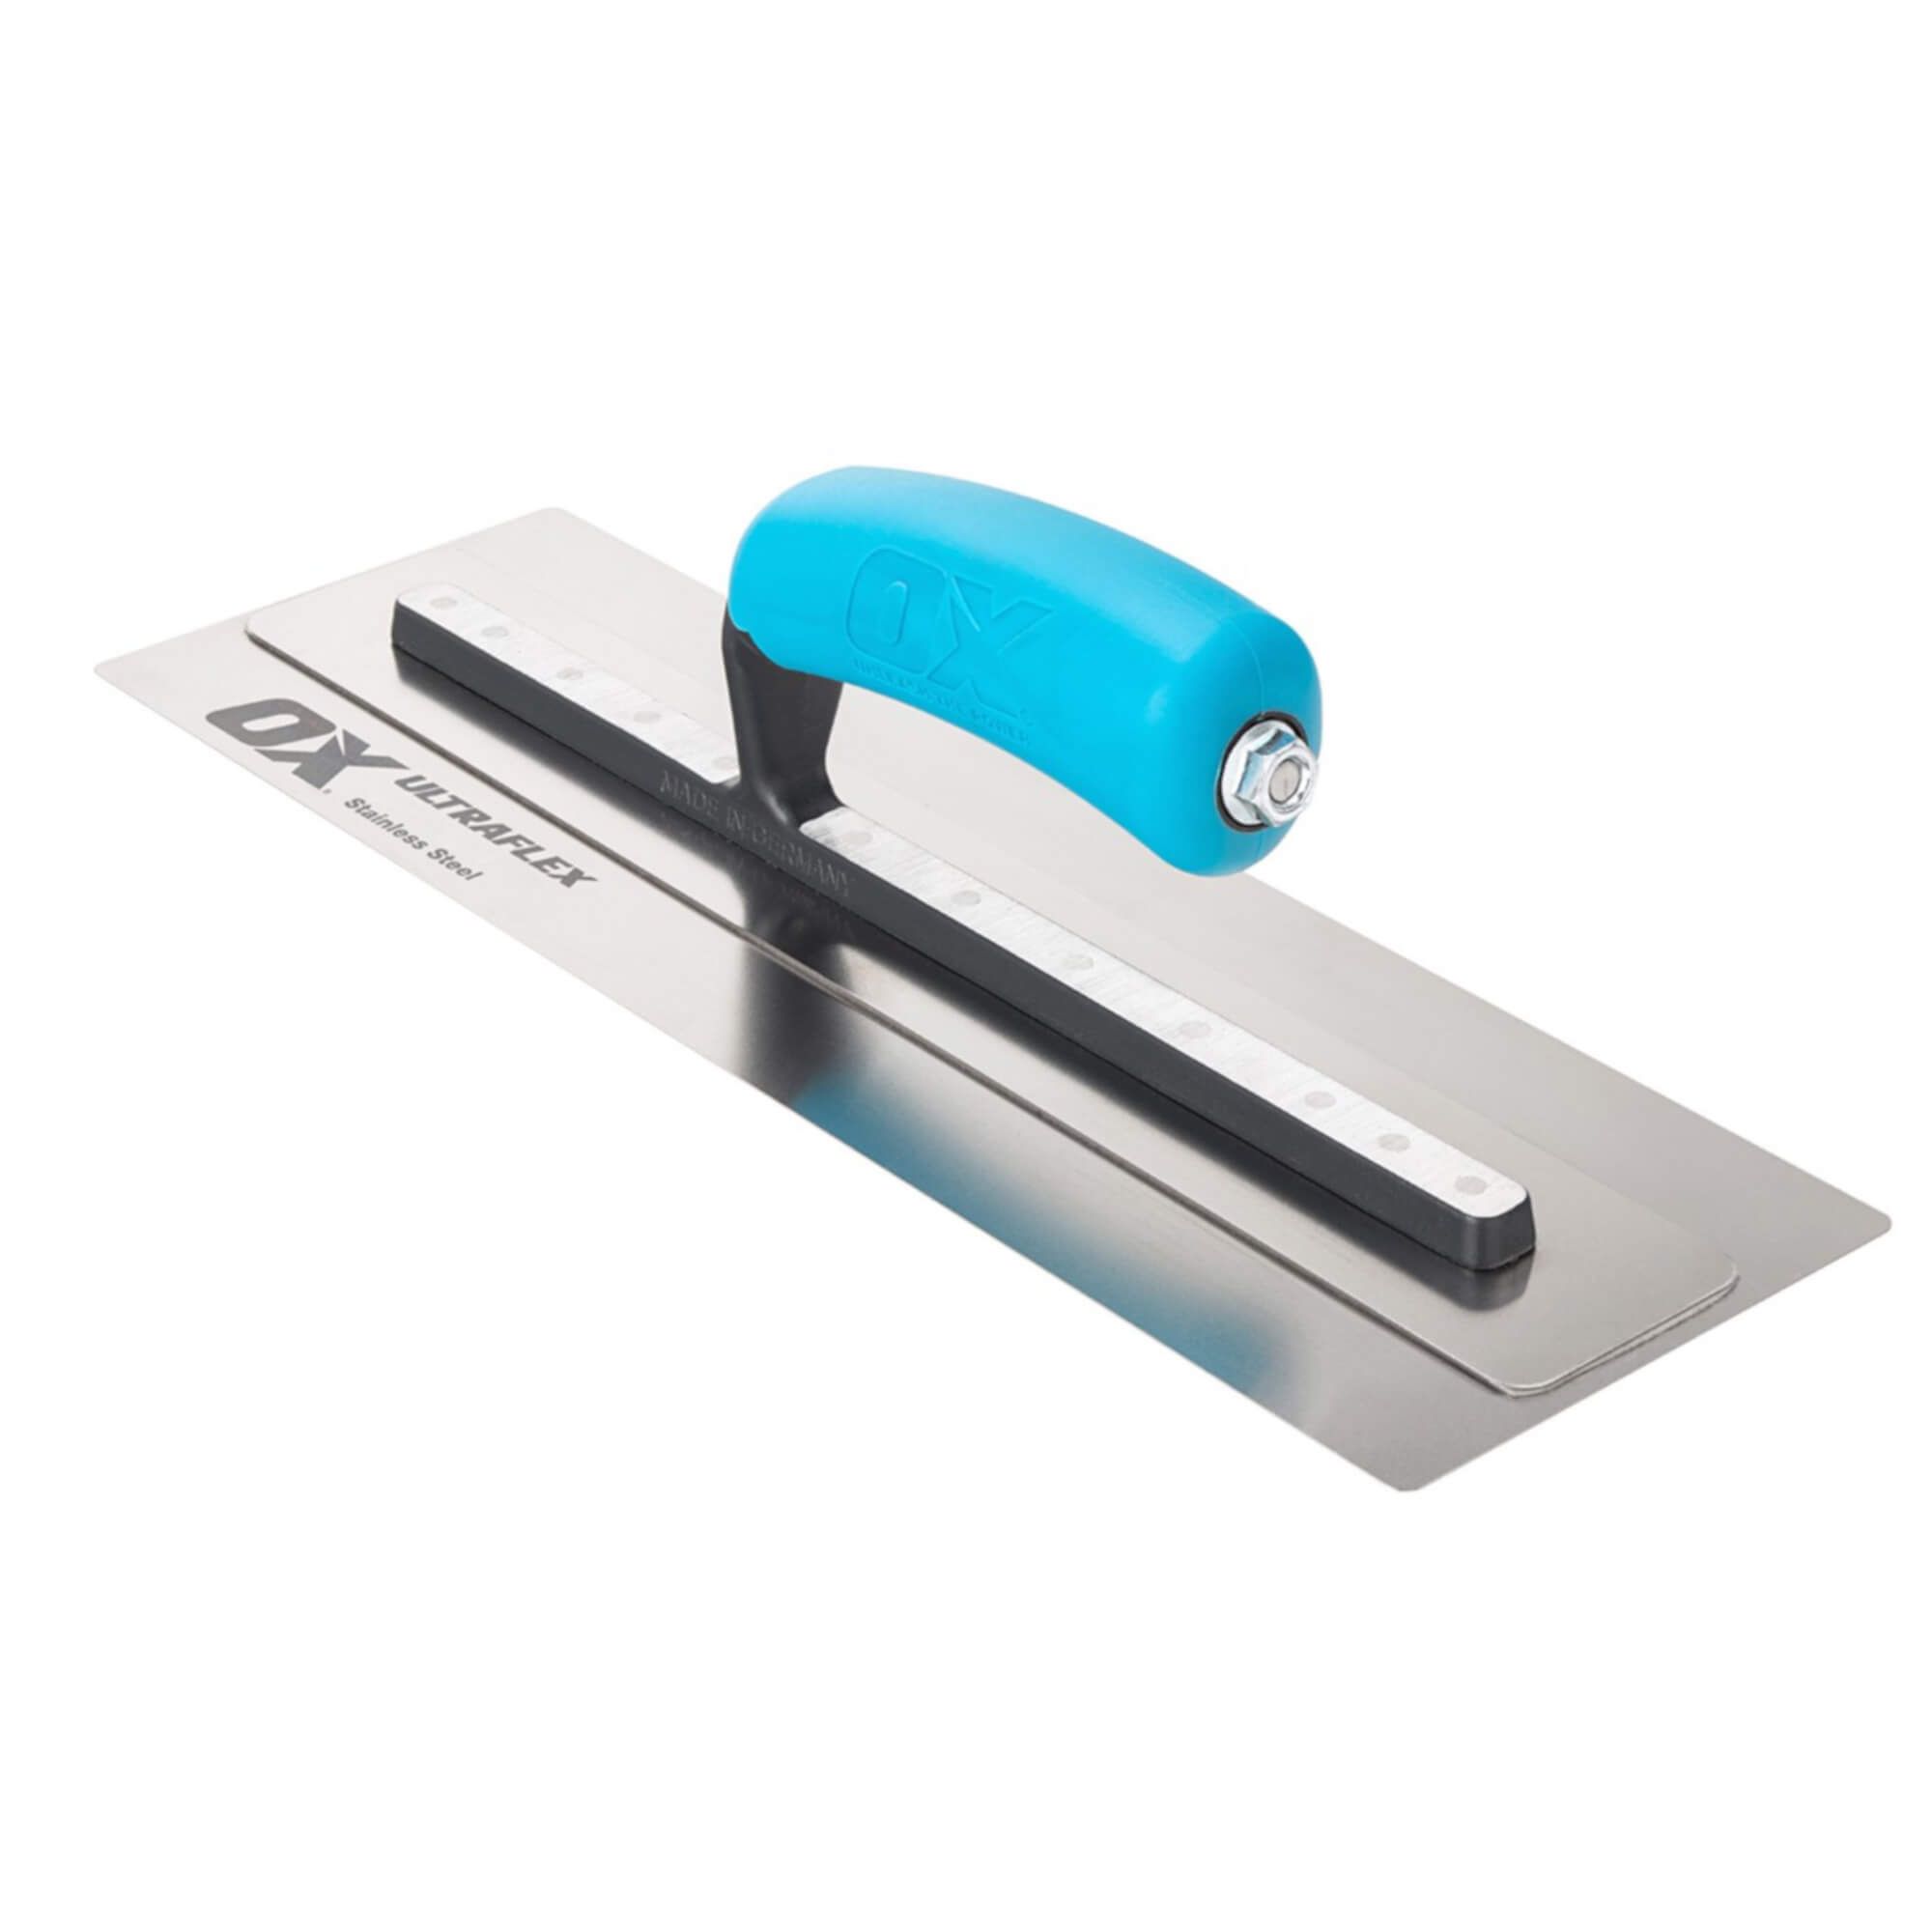
Tip 16: Look after the trowel
The trowel is a fundamental part of a plasterer’s toolkit. Ensure that it is clean, rust-free and the correct type. Get in touch with our team for help choosing the right plastering trowel for your needs.
Ensure that care taken to keep the trowel in top working condition.
Tip 17: Choosing the right size
For beginners, it is recommended choosing an 11″ finishing trowel. While a larger-size trowel can cover an area faster and may be more suitable for professionals, these are also harder to control.
The 11" finishing trowel is ideal for beginners.
Tip 18: Wear the metal trowel in
A trowel is much easier to use after it has been worn in. Not only does this allow you to get to know your trowel it also means that can be easier to control and achieve a more professional finish.
The trowel is much easier to control after it has been worn
Tip 19: Do not sand down plaster
Sanding down plaster could cause more harm than good. If the stages for plastering are followed there should not be a reason to use sanding materials. Ultimately, it could cause more mess, imperfections and more hard work.
Sanding of plaster could cause more harm than good.
Tip 20: How to finish plaster
Fill any holes in plaster by applying firm pressure or getting more plaster in the hole and then smoothing out. When the plaster is quite firm, any trowel marks and ridges can be successfully smoothed out. This is providing it has been kept flat, allowing the trowel to sit flat on the wall.
Conclusion
Plastering walls and ceilings can be undertaken by amateur or professional plasterers. To complete mixing tasks a forced action mixer or paddle mixer is needed, it can then be laid using a trowel and aluminium hawk.


One Response
Love this great tips for beginners will be directing my plastering apprentices to this page 😉