How To Mix resin bound gravel using a forced action mixer
Resin bound installers need a reliable, durable, consistent and long-lasting forced action mixer. These unique pieces of machinery are crucial when it comes to efficiently mixing specialist material to produce stunning permeable gravel surfaces.
Using a SoRoTo pan mixer to mix resin bound will help to contractors product high-quality material each time, reduce costs overtime and provide much needed peace of mind that your machinery can be relied on.
In this blog post we take a closer look at resin bound gravel, SoRoTo forced action mixers, plus how to mix and install resin bound surfaces.

About resin Binders
Resin binders are specialist, UV-stable, two-part polyurethane products which typically consists of two components, a binder and a curing agent, which are mixed together using a paddle mixer before being added to washed and dried gravels in a SoRoTo mixer.
Our very own PermaBound UVR+ binder has been formulated by some of the industry’s most skilled chemists with invaluable feedback from hundreds of resin bound installers. Each PermaBound 7.5kg kit is able to cover up to 4m² at a depth of 15mm or 3.55m² at a depth of 18mm.

What is needed to install a resin surface?
Once the mixing process has begun there is a set time window before the material will begin to harden and cure. Due to this, being as prepared as possible is vital and having everything you will and potential could need before you start could prove to very time and cost effective.
There are a number of tools required for the installation:
- A forced action mixer
- A paddle whisk
- A mixing bucket
- Multiple trowels
- Gloves
- Glasses
- Knee protection
- Stopwatch
- Digital moisture meter
- Measuring tools
This list can of course be shorter or even include more items depending on the needs of the project or the personal preference of the installer.

- One person primarily mixing material
- One person to move material from the mixer to the installation area and spread the aggregate
- One person trowelling the material and ensuring the surface is completely level
Resin Bound Equipment
SoRoTo 100L: This forced action is perfectly sized for resin bound gravel installations. It is able to hold an industry standard four-bag mix. It is light and narrow enough to fit through standard doorways.
SA120NEG 655mm Whisk: The mixing whisk is ideally suited to mixing low viscosity materials. It is designed for a faster mixing speed and no spillages. Used alongside the heavy duty bucket for mixing together resin components.
OX Pro Pool Trowel: This trowel is frequently used in the resin-bound industry for spreading, levelling and finishing surfaces. It has a soft grip handle so is comfortable to use.
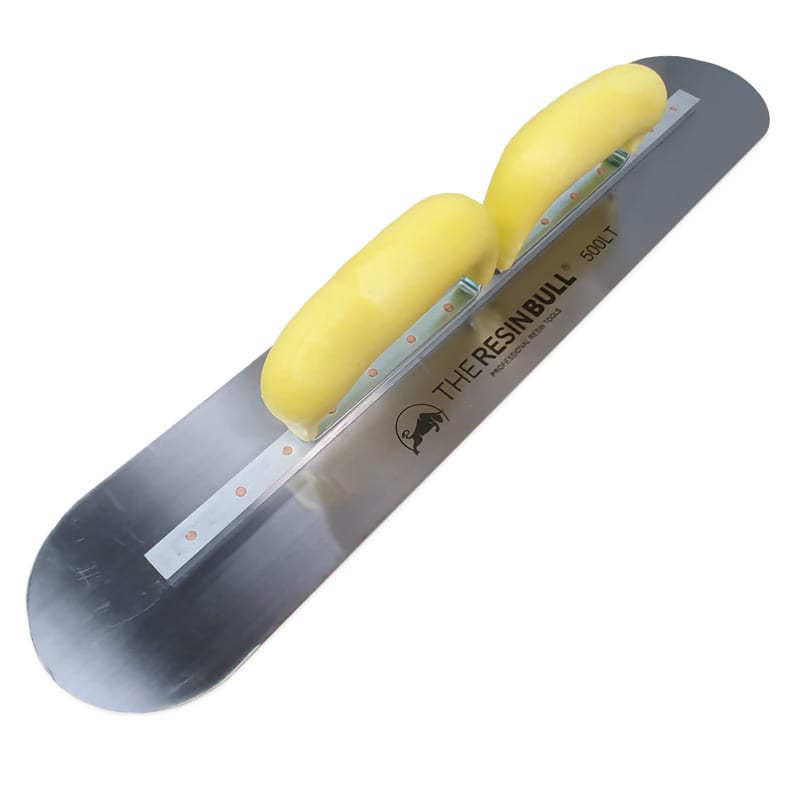
The Resin Bull 500LT+: The Resin Bull is the only trowel which is specifically manufactured with resin bound gravel installation in mind. It features dual handles for added control and comfort. It is easier to detect areas of unevenness in the surface and rectify them before curing. It is perfect for corners and tight spaces.
The Comfy Bull Kneeling Pad: This equipment has been designed to protect resin bound installers against the effects of long periods of kneeling. It consists of an EVA foam cushion and vinyl cushion. It is designed to disperse weight distribution to avoid pressure on the knees and reduce the risk of injury and fatigue.

5 steps For mixing resin bound Gravel
Step 1: Creating the perfect base
Resin bound is incredibly popular with homeowners, landlords and specifiers thanks to its stunning appearance and SuDs compliance. If you’re installing a fully permeable surface, why would you not ensure your sub-base is permeable too as well as incredibly strong?
X-Grid is a SuDs compliant, heavy-duty ground reinforcement grid, perfect for creating a sub-base for your resin bound installations. With a load-bearing capacity of 420 tonnes per sqm unfilled, X-Grid is more than strong enough and the integrated slot and peg connections provide a sturdy foundation that will not move over time and affect the surface above.
You can learn more by reading our X-Grid technical installation guide.

Step 2: Whisking the resin
Combine and mix your resin binder next using a paddle mixer. The two components must be mixed before being added to the aggregate and mixer. Mixing on a sheet or a plasterers board is advised in case of splashes or spillages.
Wearing gloves and other necessary PPE, being to mix the Part A component for between 10-20 seconds at a slow speed before adding in the Part B component and mixing thoroughly at a slow speed for around 60 seconds until it reaches a homogenous, creamy consistency. The resin will change colour and become whiter as it is whisked.
It is essential that whisked resin is not exposed to water. If any moisture does get in, small crystals will develop in the resin and it will become unusable and cause foaming on the surface once installed.

Step 3: Mixing the aggregate
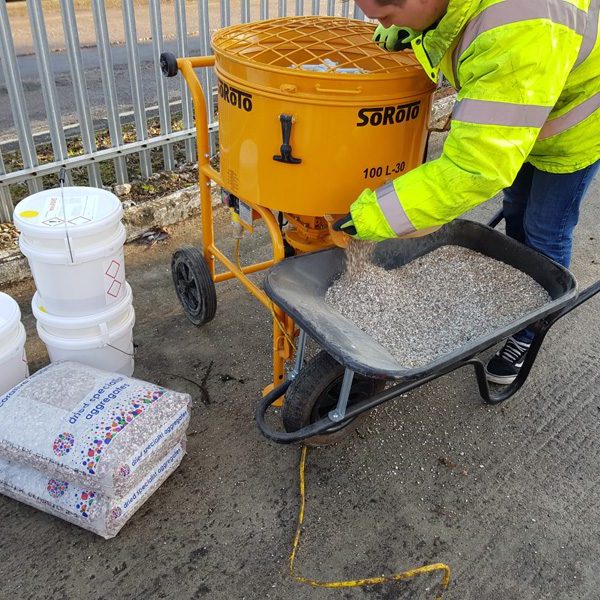
The first round of specialist washed and dried gravel can now be added to the forced action mixer. Add your first 25kg bag of 2-5mm stone and 25kg bag of 1-3mm stone.
Run the aggregate through the forced action mixer for about 30 seconds. If there are several colours and sized in use then please ensure they have been distributed evenly and the majority of the dust has been removed. The first two bags of aggregate must be mixed consistently on every mix on your project.
Step 4: Combining resin and aggregate
Once the two bags of gravels have been sufficiently mixed, you can now add your pre-mixed resin binder to the forced action mixer. You will now working time sensitively and we recommend starting a stopwatch to help you with the rest of the project.
Once the mixed binder has been added, you can now pour in your two remaining 25kg 2-5mm bags of aggregate to the mixer and let your SoRoTo mixer coat all of the material evenly.
Now is the time to add your C52 sand which should be added slowly and steadily to ensure an even consistency is achieved.
Typically it should take no longer than 4 minutes to create your resin bound material once the binder has been added.
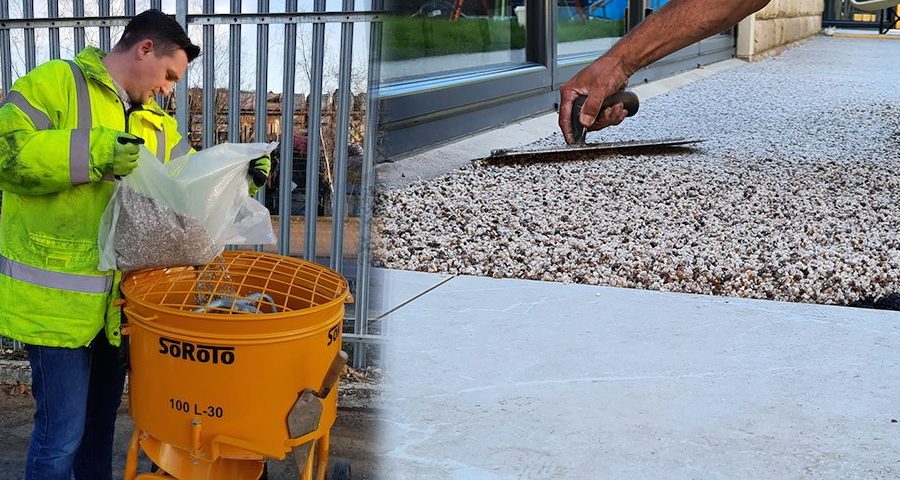
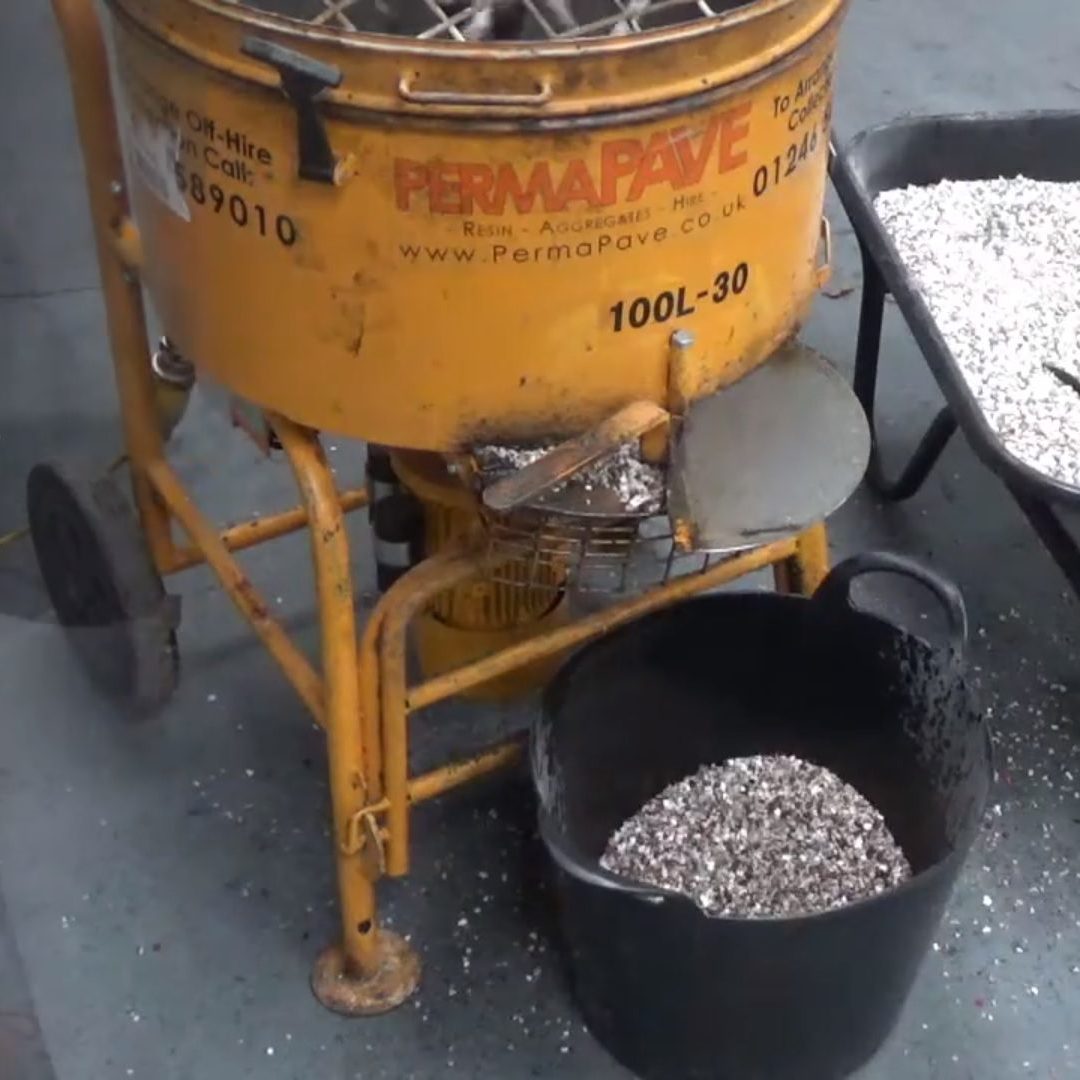
Begin to empty the mixer and turn your stopwatch off, the contents of the mixer should go into plastic-lined wheelbarrow. Turn off the mixer and empty the remaining stone using a trowel and a brush. It is highly recommended to wipe clean your mixer between batches and after use too.
Remember how long the first batch of resin gravel took to mix and ensure you mix every other batch for exactly the same amount of time as small changes to the mixing time can alter the appearance.
Step 5: Installing resin bound aggregate
Manoeuvre your filled wheelbarrow over to your next working area before pouring the mixed material onto the prepared X-Grid sub-base. Begin to work the material from the furthest edge inward and regularly wipe your trowel clean to ensure it doesn’t stick.
Once the material has been roughly spread, the trowel can then be used to press it down towards the sub-base and levelled to your desired depth. Ensure that you do not take too many passes with the trowel as it can ruin the surface.
With the most recent batch of mixture is spread and levelled, keep the closest edge loose and “rough” which means that it won’t set completely before the next batch is ready.
The next batch can then be mixed, poured out and trowelled. This process is repeated until the surface is completed.
Conclusion
A forced action mixer is one of the most important pieces of equipment that can be purchased as a resin bound professional. Our specialist SoRoTo mixers are ideal for helping you produce quality and consistent batches of resin and aggregate each and every time, ready to be laid and trowelled.
Without a quality resin bound mixing solution, your project could fail which can be costly to your company both to your reputation and financially.
You can find out about resin bound gravel installations and our SoRoTo mixers by calling our knowledgable and helpful team on 01246 418144 or LiveChat with us during office hours. Outside of these times, leave us a message and we will reply upon our return to the office.