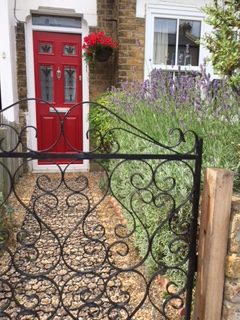
A worn pathway is both unattractive and can also be a safety issue.
An attractive resin pathway is effective, eye-catching, affordable and easy to maintain.
This blog post will take a look at the benefits of resin pathways and the installation process.
Resin pathways provide a easy on the eye entrance to any property.
The benefits of installing resin pathways
There are several paving choices available for pathways – resin bound pathways can make the surface more attractive.
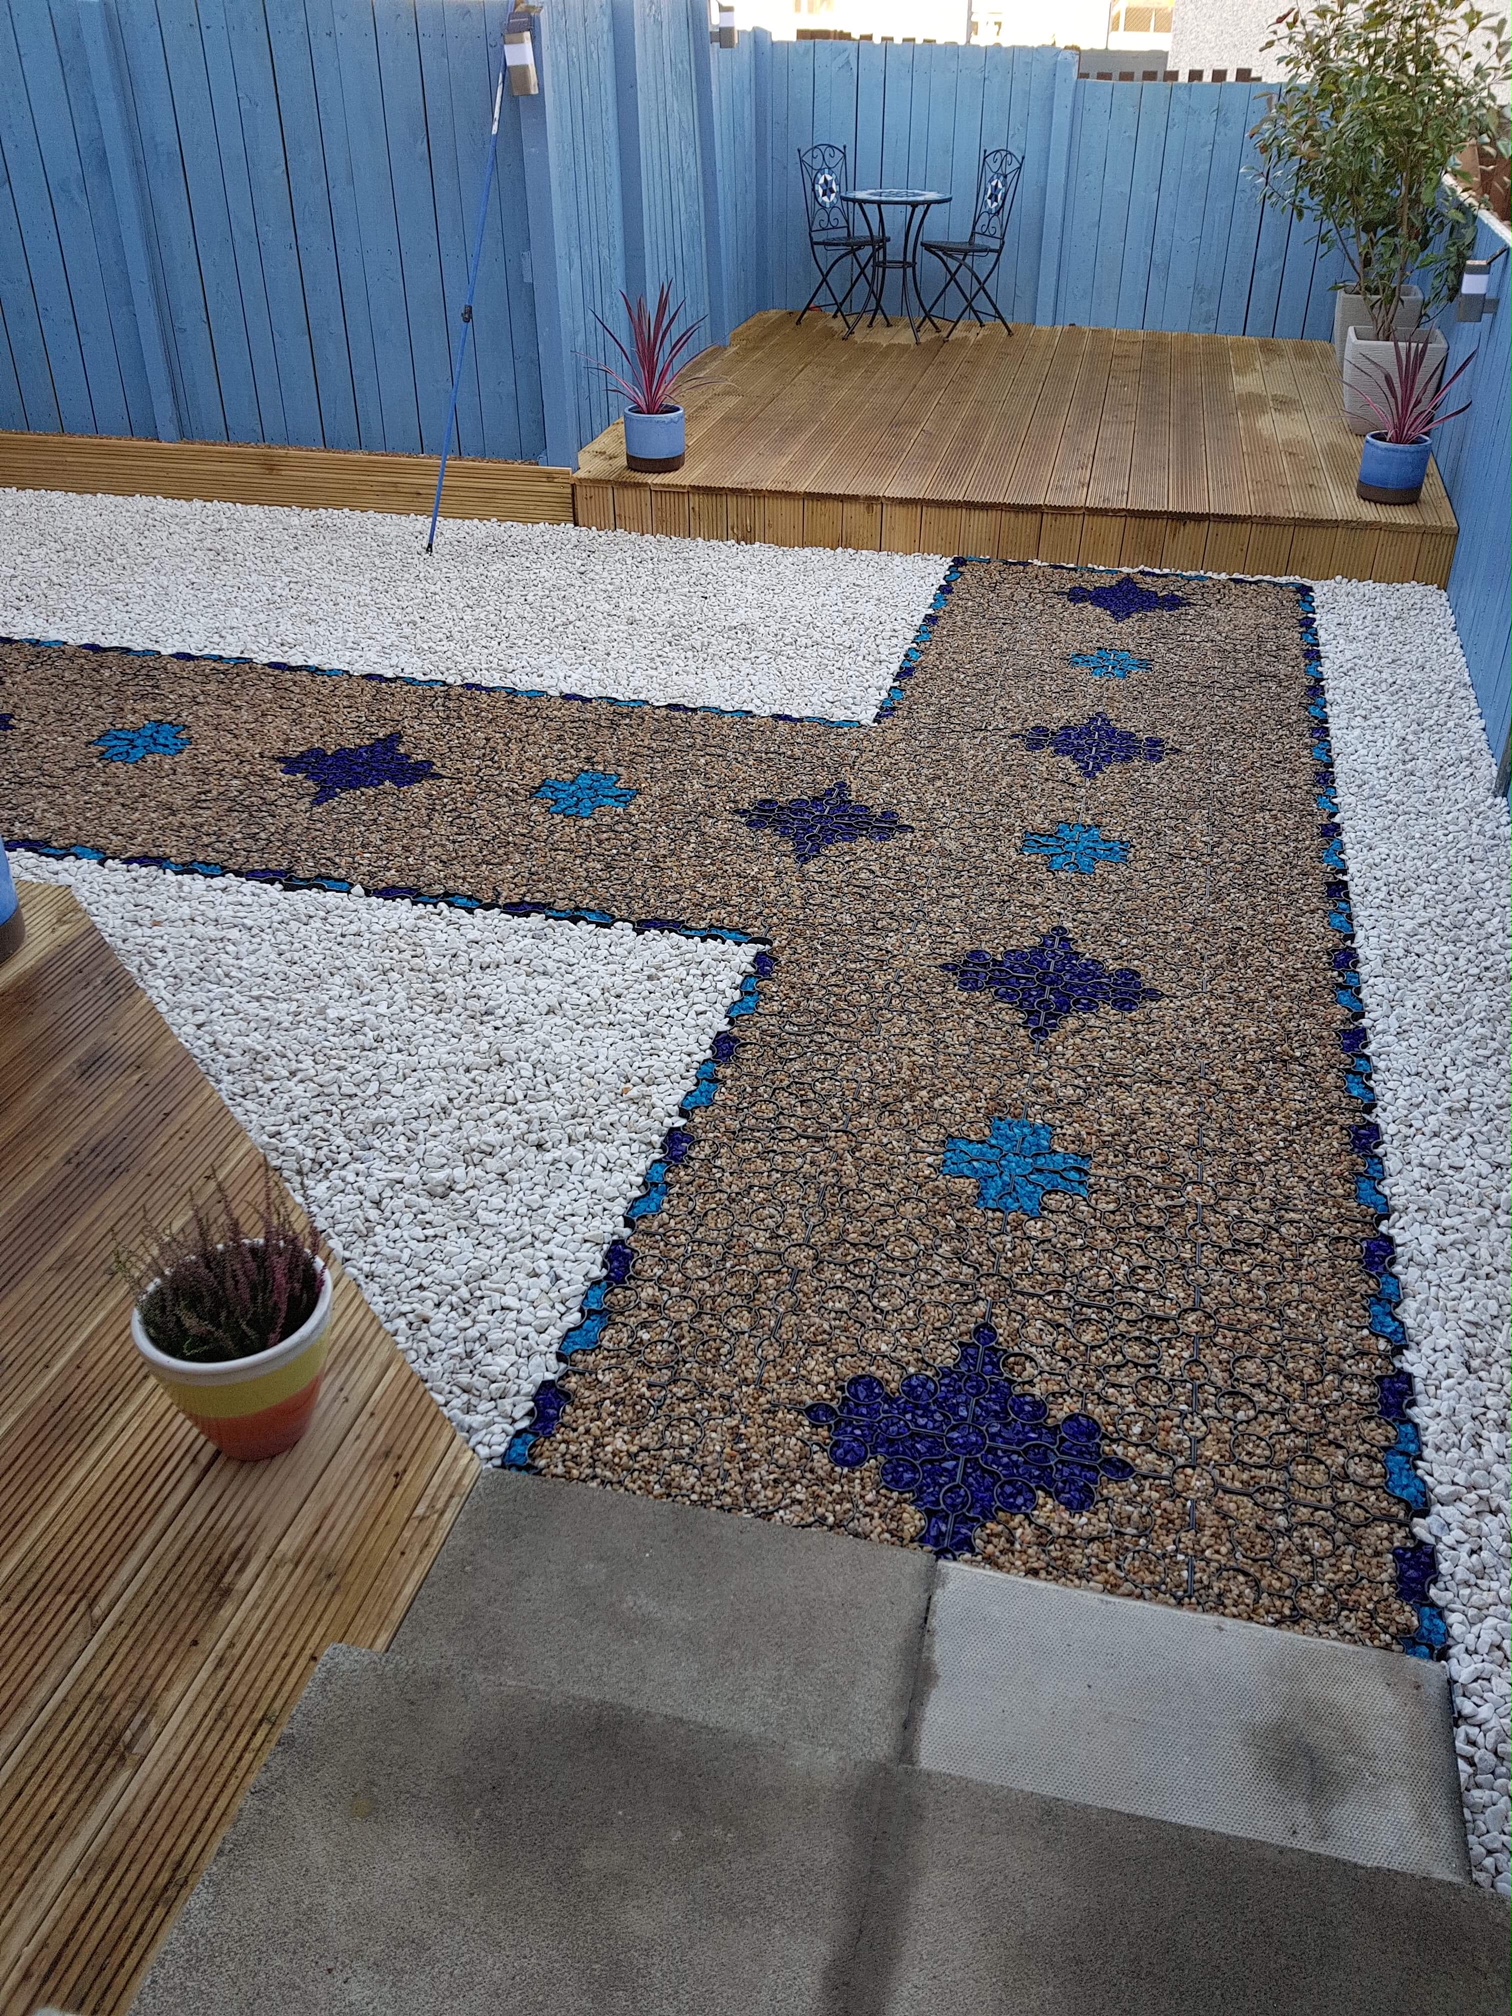
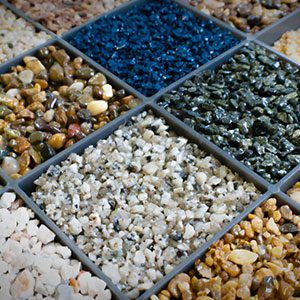
Resin comes in a variety of colours, allowing the pathway to be customised to a chosen logo. It means different shapes and logos can also be added.
Resin paths are durable and tend to last longer than the other alternatives. The resin bound gravels come in UV-resistant varieties that keep them protected from intense sunlight.
The resin pathway does not have the same drainage issues as other types of paving. This makes them even more durable and long-lasting.
It can be overlayed over an existing driveway surface which saves money and time.
Resin bound driveways are easy to maintain. The path is also easy to keep clean.
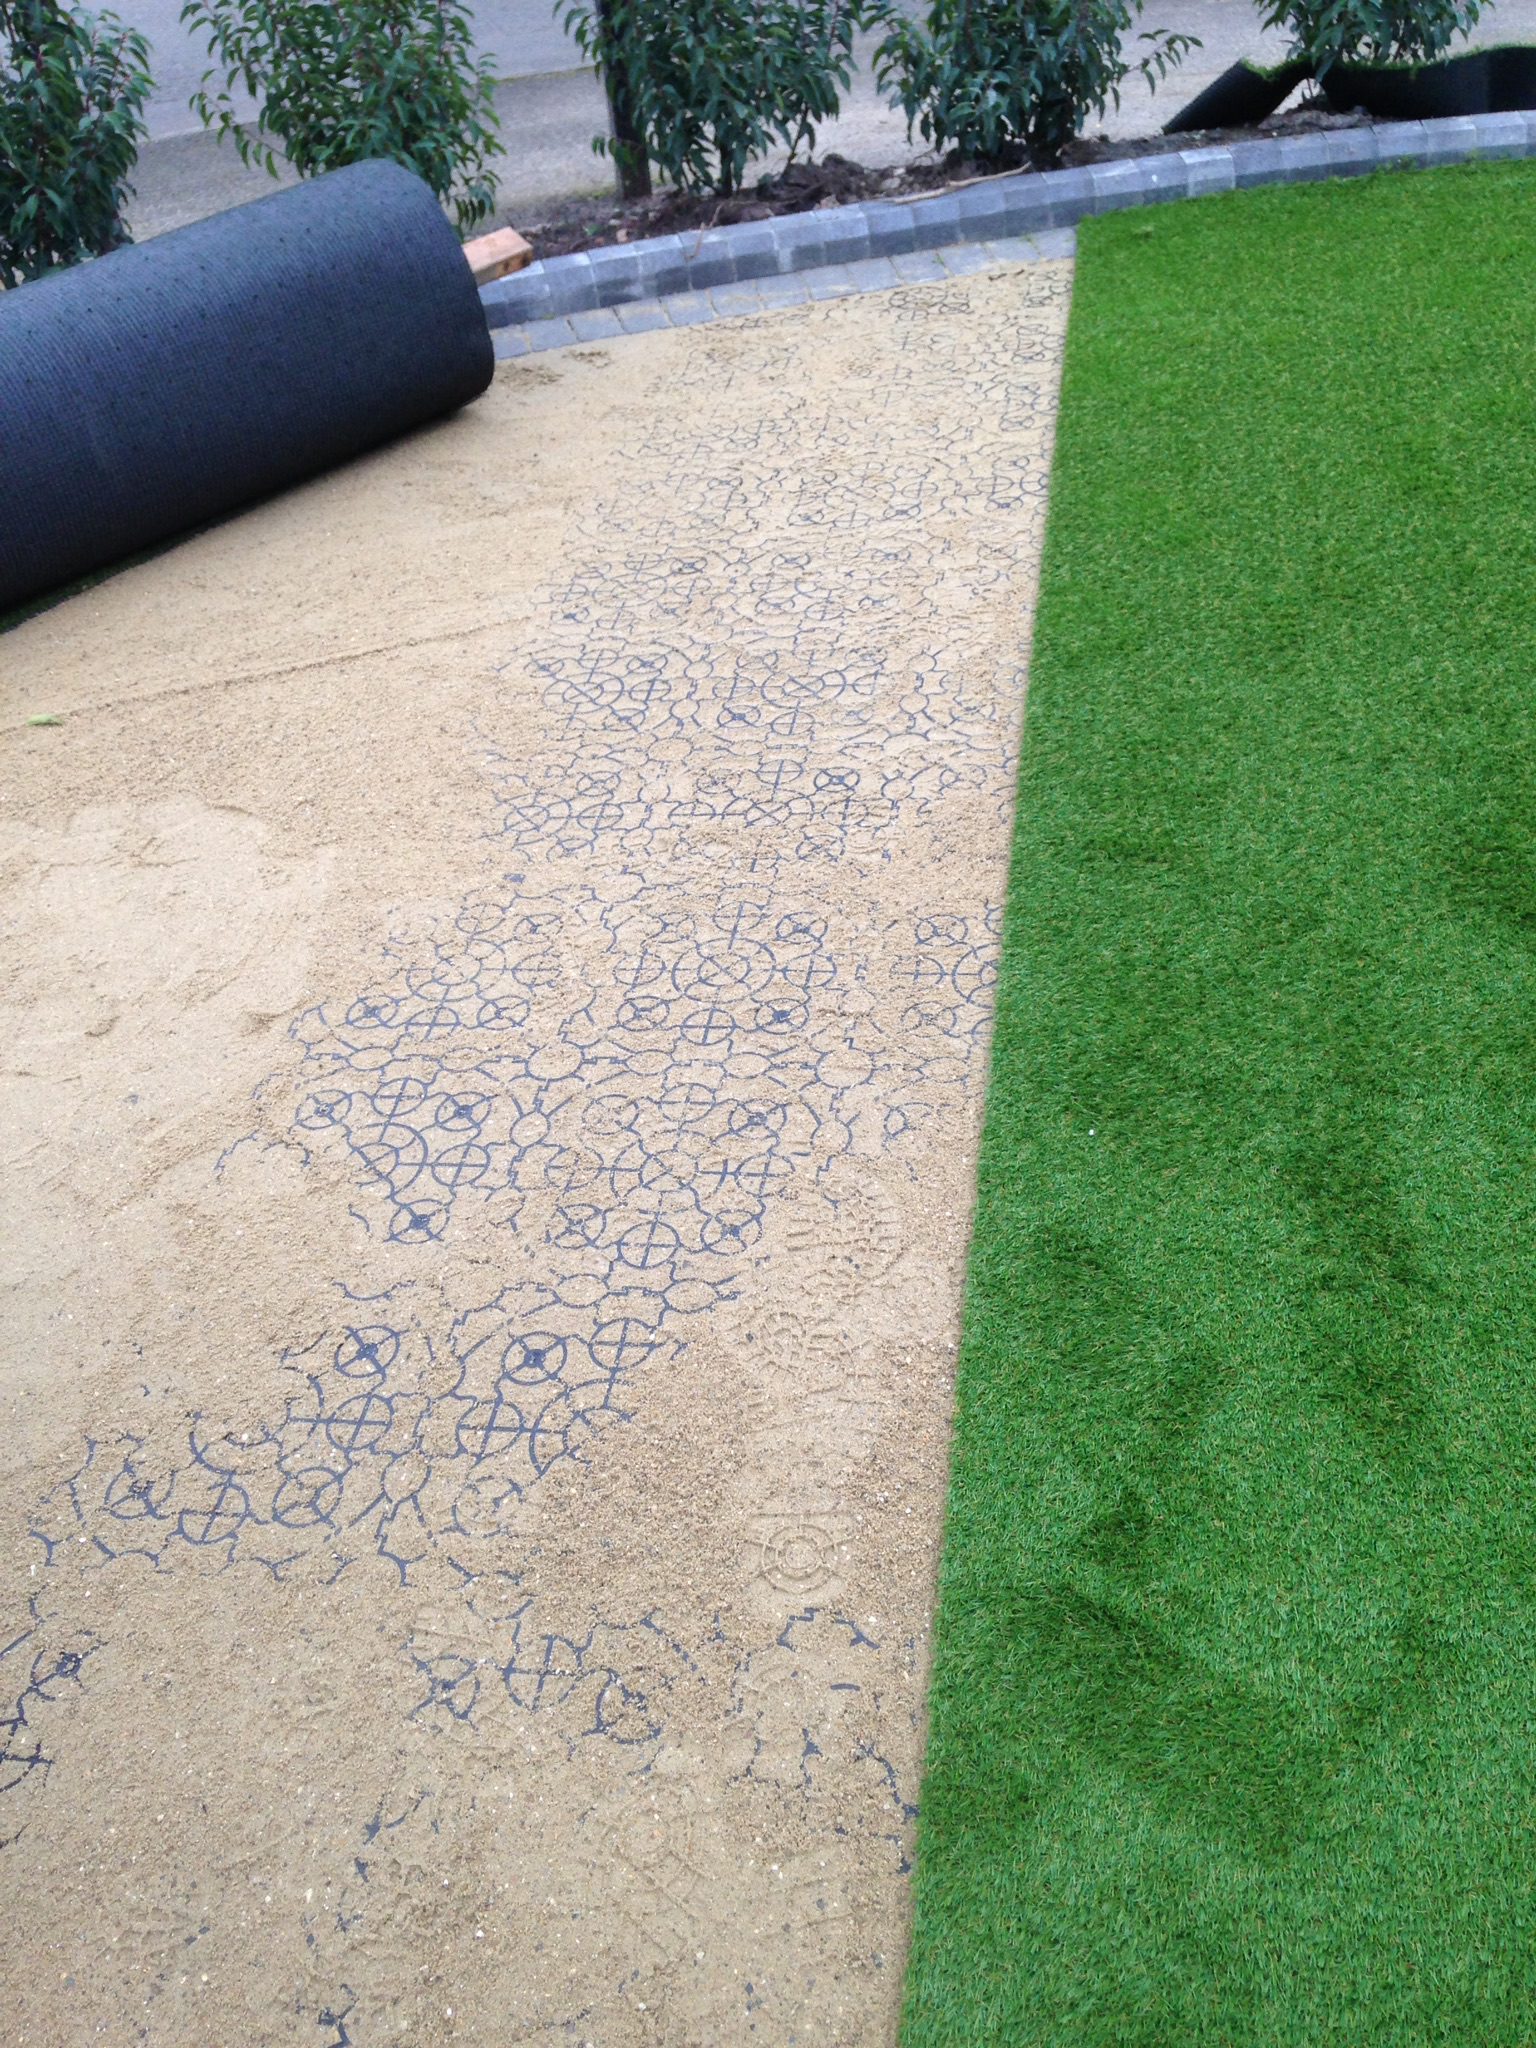
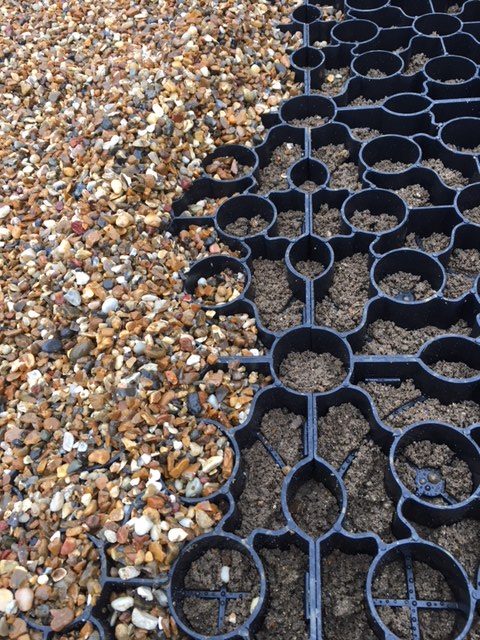
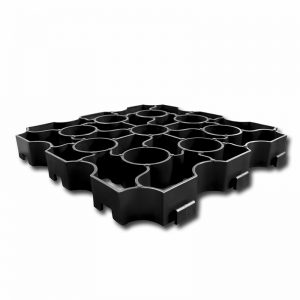
A resin bound pathway can be held into place using X-Grid.
TakeawaysA resin bound pathway can make the surface more attractive as it can be customised to customers' needs. It is highly durable and long lasting.
What is resin bound?
A resin bound system is a surface solution that involves a hard-wearing course of resin which is mixed with dried aggregate.
It can laid on top of an existing surface and is permeable and looks the part.
In contrast, a resin bonded system features dried aggregates are scattered over a full layer of resin. This is not permeable or SUDS compliant.
Resin bound gravel can be customised to meet the style needs of the property.
Where can resin bound be used?
It is highly versatile surfacing solution and can be used for n incredibly wide range of applications which include:
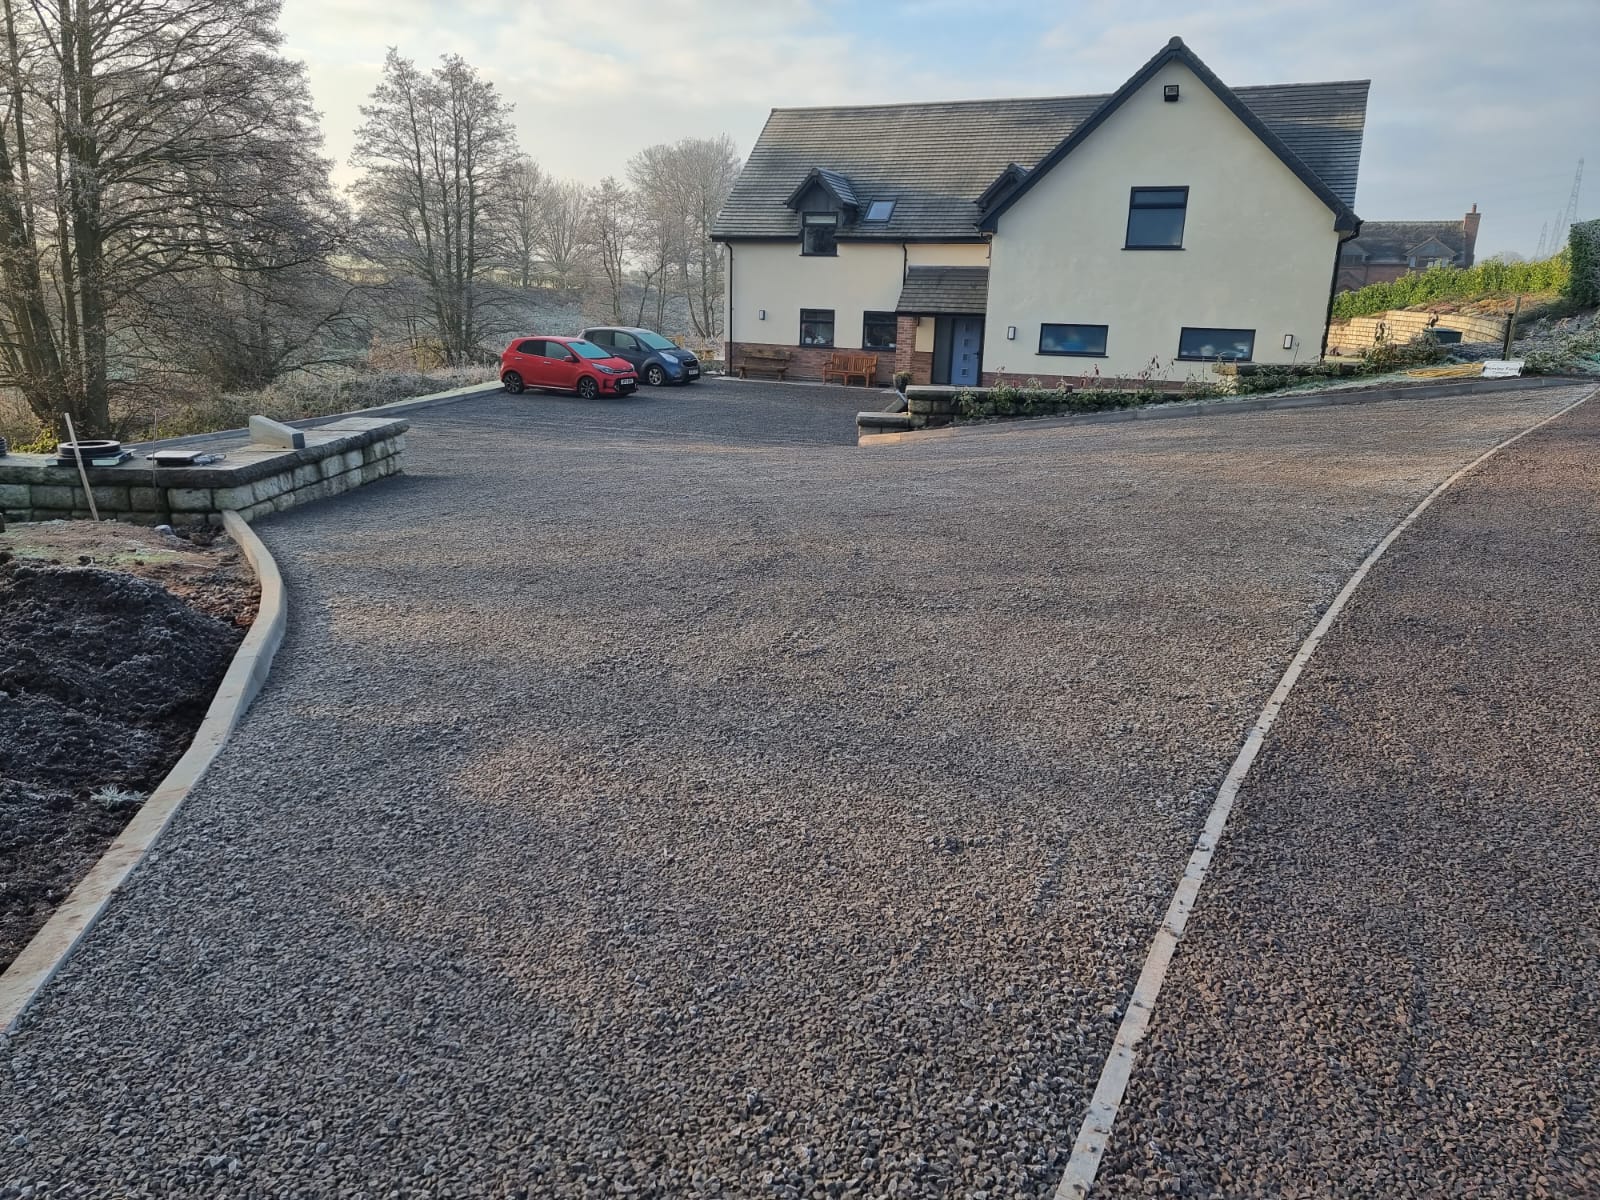
Driveways
Pathways
Patios
Parks and Gardens
Concourses
Car Parks
Cycle Paths
Terraces
Bridges
Schools
Resin bound installations are perfect for a diverse range of locations.
When the double strength aliphatic resin is combined with superior washed and kiln-dried aggregates, installers can be confident that their job will proceed with high quality, every time.
Resin pathways can be completed with X-Grid to hold the gravel in place.
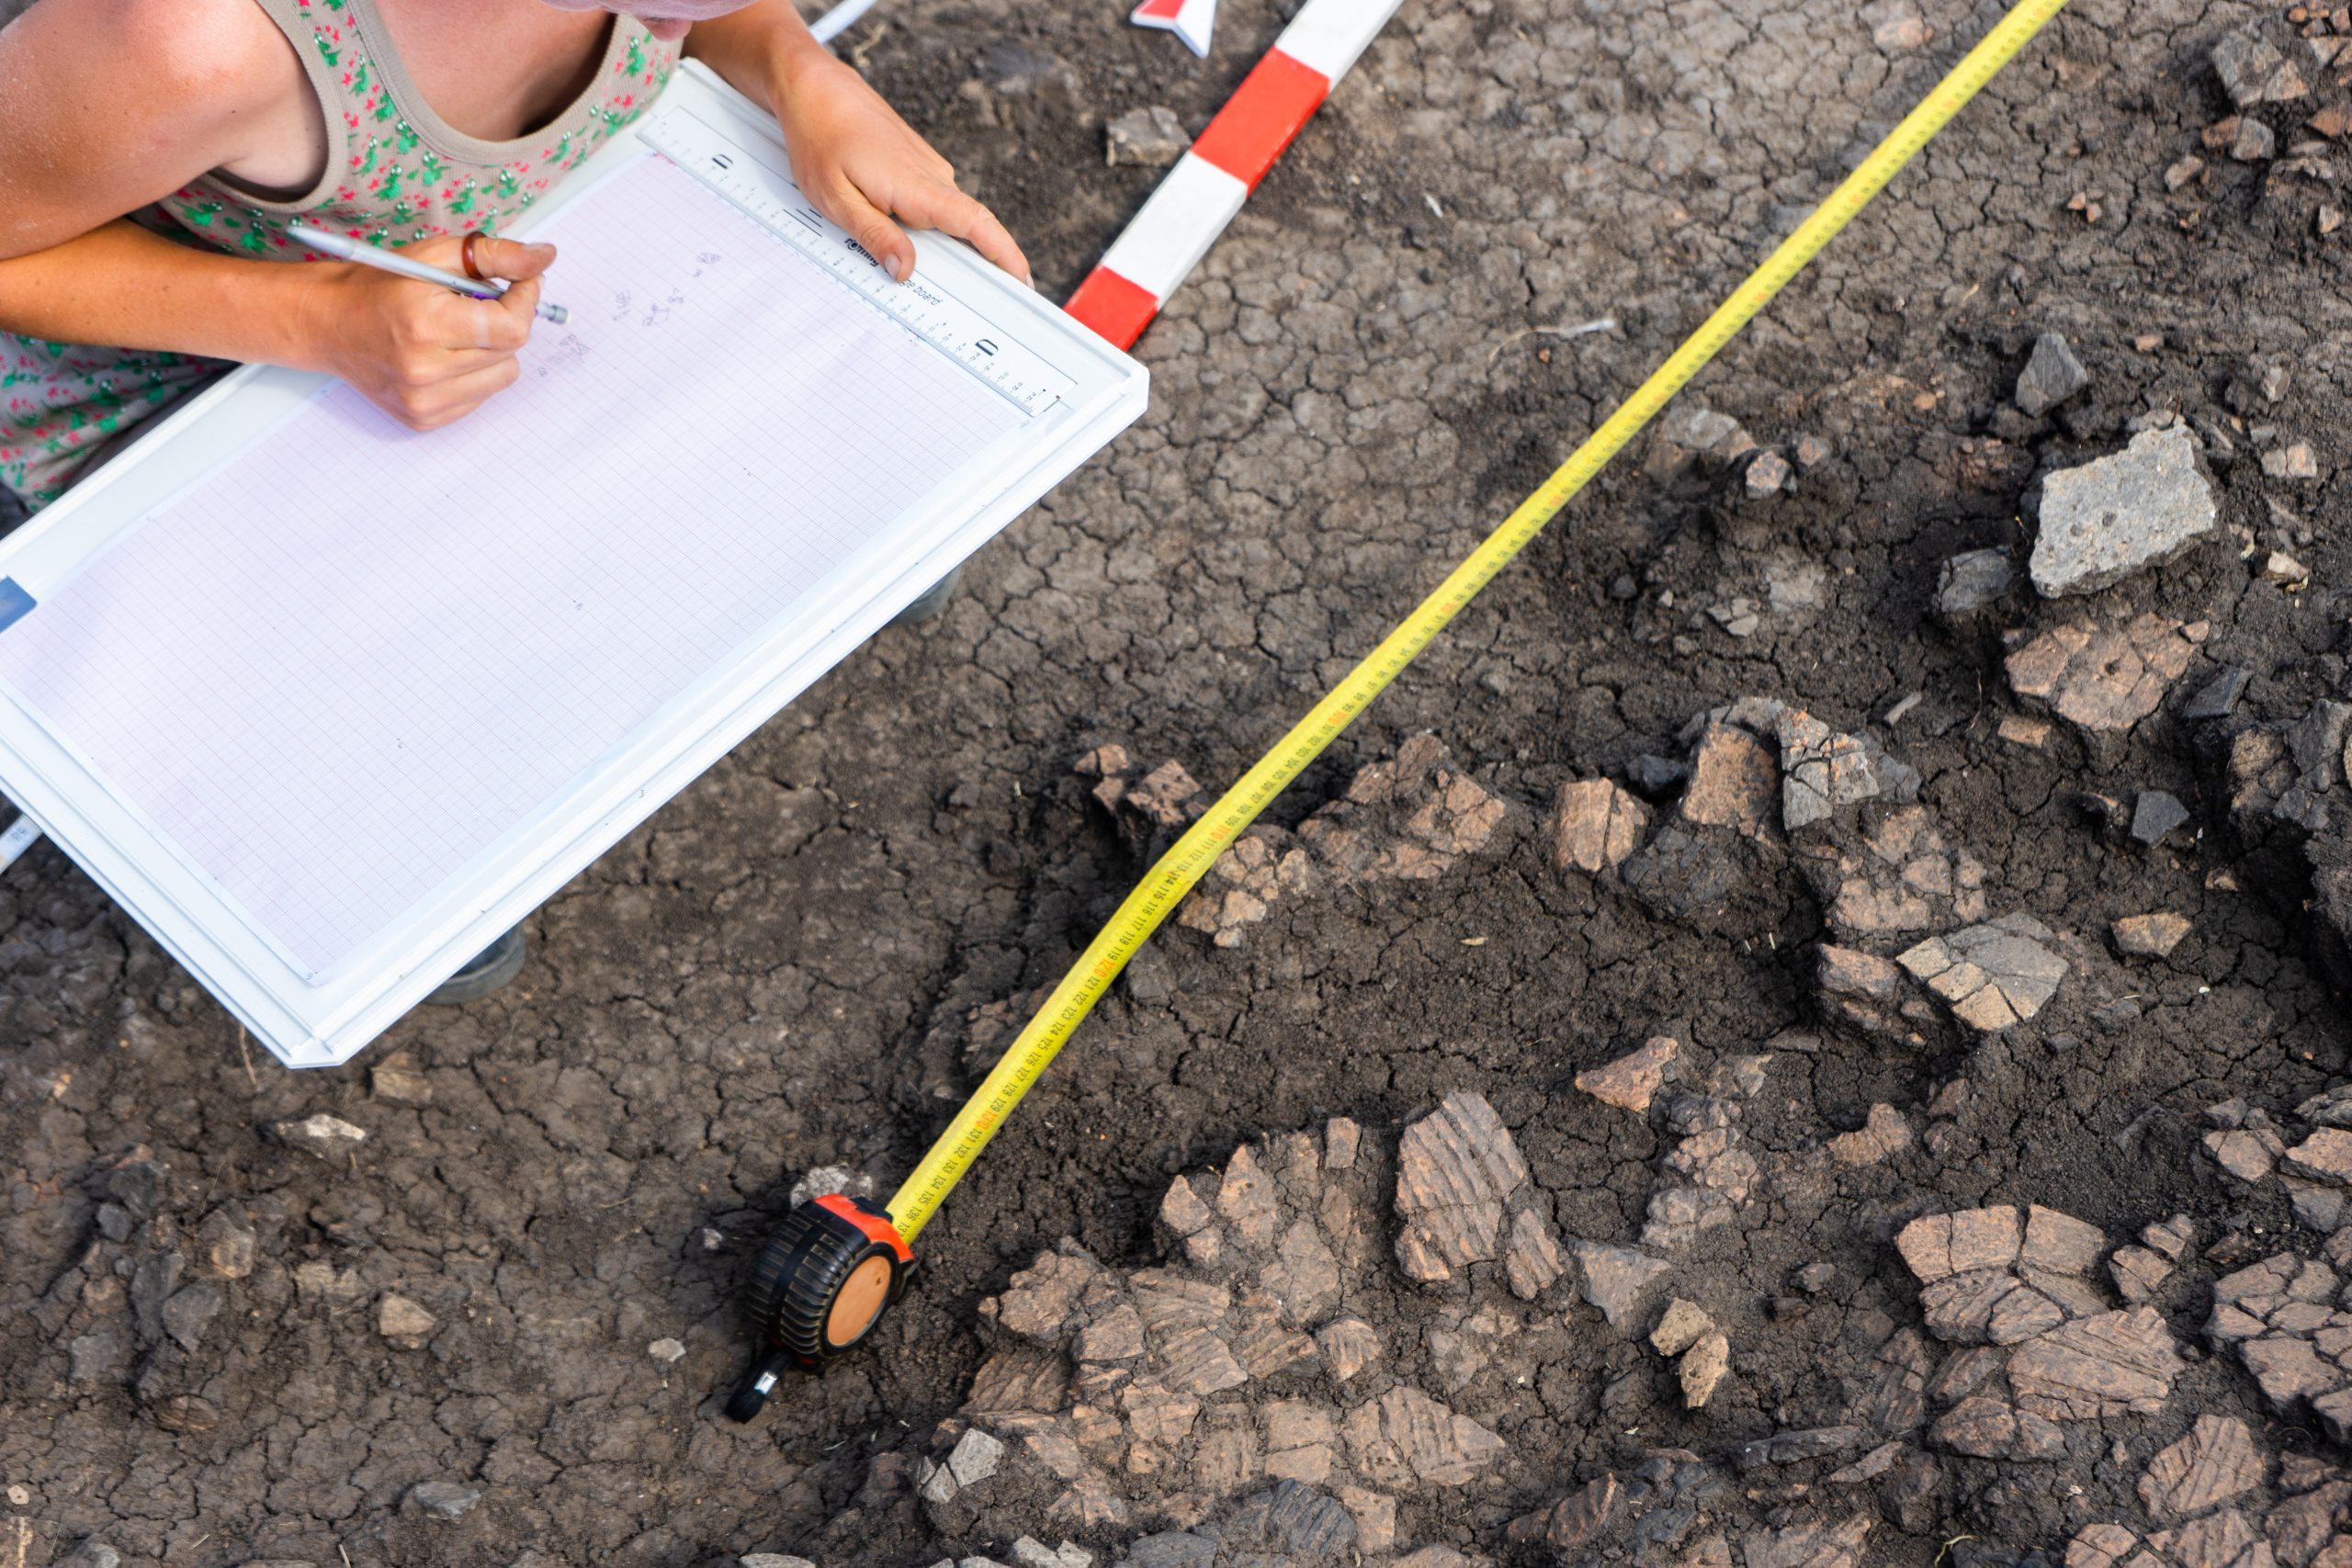
How to size a resin pathway project
There isn’t a hard and fast way to calculate the amount of materials needed.
The approximation for coverage of standard resin bound gravel kits is around 3.55m2 when laid at 18mm.
Deviations in the surface texture and porosity can affect this – a 10% contingency can help protect against surface fluctuations.
A resin bound calculator is available to work out how much resin bound materials is needed.
TakeawaysThe resin bound pathway materials can be calculated using the resin bound calculator.
Preparing the base for a resin bound pathway installation
The preparation of the surface is probably the most important aspect of the project.
If gravel is laid onto an unprepared, damp, granular base, there is a great danger that the surface will crack. Alternatively, the finish of the surface may have dark patches or spots or the resin may react with the moisture and begin to foam.
It is also important to choose the right weather conditions for the install.
Preparing the ground before installation is the most important task of the pathway installation.
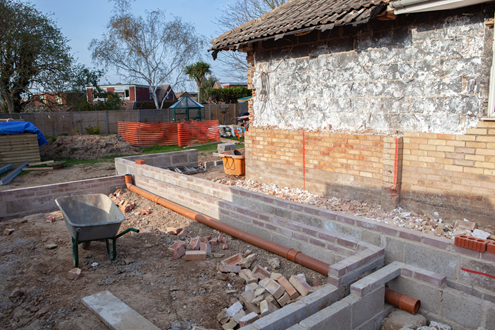
Removing the existing surface and excavating the area
The first step towards creating a beautifully finished resin bound surface is to remove any existing block-paving, concrete or tarmac surface.
If removing block paving from the area, the blocks can be recycled later by using the bricks as edging around the installation.
Once the existing surface has been removed, the area should be carefully excavated to a depth that is appropriate for the type of installation carried out.
The required depth of the installation should take into account the firmness of the ground and whether vehicles will be using the surface. An excavation depth of 220mm is recommended.
The ground must be even before installation.
TakeawaysThe area should be carefully excavated before the installation can take place to ensure the land beneath is flat, safe and suitable for use.
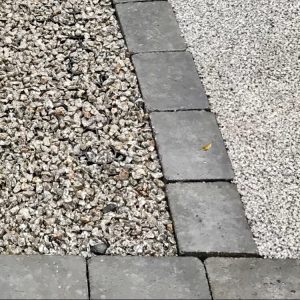
Installing perimeter edging
Around the edges of the installation, an appropriate load bearing edging should be improved.
The installation should be in accordance with relevant manufacturers’ instructions.
MOT Type 3 hardcore base
Once the perimeter edging has been installed and secured, then a base layer of MOT Type 3 should be laid at the required depth. Type 3 is recommended as this is more permeable than Type 1 and therefore it carries environmental benefits.
The minimum recommended depth of hardcore should be 150mm, though this depends on factors including sub-grade stability and intended use for the surface.
The layer should be compacted using a roller or vibro-plate (whacker) to ensure that the base in consolidated.
An MOT Type 3 sub-base has permeability benefits so is beneficial for SUDS compliance.
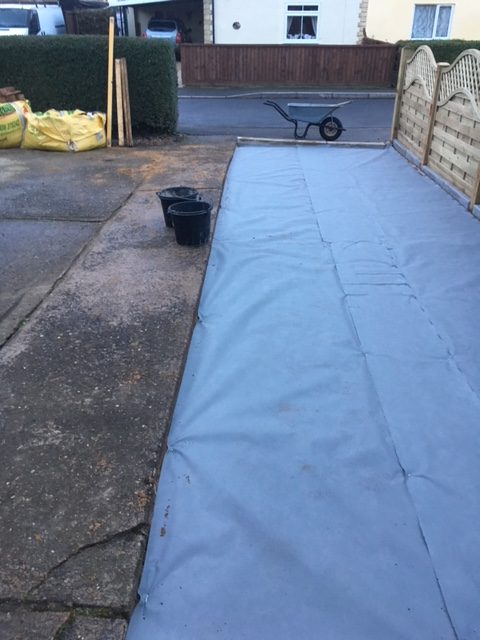
Laying geotextile membranes
When the layer has been laid and compacted, then an appropriate permeable geotextile membrane should be spread across the top.
This membrane should weigh no lesss than 110 grams per m2. Any joins should feature a 100mm overlap and it should be fixed into place using either plastic fixing pegs or galvanised steel U-Pins.
This will ensure suppression of weeds as well as keeping the build-up layers separated and will negate sand wash-out.
A weed membrane ensures weeds cannot penetrate the gravel surface.
Laying a solid base
The sand should be spread and compacted lightly and covered using a suitable ground reinforcement layer – such as tarmac, concrete or X-Grid ground reinforcement.
X-Grid is ideal as it wastes no time between laying the reinforcement layer and floating the resin as there is no curing needed unlike with alternatives.
Tarmac should be laid at >50mm depth and concrete at >80mm depth.
X-Grid gravel grid prevents gravel migration.
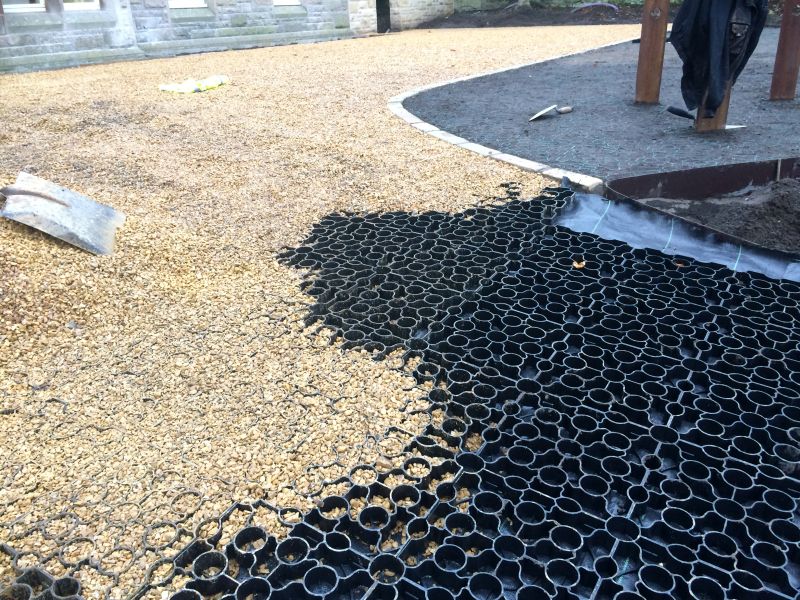
Adding stone in-fill to X-Grid
The X-Grid should be filled with chippings with a diameter of no larger than 20mm.
Care should be taken to ensure as much dust is removed from the stone as possible.
The gravel requirement can be calculated by:
M² area x 72kg = stone required in kg
Once evenly distributed across the whole X-Grid layer, the limestone and grid should be be lightly compacted using a light vibration plate (whacker) to ensure it is sufficiently bedded into the sharp sand and that the limestone fill is as level as it can be.
X-Grid is easy to lay and it holds the gravel into place.
The mixing process: checking materials
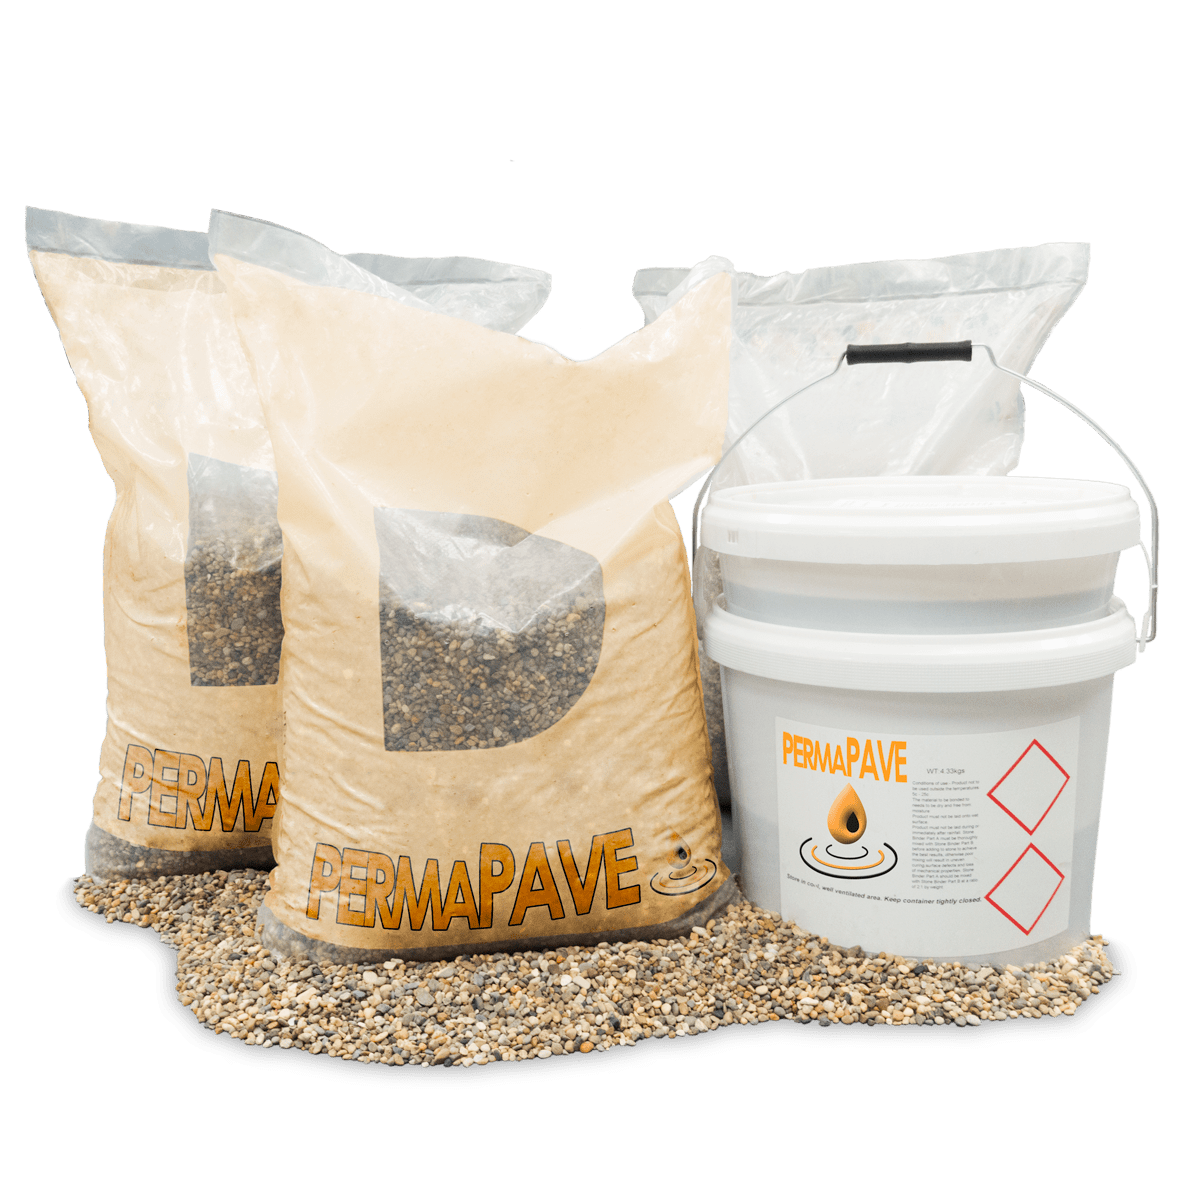
There are several components required for a resin bound gravel installation.
Prior to the mixing of materials taking place, the resin buckets and sand should be split into complete mixes to save time. Components should be mixed to the formula below:
An additional 5% coarse sand or crushed glass can optionally be added.
This ensures consistency and a smooth-running project as the bags have already been counted and mixed to the correct formula.
The aggregates should be stored in a dry location.
Checking materials beforehand means it does not need another task to be completed during the curing time.
The mixing process: mixing the resin binder
When all the materials are present and sectioned into individual mixes, it is time to start mixing the resin components.
Open the tubs containing both parts of the resin, mix the resins by pouring the part A component into the part B bucket and mixing for around 30 seconds using a motorised paddle mixer. This turns the mix into a creamy consistency.
While the resin is mixing it is recommended that the aggregate is added to a forced action mixer and is mixed dry for 30-60 seconds. It is important not to over-mix the resin and to mix each batch for the same period of time for consistency.
The Paddle Mixer and OX Bucket are perfect for mixing together resin binder.
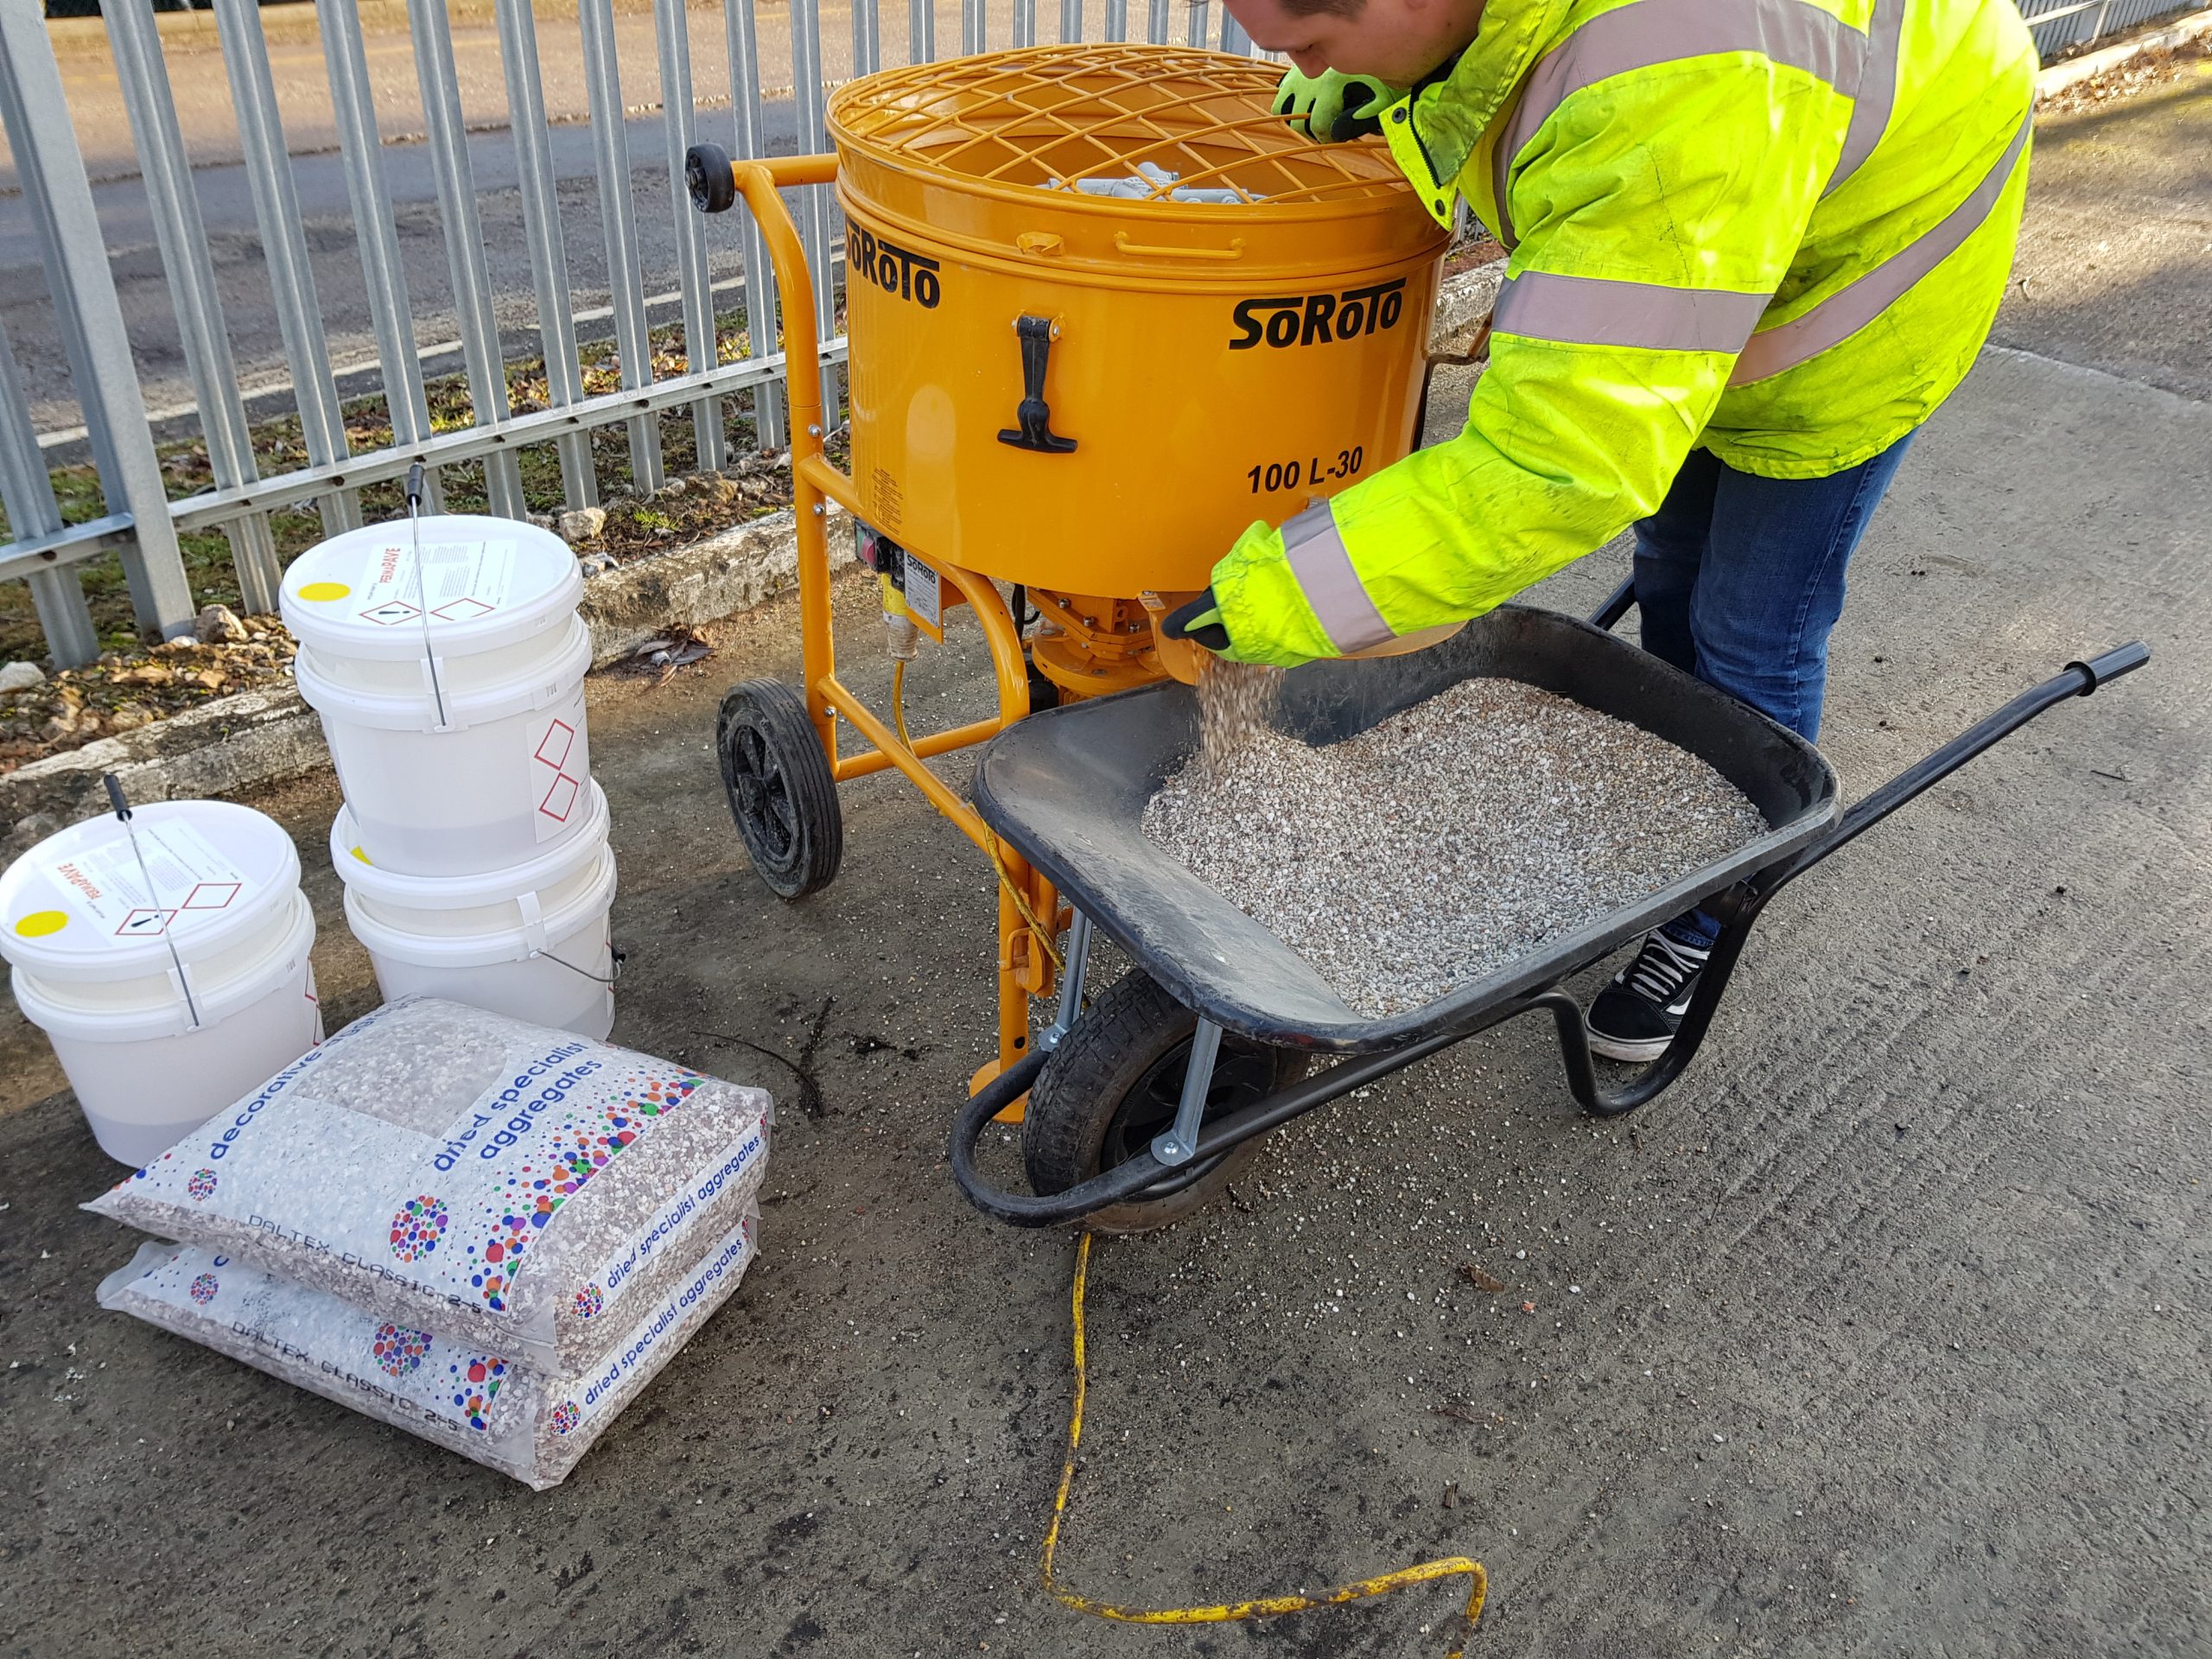
The mixing process: mixing the aggregate
Once the two-part resin has been mixed, ensure that all four bags of decorative gravel have been added to the forced action mixer and allowed to dry-mix for 30-60 seconds to remove any excess dust.
With the mixer in operation, slowly add the complete bucket of mixed resin to the forced action mixer pan.
Once the complete bucket of resin has been added to the mixer, wait for 30 seconds and gradually add the full bag of sand to the mix. Take care not add too much as large quantities too quickly can result in a clumpy mix.
By adding the sand to the mix, the surface will have a non-slip finish which will not squeak underfoot and add durability. The component should be combined in the mixer for around two minutes in total and normally has a consistency of porridge.
A SoRoTo Forced Action Mixer can mix resin binder and aggregate with ease.
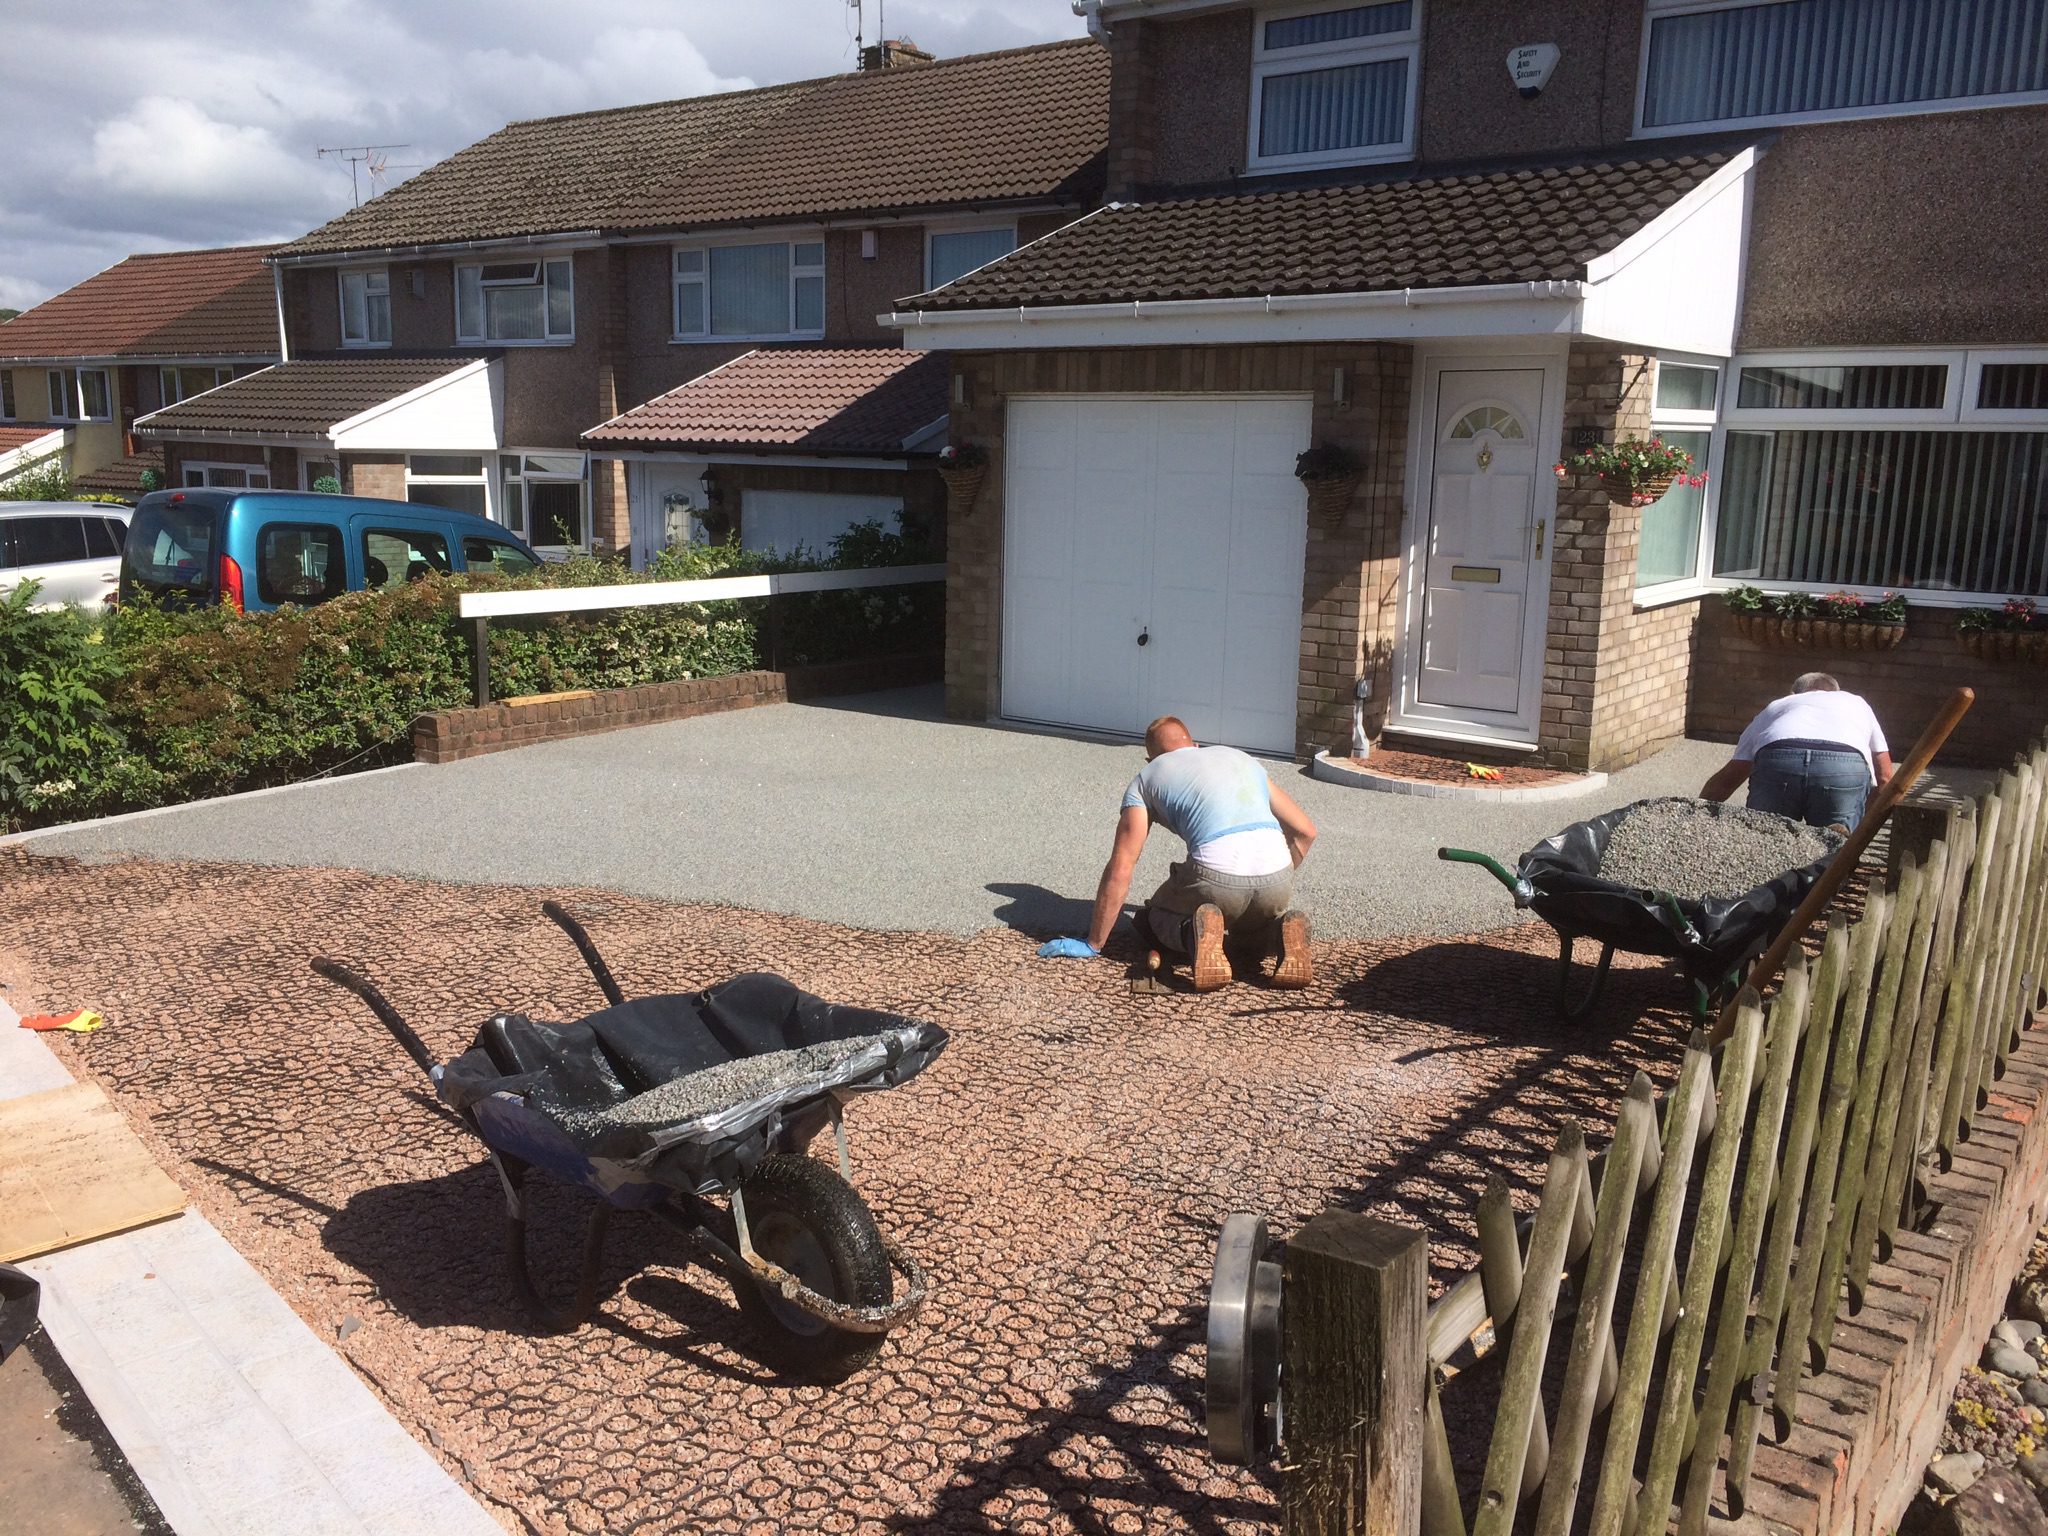
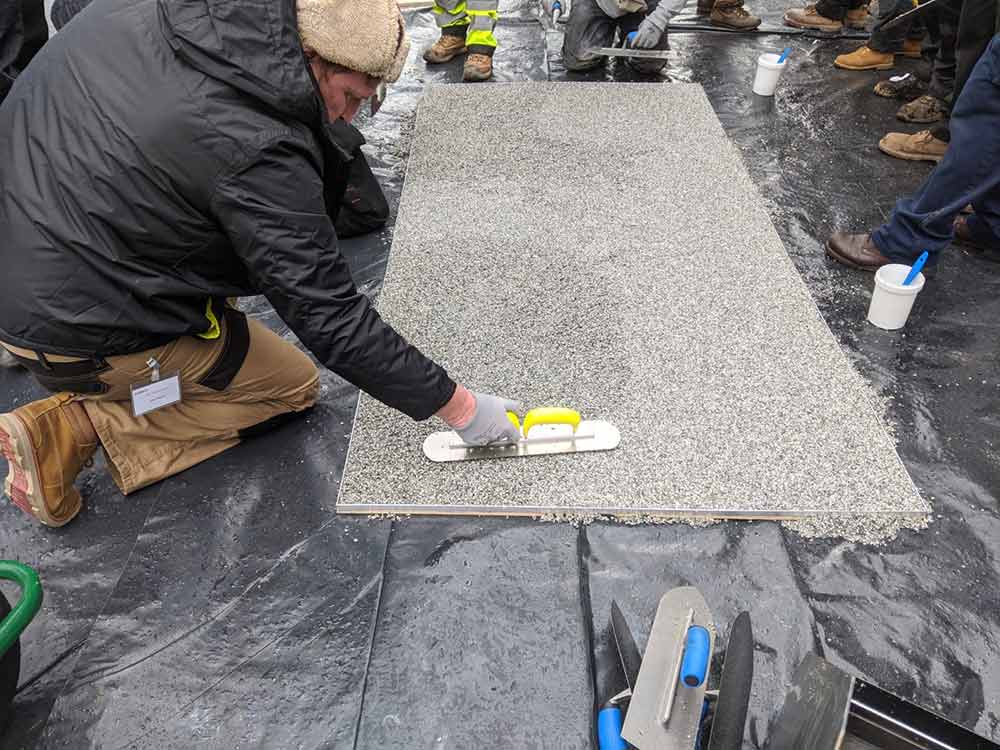
The mixing process: laying the mix
When all the components have been mixed for the allocated time, empty the mixer pan into a series of buckets.
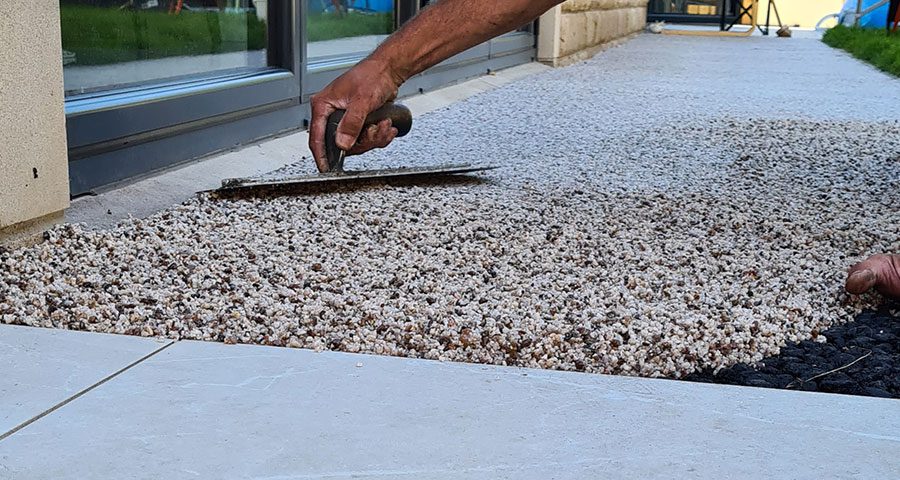
These piles can be roughly raked to distribute the mix before being trowelled down. Using a suitable cleaning agent, wipe down the trowel – this will stop the resin from sticking.
Using the tool, press down on the resin mixture, compacting it to the sub-base and spreading it to an event 18mm depth.
For different depths and spreading rates, use the technical information provided.
The closest edge should be left fluffed up and uncompacted until the next mix is ready.
Depending on weather conditions, the resin mix starts to cure almost immediately and provides around 20-30 minutes per mix to screed the resin to the required level.
Once the gravel is laid, a trowel can be used to smooth the mix.
Additional information and technical information
For a consistent and smooth resin bound pathway installation, follow the instructions below.
Curing times
The best conditions for an installation are a dry, mild and cloudy day where there is no threat of rain and the temperature is around 12-18OC.
Under these conditions, the screed will have a pot life of 20-30 minutes (non-UV) or 30-40 minutes (UV) and be cured/tack-free after 6 hours (non-UV) or 8-10 hours (UV).
The installer should take into account considerations if conditions are outside of these boundaries.
On a hot day, objects in direct sunlight can reach 50-60OC, which cause the resin to cure much faster than usual.
Resins and aggregates should be stored in a relatively cool and shaded location prior to laying on hot days to help keep curing times stable and workable.
Similarly, in cold weather, the ground and air temperature will fall and resin curing times will lengthen significantly.
In the case of UV-stable resin, it may not cure at all until the temperature of the laid mix reaches a minimum of 50OC.
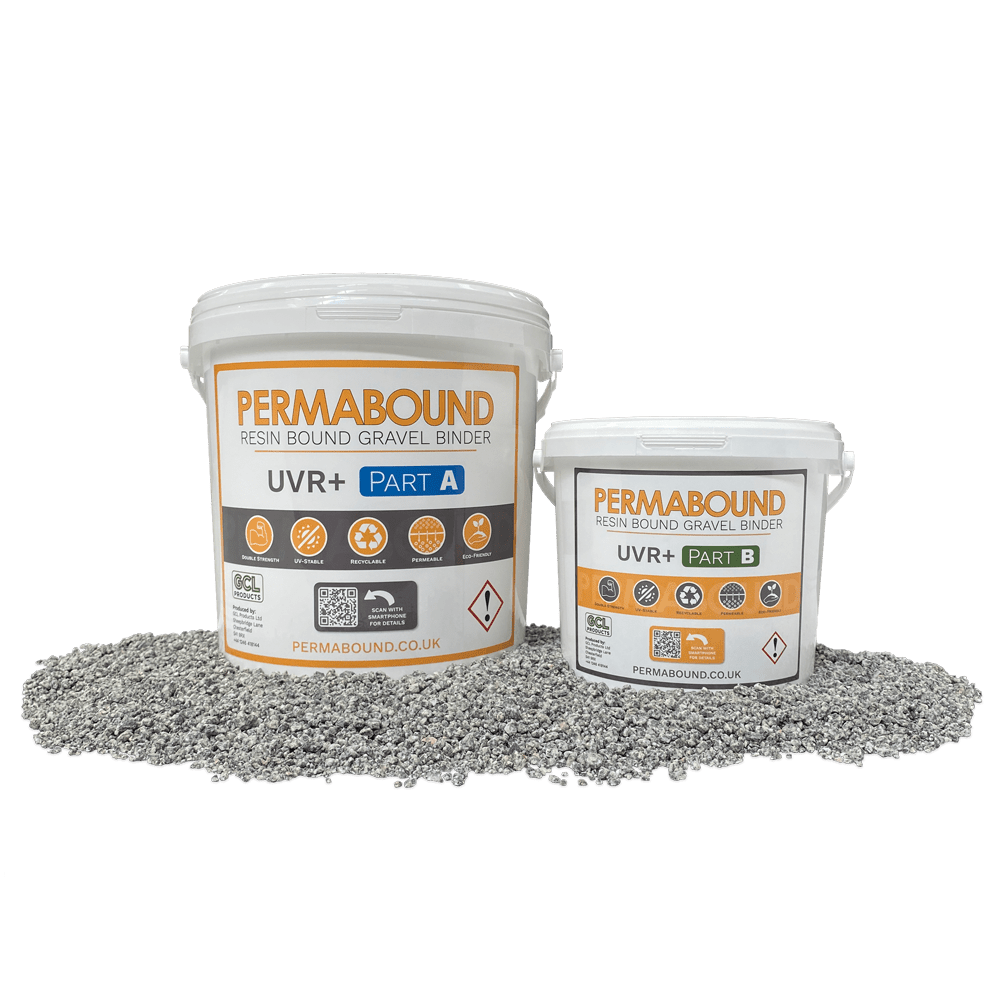
UV Stable and Non-UV resin binder
There are two main types of polyurethane resin which are used for resin bound surfacing.
These resin are known by a number of different names, such as standard, UVR, aliphatic, aromatic, UV stable, non-stable and other manufacturer specific names.
The difference is simple. The Non-UV Stable is the least expensive resin which has a slightly more yellow tone and gives a honey-like tint to the aggregate with which it is mixed and it will slightly yellow over time with the effects of UV rays from daylight.
UV-Stable is a premium resin which is clear and resistant to the effects of UV rays from daylight. This should be applied where the natural colour of the aggregate is to be retained or to negate the honey tones produced by gravel mixed using a standard aromatic resin.
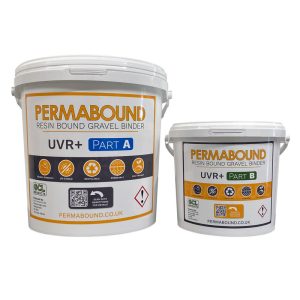
PermaBound Resin Binder is UV stable ensuring it will not lose colour over time.
Spreading rates
The resin bound top layer depth can be adjusted depending on the intended purpose for the surface, as seen in the following table:
Sub-grade strength
To work out the required depth of MOT Type 3 to install as a sub-base, the installer must first calculate the CBR value of the existing soil present at the proposed site.
Use the below table to indicate the stiffness of the ground before using the table to determine the sub-base thickness that is needed.
Sub-grade depth
The MOT Type 3 hardcore sub-base depth will vary from project to project. This will be affected by the volume and weight of the traffic on the surface. The table below provides information on the required sub-base depth.
X-Grid Fill
If X-Grid is used as a sub-base layer in place of tarmac or concrete base, the grid should be filled with a suitable and appropriate medium to provide maximum stability and durability of the installation.
It is recommended that X-Grid is filled with angular gravel with a stone diameter of up to 20mm.
Limestone chippings are a suitable choice for the fill, however it can be substituted for another material. Once the grid has been filled, using a vibrating plate compactor (whacker) to consolidate the gravel and help the X-Grid to bed into the sand layer below, is recommended.
Products for laying a resin bound pathway
The products needed for installing a resin pathway include:
The 100L is designed for easy mixing of resin bound gravel. It is able to hold an industry standard four-bag mix which produces enough material in good time to give a small team enough time to work and trowel their time-sensitive material into place before the curing process begins.
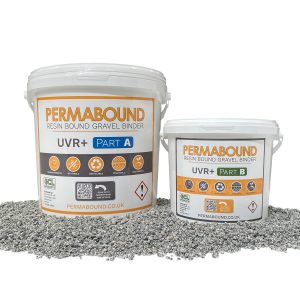
Binder is perfect for mixing with decorative kiln-dried aggregates to create an attractive and SUDs-compliant stone carpet surface. PermaBound is our very own high-strength, UV-stable two-part aliphatic resin binder.
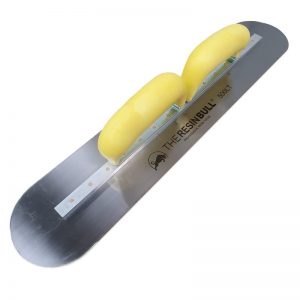
This trowel is dual-handled for greater control and comfort when spreading and evening the resin bound. Unlike other trowels, it is built by resin bound installers for resin bound installers and is perfect for finishing details.
The range of dried natural aggregates features an extensive selection of colours and sizes which are combined with resin for commercial or domestic use.
The paddle whisk can be used to combine the two separate parts of epoxy resin. It is a robust and durable mixer drill. It is designed to minimise waste.
The bucket is used in conjunction with the paddle mixer in order to contain the resin binder mix. It is highly durable and is fitted with a pouring spout for accurate dispensing of liquids.
Conclusion
Resin bound pathways can be installed using a resin binder, resin bound aggregates, sand or crushed glass, a trowel, a paddle mixer and bucket and a forced action mixer.
Using X-Grid can also provide a foundation for gravel, ensuring that the resin bound aggregates cannot move around which saves maintenance costs.
To find out more information call our helpful and friendly customer service team on 01246 418144.
Alternatively, contact us on webchat or email us here.